Introduction
When you offer exclusive resources like whitepapers, premium videos, or members-only documents on your WordPress site, how you communicate with your audience is just as important as the content itself. Every interaction, especially email notifications, is a chance to reinforce your brand.
Unbranded, generic emails can feel impersonal and might even be mistaken for spam. For small business owners, ensuring your WordPress gated content email notifications reflect your brand identity is vital for building trust and a professional image. This guide will walk you through branding your content access emails, including your logo, brand colours, and custom footer, using a powerful tool like WordPress Gatekeeper Pro.
Why Branded Emails Matter for Gated Content
Imagine a visitor requests access to your premium report. They're excited, but then receive a plain, unbranded email. Does it inspire confidence? Probably not. Branded emails do much more than just look good; they serve several critical business functions:
- Builds Trust and Credibility: A professionally branded email reassures recipients that the message is legitimate and from a trusted source. This is especially important for content access, where security and authenticity are key.
- Reinforces Brand Identity: Consistent branding across all touchpoints, including emails, strengthens your brand recognition. Your logo, colours, and tone of voice become instantly recognisable, helping you stand out.
- Enhances User Experience: A well-designed, branded email is more pleasant to read and navigate. It creates a seamless experience from your website to their inbox, making your users feel valued.
- Increases Engagement: Branded emails often have higher open rates and engagement because they look more professional and less like generic system messages. This means more people will see your secure access links or important updates.
- Professionalism: For any business, appearing professional is non-negotiable. Branded email templates signal attention to detail and a commitment to quality, reflecting positively on your entire operation.
Understanding Gatekeeper Pro's Email System
WordPress Gatekeeper Pro is designed to manage restricted content access efficiently. It handles the entire workflow, from visitors submitting an access request to sending secure access links. A core part of this workflow involves various email notifications:
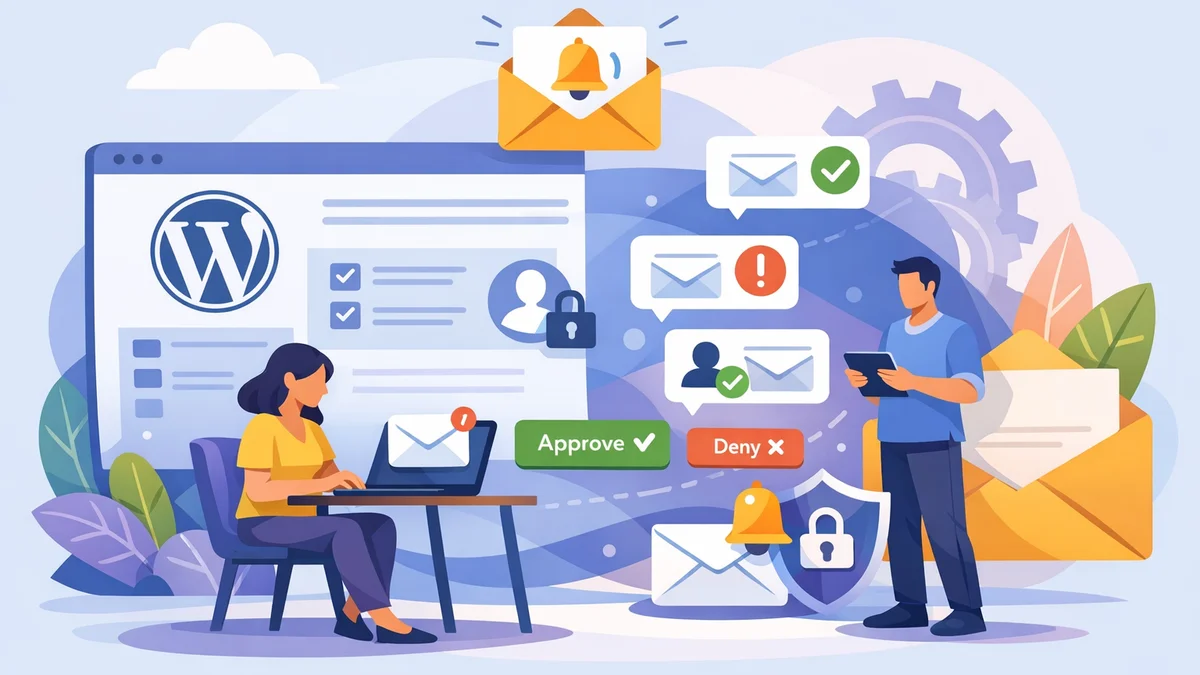
- Admin Notifications: You, as the site administrator, receive an email when a new access request comes in. These often include one-click Approve/Disapprove links, allowing you to manage requests without logging into WordPress.
- User-Facing Emails:
- Confirmation Email: Sent to the user after they submit a request.
- Approval Email: Contains the secure, time-limited access token and link once their request is approved.
- Disapproval Email: Informs the user if their request cannot be granted.
- Expiry Warning Email: Notifies users when their access token is about to expire, keeping them informed.
Each of these emails presents an opportunity for branding. Gatekeeper Pro provides dedicated settings to customise the appearance of these email templates, ensuring every piece of communication aligns with your brand's look and feel.
Step-by-Step Tutorial: Branding Your Gatekeeper Pro Emails
Let's walk through the process of branding your WordPress content access email templates using WordPress Gatekeeper Pro's built-in features. This will ensure your logo, colours, and custom footer are visible in all your gated content notifications.
Step 1: Accessing Email Branding Settings
First, you need to navigate to the Gatekeeper Pro settings within your WordPress dashboard.
- Log in to your WordPress admin area.
- In the left-hand navigation menu, hover over Gatekeeper Pro.
- Click on Settings.
- Once on the settings page, click on the Emails tab. This section is dedicated to configuring all email-related aspects of the plugin, including branding.
Here, you'll find various options to manage your email notifications, from sender details to the visual branding elements we'll cover next.
Step 2: Uploading Your Brand Logo
Adding your company logo to the email header is the quickest way to establish instant brand recognition. Gatekeeper Pro makes this straightforward.
- Within the Emails tab, scroll down to the Email Branding section.
- Look for the setting titled Email Header Logo.
- Click on the Upload button next to this field. This will open your WordPress Media Library.
- Select your logo file from the Media Library, or upload a new one if it's not already there. Ensure your logo is clear and appropriately sized for email display (typically a reasonable width, not too large to avoid slow loading).
- Once selected, click the Select button. The URL of your logo will now appear in the field.
- Save Changes: Don't forget to scroll to the bottom of the page and click the Save Changes button to apply your logo.
Your logo will now appear prominently at the top of all email templates generated by Gatekeeper Pro, instantly professionalising your WordPress gated content email notifications.
Step 3: Setting Your Brand Colours
Beyond the logo, incorporating your brand colours into the email template further enhances consistency. Gatekeeper Pro allows you to set specific background colours for the header and footer sections of your emails.
- In the Email Branding section, you'll find two colour pickers:
- Email Header Background Colour
- Email Footer Background Colour
- Click on the colour swatch next to each of these options. A colour picker will appear.
- You can either select a colour visually from the picker, or if you have your brand's exact hex code (e.g., #RRGGBB), you can enter it directly into the field. This ensures precise colour matching.
- Choose a header background colour that complements your logo and overall brand aesthetic.
- Select a footer background colour that either matches your header for uniformity or provides a subtle contrast, maintaining readability.
- Save Changes: Click the Save Changes button to lock in your chosen colours.
These colours will frame your email content, creating a cohesive and branded look that aligns with your website's design.
Step 4: Crafting Your Custom Footer Text
The email footer is a valuable space for important information, contact details, or even a brief brand message. Gatekeeper Pro allows you to customise this text and even use dynamic template tags.
- Look for the Email Footer Text field in the Email Branding section.
- Enter your desired footer content. This could include:
- Your company name and copyright information (e.g., "© {year} Your Company Name. All rights reserved.")
- Your website URL or main contact email.
- A short disclaimer or privacy policy link.
- Your ABN or business registration number.
- Utilise Template Tags: Gatekeeper Pro supports several template tags that automatically insert dynamic information. Common useful tags include:
{site_name}: Inserts your WordPress site's title.{site_url}: Inserts your website's URL.{year}: Inserts the current year (great for copyright notices).
© {year} {site_name}. Visit us at {site_url}. - Save Changes: After entering and reviewing your footer text, click Save Changes.
A well-crafted footer adds a professional touch and ensures recipients have access to essential information.
Step 5: Previewing and Testing Your Branded Emails
After making all your branding adjustments, it's crucial to see how they look in a real-world scenario. Gatekeeper Pro includes a handy preview and test feature.
- Still in the Emails tab, scroll up to the Email Sender Settings section.
- Near the bottom of this section, you'll find a field labelled Test Email Recipient.
- Enter an email address where you'd like to receive a test email. Use an address you can access easily, ideally from a different email provider (e.g., Gmail, Outlook) to check rendering across various clients.
- Click the Send Test Email button.
- Check your inbox: Open the test email. Examine the logo placement, the header and footer background colours, and the footer text. Ensure everything appears as intended and is easy to read.
- Adjust as needed: If anything looks off, return to the Gatekeeper Pro email settings, make your adjustments, and send another test email until you are satisfied with the branding.
This testing step is vital to ensure your WordPress email branding is flawless before your users start receiving these notifications.
Beyond Branding: Customising Email Content
While branding covers the visual appeal, Gatekeeper Pro also allows for extensive customisation of the email content itself. Within the Emails tab, you'll find separate sections for each type of email (e.g., "Admin Notification Email", "User Approval Email").
For each email type, you can:
- Customise the Subject Line: Make it clear, concise, and professional. Use template tags like
{site_name}or{post_title}to make subjects dynamic (e.g., "Your Access Request for {post_title} has been Approved!"). - Edit the Email Body: Write your own custom messages using the provided editor. This allows you to tailor the tone, provide specific instructions, or include additional information relevant to your gated content and your audience.
- Use Template Tags: Just like with the footer, you can insert dynamic content into the email body, such as the user's name (
{user_name}), the secure access link ({access_link}), or the content's title ({post_title}).
By combining strong visual branding with personalised and informative content, you create a powerful communication strategy for your gated resources.
Best Practices for Effective Gated Content Email Branding
To get the most out of your WordPress email branding efforts, keep these best practices in mind:
- Consistency is Key: Ensure your email branding aligns perfectly with your website's visual identity. Use the exact same logo, brand colours, and fonts (where possible in email) for a seamless experience.
- Keep it Clean and Simple: Overly complex email designs can be distracting and may not render well across all email clients. A clean, professional layout with your key branding elements is usually best.
- Optimise for Mobile: Many users check emails on their phones. Ensure your logo is clear, text is legible, and colours translate well on smaller screens. Gatekeeper Pro's default templates are designed to be responsive.
- Clarity Over Creativity: While branding allows for creativity, the primary goal of these emails is to convey information clearly. Make sure subject lines are informative and the body text is easy to understand, especially regarding access instructions.
- Test Regularly: Email clients can be finicky. Periodically send test emails to various addresses and devices to ensure your branding continues to display correctly.
Related Articles
Continue your learning with these related resources:
- How to Build a WordPress Resource Library with Restricted Content for Agencies (Comprehensive Guide)
- Styling Gated Content with CSS: BEM Classes, Overrides, and Theming for WordPress Developers
- Building Custom Gated Content Listing Pages with WP_Query and Gatekeeper Pro
- WordPress Template Tags for Gated Content: A Developer Reference
- How to Detect Locked Content and Show Custom Markup in Your WordPress Theme
- How to Build a Custom Gated Content Template in WordPress
Conclusion
Branding your WordPress gated content email notifications is a simple yet highly effective way to elevate your professional image, build trust with your audience, and enhance the overall user experience. By leveraging the intuitive branding options in WordPress Gatekeeper Pro, you can easily customise your access approval email WordPress templates with your logo, brand colours, and a personalised footer.
Take the time to brand your emails, and you'll transform generic system messages into powerful brand touchpoints that reinforce credibility and professionalism with every interaction.