Introduction
In today's digital landscape, many small businesses offer valuable content behind an access request form. Whether it's a premium whitepaper, an exclusive video tutorial, or a confidential client document, controlling who gets access is crucial. However, the process of approving these requests can quickly become overwhelming without a proper system in place.
This is where effective admin notifications come into play. When a visitor requests access to your exclusive content, you need to know about it promptly. Timely notifications enable you to review, approve, or disapprove requests quickly, ensuring your potential leads or clients aren't left waiting. For WordPress users, a plugin like Gatekeeper Pro simplifies this entire workflow, especially with its robust email notification system.
Why Admin Notifications Are Crucial for Gated Content
For any WordPress site offering gated content, admin notifications are not just a convenience; they are a fundamental component of a successful content strategy. They bridge the gap between a visitor's request and your action, ensuring a seamless user experience and efficient lead management.
Consider these key benefits:
- Prompt Action: Immediate alerts mean you can respond to access requests quickly. This reduces wait times for users and demonstrates your professionalism and responsiveness.
- Improved Lead Qualification: Each notification is an opportunity to review the requester's details. You can qualify leads based on the information provided in the access request form, helping you prioritise follow-ups.
- Streamlined Workflow: With tools like Gatekeeper Pro, you can often approve or disapprove requests directly from the notification email, eliminating the need to log into your WordPress dashboard for every single request. This saves valuable time, especially for businesses managing a high volume of requests.
- Never Miss an Opportunity: Without notifications, requests could sit unnoticed, leading to missed opportunities for engagement, sales, or client onboarding. An email notification acts as a reliable reminder.
- Audit Trail and Accountability: Notifications contribute to a clear record of who requested what, and when. This can be invaluable for tracking engagement and understanding content popularity.
Understanding WordPress Gatekeeper Pro's Notification System
WordPress Gatekeeper Pro is designed to make managing gated content straightforward and efficient. A cornerstone of its functionality is the comprehensive email notification system, which keeps you informed and allows for rapid decision-making.
When a visitor submits an access request for your locked content, Gatekeeper Pro automatically triggers an email notification to the designated administrators. These emails are much more than simple alerts; they contain all the necessary information about the request, including the requester's details and the specific content they're interested in.
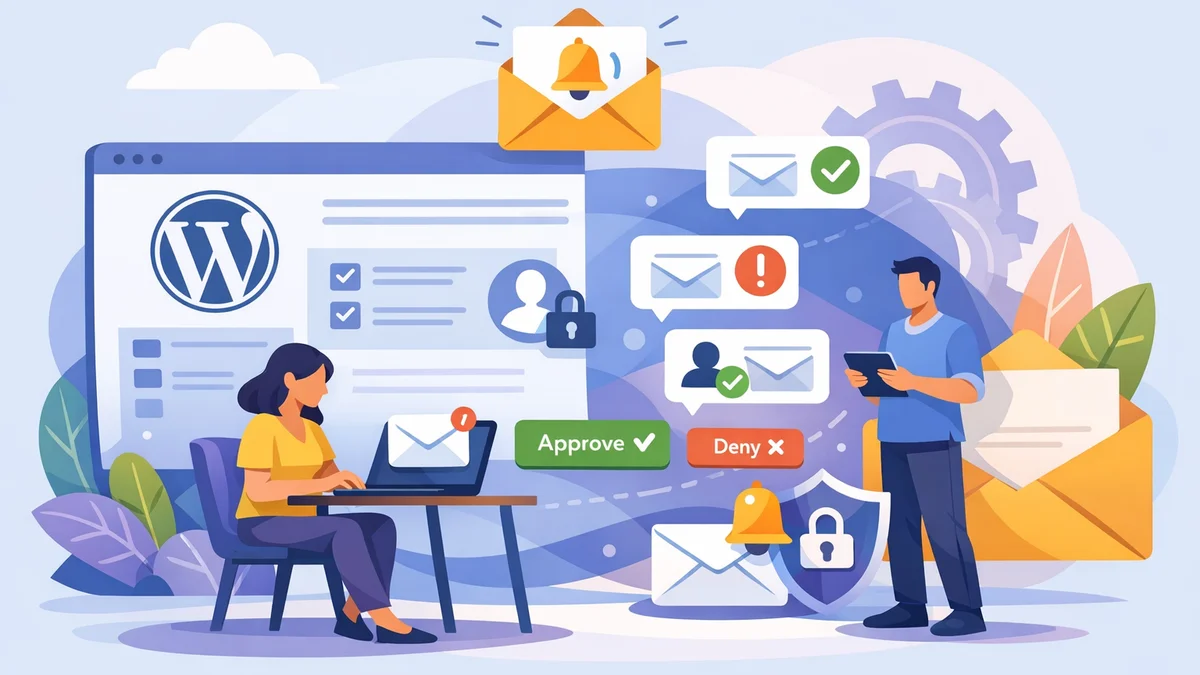
Crucially, Gatekeeper Pro's admin notification emails feature unique one-click Approve/Disapprove links. This means you don't have to log into your WordPress site to manage each request. You can simply click the appropriate link within the email, and Gatekeeper Pro handles the rest: approving the request, generating a secure access token, and sending an automatic email to the user with their personalised access link.
This "no login required" feature is a significant time-saver, particularly for busy small business owners or teams. It allows for quick, on-the-go management of content access, ensuring your valuable resources are distributed efficiently and securely.
Step-by-Step Guide: Setting Up Admin Notifications
Configuring admin notifications with WordPress Gatekeeper Pro is a simple process. Follow these steps to ensure you're always in the loop when new content access requests come in.
Step 1: Install and Activate WordPress Gatekeeper Pro
Before you can set up notifications, you need to have the Gatekeeper Pro plugin installed and activated on your WordPress site.
- Download the Plugin: Obtain the Gatekeeper Pro plugin files from your purchase source.
- Upload to WordPress: Log into your WordPress admin dashboard. Navigate to Plugins > Add New > Upload Plugin. Choose the downloaded .zip file and click "Install Now".
- Activate the Plugin: Once installed, click "Activate Plugin".
- Enter Licence Key: After activation, you'll be prompted to enter your licence key. This unlocks all the plugin's features and ensures you receive updates.
With the plugin active, you'll find a new "Gatekeeper Pro" menu item in your WordPress dashboard, ready for configuration.
Step 2: Enable Gated Content on Your WordPress Site
To generate an access request, you first need to "lock" some content. Gatekeeper Pro allows you to restrict access to posts, pages, custom post types, downloads, or videos with ease.
- Edit a Post or Page: Go to an existing post or page, or create a new one, that you wish to gate.
- Locate the "Gatekeeper Pro" Meta Box: On the edit screen, scroll down until you find the "Gatekeeper Pro" meta box.
- Tick the "Locked" Checkbox: Inside this meta box, simply tick the checkbox labelled "Locked". This action flags the content as restricted.
- Configure Content Type (Optional): If you're protecting a file or video, ensure you've uploaded or linked it within the Gatekeeper Pro settings for that specific post.
- Update/Publish: Save your changes by clicking "Update" or "Publish".
Now, when visitors attempt to access this content, they will be presented with an access request form, triggering the notification system once submitted.
Step 3: Configure Admin Notification Settings
The core of your admin notification setup lies within the Gatekeeper Pro settings. This is where you tell the plugin where to send alerts.
- Navigate to Gatekeeper Pro Settings: From your WordPress dashboard, go to Gatekeeper Pro > Settings.
- Select the "Emails" Tab: Within the settings interface, click on the "Emails" tab. This section manages all email communications for the plugin.
- Locate Admin Notifications: Scroll down to the "Admin Notifications" section. Here you'll find the specific settings for alerts about new access requests.
- Enable Admin Notification: Ensure the option for "Send Admin Notification" is checked. This ensures emails are sent when requests are submitted.
This tab is your central hub for customising all email-related aspects of your gated content strategy.
Step 4: Customise Admin Notification Recipients
By default, Gatekeeper Pro often sends notifications to the WordPress site's admin email address. However, you can specify one or more custom email addresses to ensure the right people receive these important alerts.
- Specify Recipient Emails: In the "Admin Notifications" section under the "Emails" tab, look for the "Admin Email Recipients" field.
- Enter Email Addresses: Enter the email address(es) that should receive the notifications. You can add multiple email addresses, separated by commas, to notify your entire team or relevant personnel. For example:
[email protected], [email protected], [email protected].
This flexibility ensures that whether it's the owner, a marketing manager, or a sales representative, the designated person is always aware of new access requests.
Step 5: Personalise the Admin Notification Email
While the default admin notification email is functional, personalising it can improve clarity and make it easier to process requests. You can customise the subject line and the body of the email.
- Customise Email Subject: In the "Admin Notification" settings, locate the "Admin Email Subject" field. You can use dynamic tags here. For example, change it from "New Content Access Request" to something more specific like
New Request for: {resource_title} from {requester_name}. - Edit Email Body Content: Below the subject, you'll find the "Admin Email Content" area. This is a rich text editor where you can craft the message.
- Utilise Template Tags: Gatekeeper Pro provides a range of template tags (like
{requester_name},{requester_email},{resource_title},{approve_link},{disapprove_link}) that dynamically insert request-specific information. Integrate these tags to create a detailed and actionable email. - Include Call-to-Action: Ensure the Approve and Disapprove links (e.g.,
{approve_link},{disapprove_link}) are clearly visible and accompanied by instructions, reminding you or your team about the one-click approval feature.
A well-crafted admin notification email can provide all the context needed for a quick decision without needing to log in or look up extra details.
Understanding Template Tags for Customisation
Template tags are placeholders that Gatekeeper Pro automatically replaces with real data when sending an email. They are incredibly powerful for personalising your communications. Common tags for admin notifications include:
{site_name}: Your WordPress site's title.{requester_name}: The name submitted by the user.{requester_email}: The email address of the user.{requester_phone}: The phone number (if collected).{requester_company}: The company name (if collected).{requester_location}: The location (if collected).{requester_message}: Any message the user included.{resource_title}: The title of the content requested.{resource_url}: The direct URL to the requested content.{request_date}: The date the request was submitted.{approve_link}: The unique link to approve the request with one click.{disapprove_link}: The unique link to disapprove the request with one click.{admin_dashboard_url}: A link to the Gatekeeper Pro admin dashboard for more detailed management.
By strategically placing these tags, your admin notifications can be incredibly informative and actionable.
Step 6: Test Your Notification System
The final and most critical step is to test your setup. This ensures that everything is working as expected and that notifications are reaching the correct inboxes.
- Submit a Test Request: Open an incognito browser window and visit one of your gated content pages. Fill out the access request form as if you were a visitor and submit it.
- Check Admin Inbox: Go to the email inbox(es) you specified in Step 4. You should receive an admin notification email shortly.
- Verify Content: Check that the email subject and body content are as you customised them, and that all dynamic information (like requester name, content title) is correctly populated.
- Test One-Click Links: Click both the "Approve" and "Disapprove" links within the email (you'll likely want to approve it for this test). Verify that the action is registered by checking the "Access Requests" tab in your Gatekeeper Pro dashboard.
- Check User Email: If you approved the request, check the email address used for the test request. You should receive the access approval email with the secure content link.
Testing helps catch any configuration errors before they impact your real users and ensures a smooth content access workflow.
Enhancing Your Email Communications with Branding
Beyond just notifying you, Gatekeeper Pro allows you to extend your brand's identity to all email communications, including admin notifications. Consistent branding reinforces professionalism and trust.
In the "Emails" tab of Gatekeeper Pro settings, you'll find a "Branding" section. Here, you can:
- Add a Logo: Upload your company logo. This will appear at the top of all emails sent by Gatekeeper Pro, instantly recognising your brand.
- Customise Colours: Adjust the primary and background colours of your email templates to match your website's colour scheme.
- Edit Footer Text: Personalise the footer with your company's contact information, copyright notice, or links to social media using template tags like
{site_name}and{site_url}.
While the admin notification emails are primarily for internal use, a consistent look and feel across all email types (admin, user confirmation, approval, expiry warnings) creates a cohesive and professional experience.
Best Practices for Managing Access Requests
Setting up your admin notifications is a great first step. To truly optimise your gated content strategy, consider these best practices:
- Assign a Dedicated Email: Use a specific email address (e.g.,
[email protected]) for receiving notifications, rather than a general inbox. This helps organise and prioritise requests. - Set Clear Expectations: If your approval process takes time, let users know on your request form. A simple message like "We'll review your request within 24 hours" manages expectations.
- Regularly Review Pending Requests: Even with one-click approvals, it's good practice to occasionally check the "Access Requests" tab in your Gatekeeper Pro dashboard to ensure no requests have been missed or are pending for too long.
- Automate Follow-Ups (Optional): While Gatekeeper Pro handles core emails, you might integrate with a CRM or email marketing tool for further automated follow-ups once a request is approved. (Note: Gatekeeper Pro does not directly integrate with CRMs but provides analytics and CSV export for manual integration.)
- Leverage Analytics: Use the analytics features within Gatekeeper Pro to understand which content is most popular and how quickly requests are being processed. This data can inform your content and marketing strategies.
Related Articles
Continue your learning with these related resources:
- How to Build a WordPress Resource Library with Restricted Content for Agencies (Comprehensive Guide)
- Styling Gated Content with CSS: BEM Classes, Overrides, and Theming for WordPress Developers
- Building Custom Gated Content Listing Pages with WP_Query and Gatekeeper Pro
- WordPress Template Tags for Gated Content: A Developer Reference
- How to Detect Locked Content and Show Custom Markup in Your WordPress Theme
- How to Build a Custom Gated Content Template in WordPress
Conclusion
Effectively managing access to your valuable WordPress content is simplified with a robust notification system. By setting up and customising admin email notifications using a plugin like WordPress Gatekeeper Pro, you ensure prompt responses, streamline your approval workflow, and maintain a professional image for your business.
The ability to receive instant alerts, review requester details, and even approve or disapprove requests with a single click directly from your email inbox transforms content access management from a potential bottleneck into an efficient, lead-nurturing process. Invest time in configuring these notifications properly, and you'll reap the benefits of a well-organised and responsive gated content strategy.