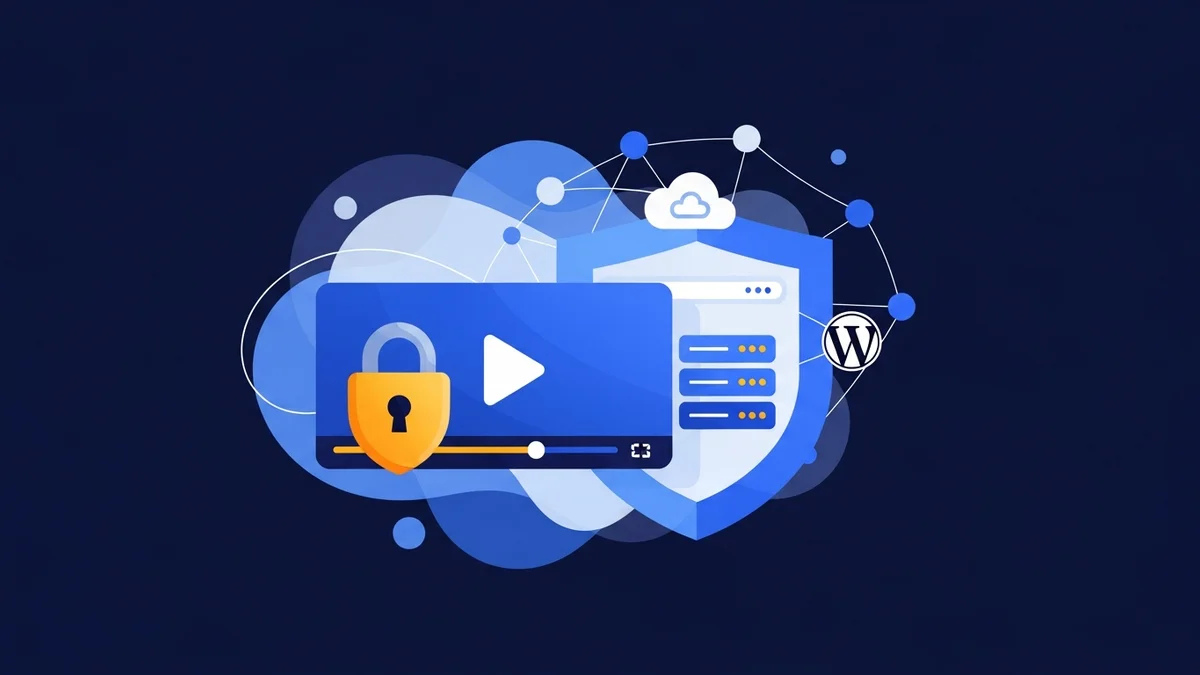
Introduction
In today's digital landscape, video content is a powerful tool for small businesses, whether for training, marketing, or delivering premium information. However, simply uploading videos publicly can expose your valuable assets to unauthorised viewing, undermining your efforts and intellectual property. Protecting this content is paramount.
This guide will walk you through the process of restricting video access on your WordPress site, ensuring that only approved individuals can view your valuable content. We'll explore practical steps to implement secure video streaming, deliver gated video content, and utilise features like video lightbox modals for a professional user experience.
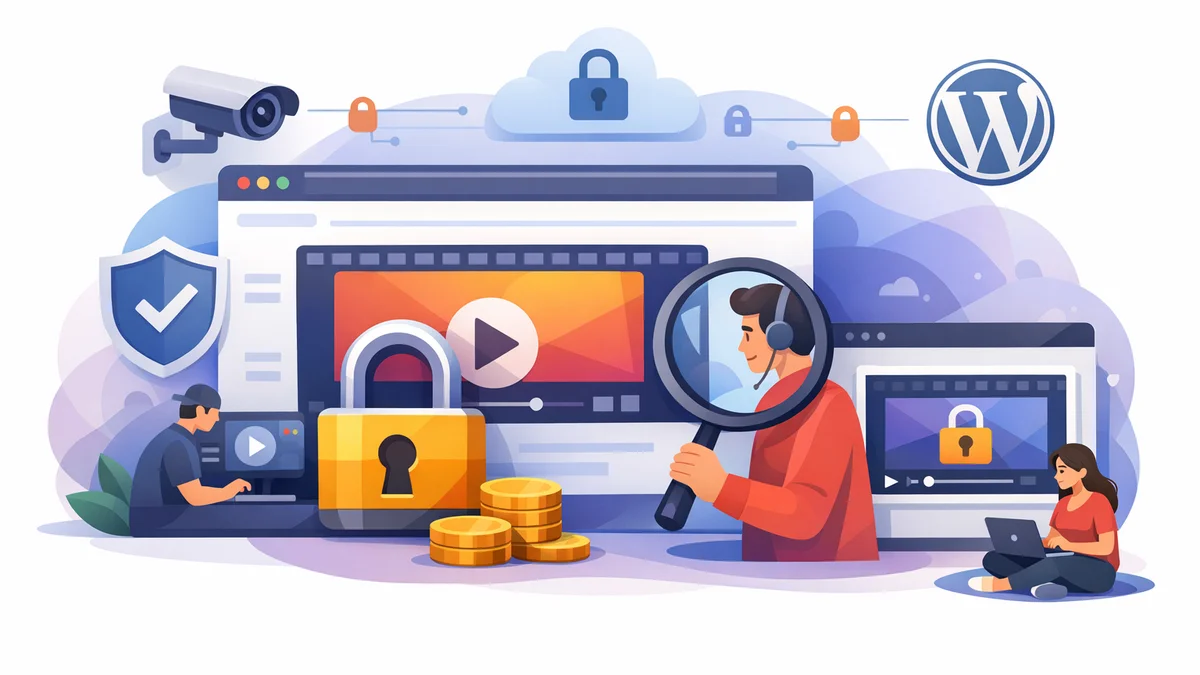
Why Restrict Video Access on Your WordPress Site?
Securing your video content isn't just about privacy; it's a strategic move for your business. When you restrict video access, you unlock several key benefits:
- Protect Intellectual Property: Keep your proprietary training materials, premium courses, or confidential client updates safe from public distribution.
- Monetise Content: Create exclusive, gated video experiences that can be part of a premium offering or membership strategy, supporting your revenue streams.
- Generate Leads: Offer valuable videos as an incentive for visitors to provide their contact information, helping you build an engaged audience.
- Enhance Credibility: Demonstrate professionalism and care for your content, building trust with your audience and clients.
- Ensure Compliance: For businesses dealing with sensitive information, restricting access helps maintain data privacy and regulatory compliance.
Understanding Video Restriction Methods for WordPress
Before diving into the steps, it's helpful to understand the core concepts behind restricting video access. Simply embedding a video from a public platform like YouTube or Vimeo, even if set to "unlisted," isn't truly secure. Savvy users can still find and share direct links.
For genuine security, you need a solution that controls access at the server level. This means storing videos in a protected area and only serving them to users who have been granted permission through a secure token or authentication process. This method prevents direct URL access and ensures your content remains exclusive.
Step-by-Step Guide: Restricting Video Access with WordPress Gatekeeper Pro
WordPress Gatekeeper Pro is designed specifically to help small business owners easily protect video content on WordPress without needing complex coding. It allows you to restrict access to videos, manage requests, and securely deliver content through a robust token-based system.
Step 1: Install and Activate WordPress Gatekeeper Pro
The first step is to get the plugin up and running on your WordPress site.
- Download the Plugin: Obtain the WordPress Gatekeeper Pro plugin file (a .zip file) from your purchase source.
- Upload and Install:
- Log in to your WordPress admin dashboard.
- Navigate to Plugins > Add New.
- Click the Upload Plugin button at the top of the page.
- Choose the downloaded .zip file and click Install Now.
- Activate the Plugin: Once installed, click Activate Plugin. You'll then be prompted to enter your license key to unlock all features.
After activation, Gatekeeper Pro will set up a dedicated "protected" directory within your WordPress uploads. This directory ensures your sensitive videos are stored securely, away from public access, with randomised filenames and .htaccess rules blocking direct access.
Step 2: Configure General Settings and Access Workflows
Before protecting your videos, it's a good idea to fine-tune the plugin's general settings to match your business needs.
- Access Settings: Go to Gatekeeper Pro > Settings in your WordPress dashboard.
- Review General Options:
- Protected Directory: Confirm the path to your secure video storage. Gatekeeper Pro handles this automatically, so you usually won't need to change it.
- Token Expiry (TTL): Decide how long access tokens should be valid (e.g., 24 hours, 30 days, or unlimited). For premium content, a limited time frame can encourage engagement.
- Rate Limiting: Configure how many times a user can access a video within a specific period (e.g., 5 times per hour) to prevent token sharing abuse.
- Customise Request Form Fields: Under the Access Requests tab, configure the fields visitors will see when requesting access (e.g., name, email, company, message). You can make fields required or optional.
- Email Customisation: Under the Emails tab, personalise the email templates for access requests, approvals, and expiry warnings to maintain your brand's voice and appearance. You can add your logo and adjust colours.
- Spam Protection: Consider enabling built-in spam protection or integrating Google reCAPTCHA v3 or Cloudflare Turnstile for your access request forms.
These settings lay the groundwork for a smooth and secure gated video experience for both you and your users.
Step 3: Upload and Protect Your Video Content
Now, let's protect video content on WordPress by marking it as restricted.
- Create or Edit a Post/Page: Navigate to the post, page, or custom post type where you want to embed your protected video. For example, create a new "Training Module" post.
- Upload Your Video: In the Gatekeeper Pro meta box (usually found below the main content editor or in the sidebar), use the "Upload Protected File" option.
- Gatekeeper Pro will handle the secure upload to its protected directory, assigning a randomised filename and ensuring it's not directly accessible.
- Alternatively, if your video is already in the Media Library, you can select it from there, and Gatekeeper Pro will automatically move and secure it.
- Mark as "Locked": Tick the "Locked" checkbox within the Gatekeeper Pro meta box for that post or page. This action tells the plugin that this content requires an access token to view.
- Assign File/Video: Ensure the video you just uploaded or selected is linked to this "locked" post. Gatekeeper Pro's interface makes this straightforward.
Once saved, this video is now inaccessible via direct URL. Gatekeeper Pro streams the video through a secure proxy endpoint, validating the user's token before any content is served.
Step 4: Display Your Gated Video on Your Site
Gatekeeper Pro offers flexible ways to display your protected video, whether directly embedded or through an attractive lightbox modal.
Displaying Videos Inline
For a direct embed on a dedicated page, use the plugin's shortcode or Elementor widget.
- Using Shortcodes (for Gutenberg, Classic Editor, or other builders):
- Place the
[gatekeeper_video id="YOUR_POST_ID"]shortcode in your post content. ReplaceYOUR_POST_IDwith the ID of the post where your video is attached. - When a user has an approved token, the video player will appear directly on the page. If they don't, they'll see the access request form instead.
- Place the
- Using Elementor Widgets:
- If you use Elementor, drag and drop the "Gated Video" widget onto your page.
- In the widget settings, select the post or page containing your protected video. The widget will automatically display the gated video player or the access request form based on the user's access status.
Using a Video Lightbox Modal
A video lightbox modal is perfect for displaying a video preview or a "watch now" button on a listing page, then opening the full video in a pop-up window. This creates a clean, professional user experience.
- On a Listing Page (e.g., "Our Courses"):
- Create a "Resource Card" for your video using the
[gatekeeper_resource_card id="YOUR_POST_ID"]shortcode or the dedicated Elementor "Resource Card" widget. - Ensure the resource card is configured to open the video in a lightbox. Gatekeeper Pro's built-in video lightbox modal ensures no external dependencies.
- This card will display a thumbnail, title, and a lock overlay (if the user doesn't have access). Clicking it will either open the request form (if locked) or the video in a lightbox (if unlocked).
- Create a "Resource Card" for your video using the
- On a Single Post/Page:
- You can also use the lightbox feature on a single page if you prefer the video to appear in a modal rather than inline. The shortcode or widget settings will have an option to enable "Lightbox Mode."
The combination of inline players and lightbox modals allows you to control the user journey and presentation of your wordpress gated video content effectively.
Step 5: Manage Access Requests and Grant Permissions
Once your videos are gated, visitors will begin submitting access requests. Gatekeeper Pro streamlines this process.
- Visitor Submits Request: When a user tries to access a locked video, they'll see the access request form (either inline or within a lightbox). They fill it out and submit it.
- Admin Notification: You, as the administrator, will receive an email notification about the new request. This email includes direct links to Approve or Disapprove the request.
- One-Click Approval: You can approve or disapprove directly from the email link without logging into your WordPress dashboard, saving you time.
- User Receives Secure Link: If approved, the user automatically receives an email with a secure, time-limited access link (token). This token grants them permission to view the restricted video.
- Managing Tokens:
- From your WordPress dashboard, go to Gatekeeper Pro > Tokens. Here you can view all active, expired, or revoked tokens.
- You can set tokens to be per-item mode (unlocks only one specific video) or sitewide mode (unlocks all locked content), depending on your content strategy.
- If a user's token is nearing expiry, Gatekeeper Pro can send an automatic expiry warning email, prompting them to re-request access if needed.
This robust workflow ensures that only authorised users can engage with your wordpress secure video streaming content, creating an audit trail of who accessed what and when.
Step 6: Monitor and Analyse Video Access
Understanding how users interact with your gated video content is valuable for refining your strategy.
- Access the Dashboard: Navigate to Gatekeeper Pro > Analytics in your WordPress dashboard.
- Review Activity: This section provides insights into access patterns, successful requests, and token usage.
- Export Data: You can export this data as a CSV file for further analysis in your preferred spreadsheet software. This helps you track leads generated and understand content popularity.
By monitoring these metrics, you can refine your content strategy, identify popular videos, and better understand your audience's needs.
Best Practices for Secure Video Streaming on WordPress
Beyond the technical implementation, consider these best practices to maximise your video content security:
- Regularly Review Access: Periodically check approved requests and token statuses to ensure only current, authorised individuals have access.
- Educate Users: Inform users about the value of your content and the importance of not sharing their secure access links.
- Use Strong Passwords: Ensure your WordPress admin accounts and any video hosting platforms use strong, unique passwords.
- Keep Software Updated: Regularly update WordPress, your theme, and all plugins, especially security-focused ones like Gatekeeper Pro, to protect against vulnerabilities.
- Consider Content Value: Assess the sensitivity and value of each video. More critical content might warrant shorter token expiry times or more stringent approval processes.
Related Articles
Continue your learning with these related resources:
- How to Protect and Restrict Content on WordPress: The Complete Guide (Comprehensive Guide)
- How to Export Content Access Data as CSV From WordPress
- How Long Should You Keep Content Access Logs on WordPress?
- How to Track Who Downloads Files on Your WordPress Site
- WordPress Content Access Analytics: What to Track and Why It Matters for Agencies
- Unleashing the Power of Access Request Data for Lead Qualification on Your WordPress Site
Conclusion
Restricting video access on your WordPress site is a vital step for any small business looking to protect valuable content, generate leads, and maintain professional credibility. By leveraging a powerful tool like WordPress Gatekeeper Pro, you can easily implement wordpress gated video and secure video streaming without technical headaches.
From protecting your intellectual property to delivering a seamless user experience with a wordpress video lightbox modal, the ability to control who sees your videos empowers you to manage your digital assets effectively. Start securing your video content today and unlock its full potential for your business.