Introduction
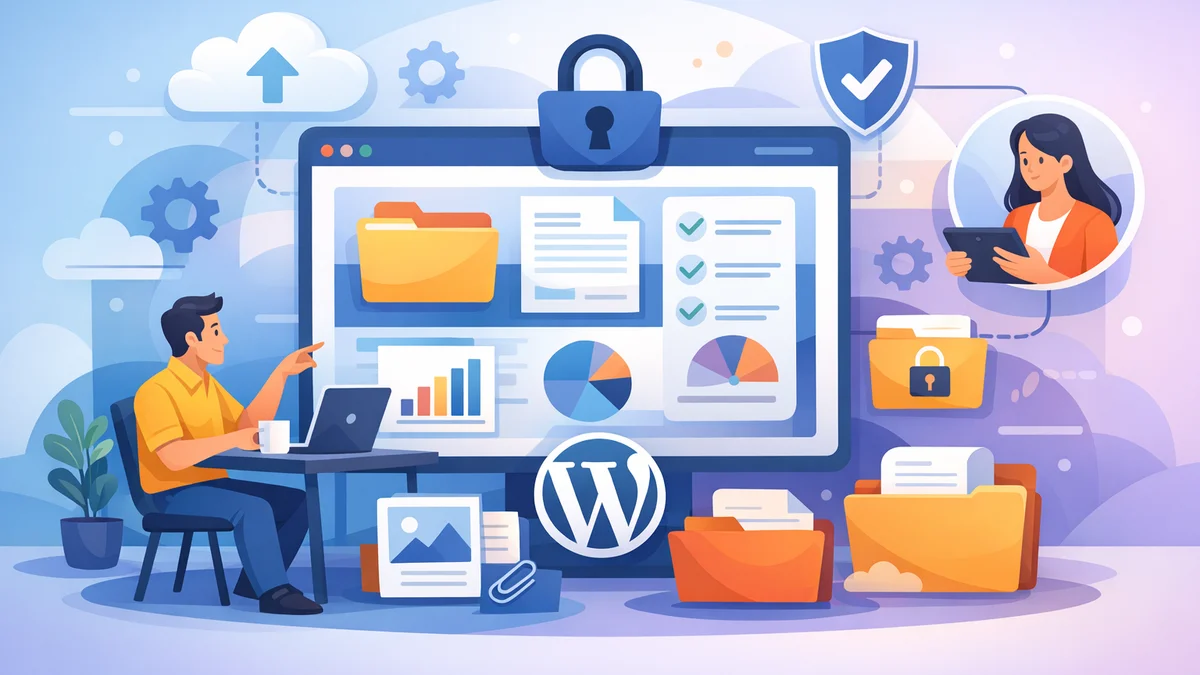
As a small business, you often need to share important documents, training materials, or exclusive resources with your partners, vendors, or key clients. However, simply uploading these files to your website for public access isn't secure or professional. You need a way to ensure only authorised individuals can view or download specific content.
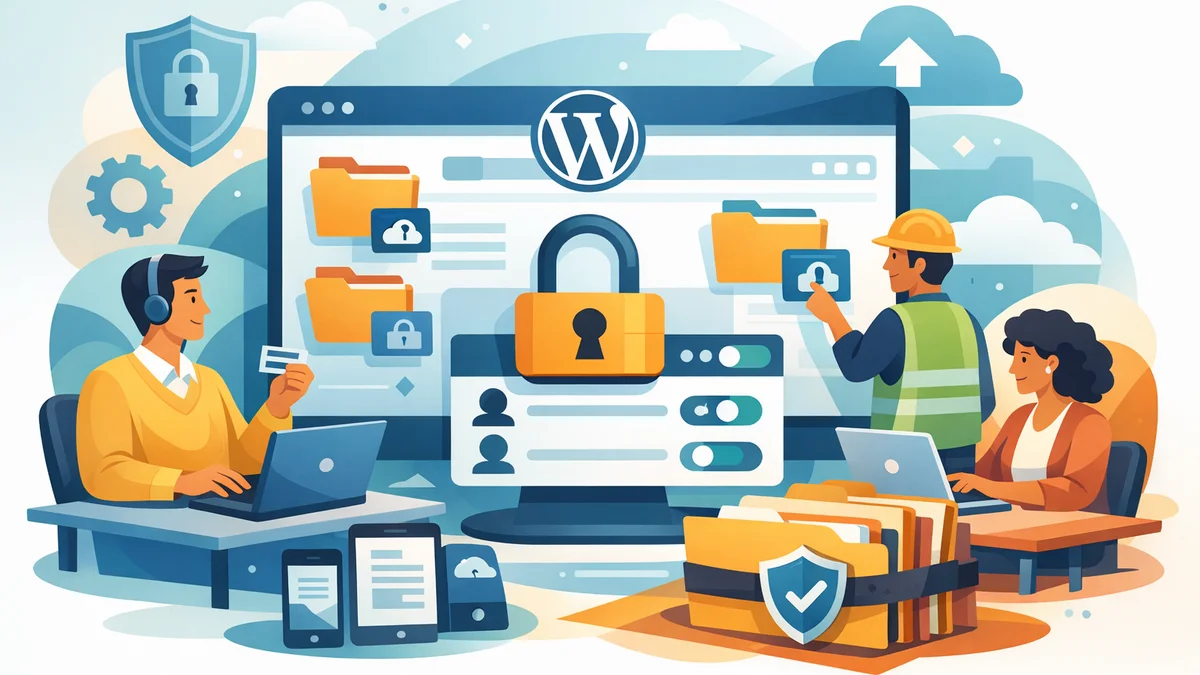
Building a dedicated wordpress client portal or wordpress partner resource portal allows you to maintain control over who sees what. This not only protects sensitive information but also enhances your professional image and streamlines communication. Imagine a central hub where your partners can securely access everything they need, without needing a full WordPress login.
Why Controlled Access is Essential for Business Relationships
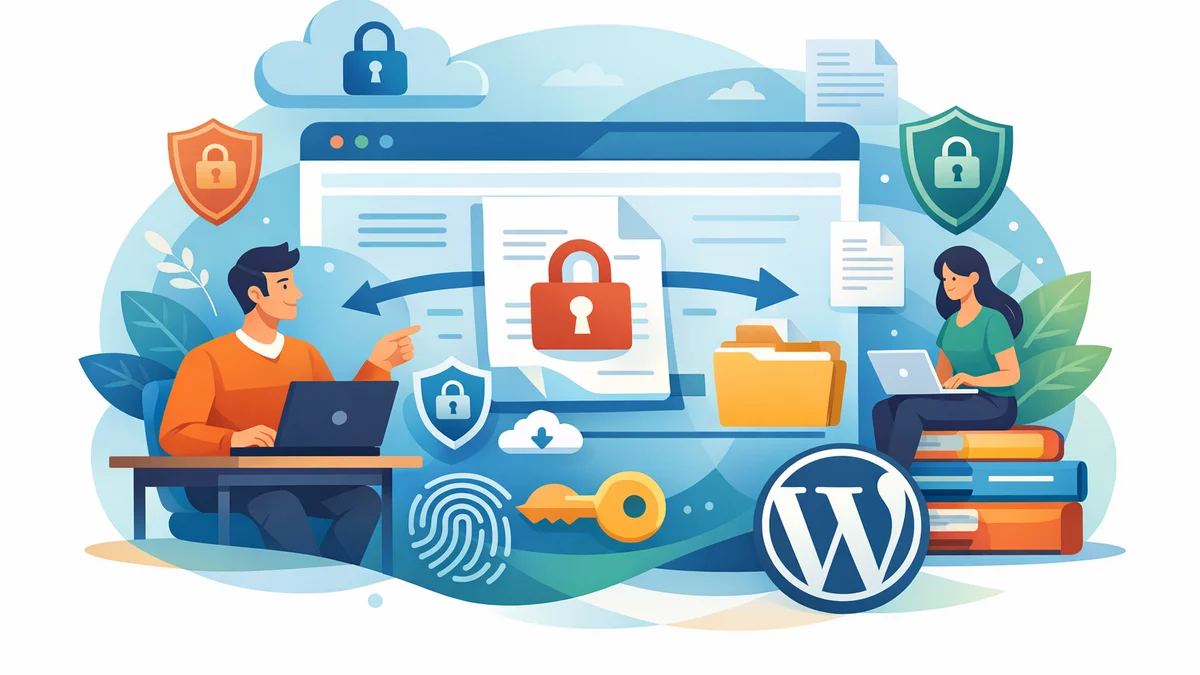
Sharing resources effectively with your network is vital, but so is maintaining security and organisation. Uncontrolled access can lead to several risks and inefficiencies:
- Data Breaches: Sensitive pricing lists, proprietary data, or client information could fall into the wrong hands.
- Version Control Issues: Partners might access outdated documents, leading to confusion or errors.
- Brand Inconsistency: Sending files via email or generic cloud links lacks a professional, branded experience.
- Operational Inefficiency: Constantly responding to requests for specific documents wastes valuable time for both your team and your partners.
By creating a secure wordpress document sharing portal, you can avoid these pitfalls, ensuring your partners and vendors always have access to the correct, up-to-date information in a controlled environment.
Leveraging WordPress for Your Partner Resource Portal
WordPress is a powerful and flexible platform, making it an excellent foundation for a custom wordpress client portal. While WordPress itself doesn't offer granular content restriction out-of-the-box, plugins can extend its functionality to create sophisticated, secure environments for your partners. This approach means you don't need to invest in complex, expensive custom software.
The key is finding a solution that allows you to easily mark content as restricted, manage access requests, and securely deliver resources without requiring your partners to create WordPress user accounts or navigate a complex backend. This is where a plugin like WordPress Gatekeeper Pro shines, simplifying the process of creating a secure wordpress partner resource portal.
Step-by-Step Guide: Building Your WordPress Partner Resource Portal with Gatekeeper Pro
Here’s how you can set up a secure, dedicated resource portal for your partners and vendors using WordPress Gatekeeper Pro. This process focuses on ease of use, security, and a professional user experience.
Step 1: Install and Activate Gatekeeper Pro
First, you'll need to install the Gatekeeper Pro plugin on your WordPress website. This is a standard WordPress plugin installation process:
- Log in to your WordPress admin dashboard.
- Navigate to Plugins > Add New.
- Click Upload Plugin, choose the Gatekeeper Pro zip file you downloaded, and click Install Now.
- Once installed, click Activate Plugin.
After activation, a new "Gatekeeper Pro" menu item will appear in your WordPress dashboard, providing access to all its settings and features.
Step 2: Configure Global Settings for Your Portal
Before you start locking content, it's wise to review Gatekeeper Pro's global settings. These settings define how your entire wordpress document sharing portal will operate:
- Go to Gatekeeper Pro > Settings in your WordPress dashboard.
- Unlock Mode: Decide if you want "Per-Item" tokens (each approval grants access to one specific resource) or "Sitewide" tokens (one approval grants access to all locked content). For a partner portal with multiple resources, sitewide mode can simplify access for your approved partners.
- Token TTL (Time-to-Live): Set a default expiry for access tokens. You might choose 0 for unlimited access for trusted partners, or a specific period like 365 days for annual reviews.
- Email Branding: Customise the emails sent to requesters and approved users with your logo and brand colours. This ensures a consistent, professional experience for your partners.
- Spam Protection: Enable native spam protection, Google reCAPTCHA v3, or Cloudflare Turnstile for your request forms to prevent bots.
These initial configurations lay the groundwork for a secure and branded wordpress client portal.
Step 3: Create or Identify Content for Restriction
Now, determine what content you want to make exclusive to your partners and vendors. This could include:
- Dedicated Pages: Create pages for "Partner Onboarding Guide," "Vendor Agreements," or "Exclusive Price Lists."
- Custom Post Types: If you have custom post types for "Resources" or "Knowledge Base Articles," these can also be protected.
- Media Files: Upload PDFs, images, or videos directly to your WordPress media library, which you'll later attach to locked content.
Think about how you want to organise your content. For a wordpress partner resource portal, grouping related documents on specific pages or custom post types is often best.
Step 4: Lock Down Your Resources
With your content ready, it's time to restrict access using Gatekeeper Pro. This is a straightforward process for any post, page, or custom post type:
- Edit the post, page, or custom post type you wish to lock (e.g., your "Partner Onboarding Guide" page).
- In the editor, locate the "Gatekeeper Pro" meta box (usually on the right sidebar or below the main content area).
- Tick the "Locked" checkbox.
- Attach Files/Videos: If this content involves a download or video, use the "Protected File" or "Protected Video" field to select a file from your media library. Gatekeeper Pro automatically secures these files in a protected directory, making direct URL access impossible.
Once saved, this content is now gated. Visitors will see a request form instead of the content, ensuring you can share confidential documents wordpress-wide with confidence.
Step 5: Implement the Access Request Form
For visitors to request access to your locked content, you need to display the access request form. Gatekeeper Pro provides an easy way to do this:
- On any locked page or post, the default behaviour is to replace the content with the request form.
- Alternatively, you can manually place the request form using the
[request_form]shortcode or the dedicated Elementor widget. This is useful if you want to have the form on a different page, or embed it alongside other content. - Customise Form Fields: Go to Gatekeeper Pro > Settings > Form Fields to configure which fields appear (Name, Email, Phone, Company, Location, Message), make them required, or reorder them. This allows you to collect specific information from your partners.
When a visitor fills out this form, an access request is submitted, initiating the approval workflow for your wordpress agency client portal.
Step 6: Managing Access Requests and Approvals
Once requests start coming in, Gatekeeper Pro simplifies the management process:
- Admin Notifications: You'll receive an email notification for each new access request.
- One-Click Approval: Crucially, these emails contain special links that allow you to Approve or Disapprove the request directly from your inbox, without needing to log into your WordPress dashboard.
- Dashboard Management: For a complete overview, navigate to Gatekeeper Pro > Access Requests in your WordPress admin. Here, you can see all pending, approved, and disapproved requests, perform bulk actions, and view details.
- Automatic Token Delivery: Upon approval, Gatekeeper Pro automatically sends an email to the requester with a secure, time-limited access link (a "token") to the locked resource(s).
This streamlined approval process makes managing your wordpress client portal efficient and user-friendly for both you and your partners.
Step 7: Presenting Your Portal Resources (Optional but Recommended)
To make your wordpress partner resource portal truly effective, consider creating a dedicated "Partners" or "Vendors" section on your website where approved users can easily find all available resources. You can use Gatekeeper Pro's "Resource Card" feature for a polished display:
- Create a new page, perhaps titled "Partner Resources Dashboard."
- Use the
[resource_card id="X"]shortcode (where X is the ID of your locked post/page) or the Elementor "Resource Card" widget to display attractive cards for each gated resource. These cards show a thumbnail, title, description, and a lock overlay, which changes to an "Access" button once a user is approved. - This provides an organised, visually appealing gateway to all your protected content.
This approach enhances the user experience, making your wordpress client portal feel professional and intuitive.
Step 8: Monitor and Maintain Your Partner Portal
Regular monitoring ensures your portal remains effective and secure:
- Analytics: The Gatekeeper Pro dashboard provides analytics on token usage and access patterns. This helps you understand which resources are most popular and who is accessing them.
- Token Expiry: For tokens with a set TTL, Gatekeeper Pro automatically sends expiry warning emails to users, prompting them to request renewal if needed.
- Revoke Access: If a partnership ends or access needs to be terminated, you can easily revoke active tokens from the "Tokens" tab in the Gatekeeper Pro dashboard.
Ongoing maintenance ensures the security and relevance of your wordpress partner resource portal over time.
Benefits of a Dedicated WordPress Partner Resource Portal
Implementing a controlled access system for your partners and vendors offers significant advantages for your small business:
- Enhanced Security: Protect sensitive information by ensuring only approved parties can access specific documents and resources. Gatekeeper Pro's secure file handling minimises risks.
- Professional Branding: Offer a seamless, branded experience to your partners, reinforcing your company's professionalism. No more generic file-sharing links.
- Streamlined Operations: Automate access requests and approvals, reducing manual administrative tasks for your team. This frees up time for more strategic work.
- Improved Partner Experience: Provide a single, easy-to-navigate hub where partners can find everything they need, improving their efficiency and satisfaction.
- Audit Trail: Keep a record of who requested access and who was approved, providing valuable insights and accountability.
A well-implemented wordpress agency client portal or partner portal becomes a valuable asset, strengthening your business relationships and operational efficiency.
Related Articles
Continue your learning with these related resources:
- Gated Content on WordPress: When to Restrict Access and How to Do It Right (Comprehensive Guide)
- Revoking and Expiring Access Tokens on WordPress: When and How for Scaled Content
- Mastering Your WordPress Content Access: A Comprehensive Audit Guide
- How to Manage WordPress Access Requests in Bulk for Gated Content
- Sitewide vs. Per-Item Access: Choosing Your WordPress Token Strategy
- Keeping Your WordPress Resource Library Secure as Traffic Grows
Conclusion
Providing controlled access to your WordPress resources for partners and vendors is no longer a complex undertaking. By utilising a powerful plugin like WordPress Gatekeeper Pro, small businesses can easily establish a secure, professional, and efficient wordpress partner resource portal.
From locking down confidential documents to managing access requests with a few clicks, this approach empowers you to share confidential documents wordpress-wide with confidence. Invest in a dedicated solution to protect your data, streamline your operations, and foster stronger, more professional relationships with your entire business network.