Introduction
In today's digital landscape, many small businesses use their WordPress websites to distribute valuable content – think whitepapers, e-books, exclusive reports, or client-specific documents. While sharing is crucial, sometimes you need to control who gets access. Perhaps you want to generate leads, protect proprietary information, or ensure only paying clients can view certain files.
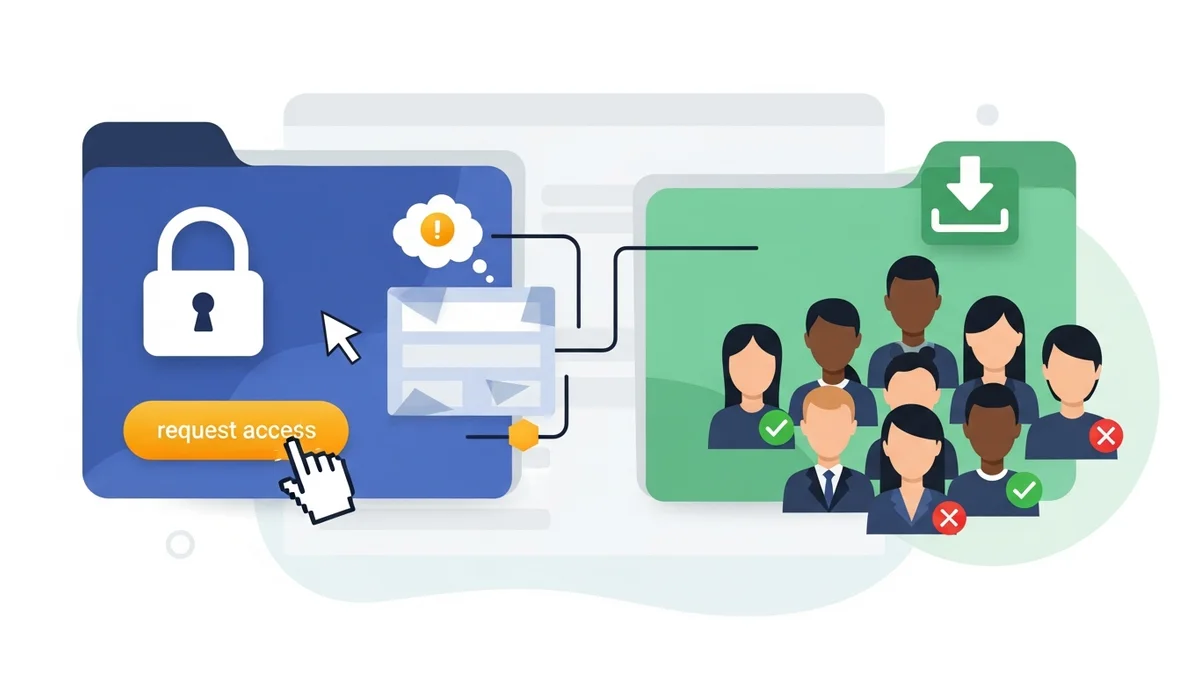
Simply uploading a file can leave it publicly accessible, which isn't ideal for gated content. What's needed is a system that allows visitors to request access, an easy way for you to approve or deny those requests, and a secure method to deliver the content once approved. This article will guide you through setting up such a system on your WordPress site, focussing on a straightforward, code-free approach.
Why Control Content Access with a Request Workflow?
Implementing a wordpress access request form before content download offers several strategic advantages for your business:
- Lead Generation and Qualification: Gating high-value content behind a request form is a powerful way to capture potential leads. When someone fills out a form to download your content, you gain valuable contact information and insight into their interests. This allows your sales or marketing team to follow up with qualified prospects.
- Protecting Proprietary Information: If you're sharing confidential documents, training materials, or internal resources, an approval workflow ensures that only authorised individuals can access them. This is crucial for maintaining security and exclusivity.
- Building Exclusivity and Value: When content requires a special request and approval, it immediately elevates its perceived value. This creates a sense of exclusivity for your audience, reinforcing that they are accessing something premium or bespoke.
- Compliance and Audit Trails: For businesses in regulated industries, knowing exactly who accessed what content and when can be vital for compliance. A robust system provides an audit trail of all access requests and approvals.
- Enhanced Client Management: Agencies or consultants can use this method to securely share client-specific reports, project updates, or draft documents. Clients request access, you approve, and they receive a secure link – keeping sensitive information private.
Instead of relying on complex membership plugins or custom coding, a dedicated solution can streamline this entire content approval workflow wordpress process.
Introducing WordPress Gatekeeper Pro
WordPress Gatekeeper Pro is a plugin designed specifically to simplify the process of restricting content access and managing requests. It allows you to lock downloads, videos, pages, or any post type, then provides a built-in workflow for visitors to request access and for you to approve them. Once approved, users receive a secure, time-limited link to the content, all without needing to log in to your WordPress site.
This solution eliminates the need for complex setups, allowing small business owners to focus on their content and their audience, not technical headaches. It handles the secure file storage, the request forms, the email notifications, and the secure delivery of your protected assets.
Step-by-Step Guide: Implementing Content Access Requests
Let's walk through how you can set up an approve access request wordpress system using WordPress Gatekeeper Pro.
1. Installation and Initial Setup
First, you'll need to install and activate the WordPress Gatekeeper Pro plugin. This follows the standard WordPress plugin installation process:
- Download the Plugin: Obtain the plugin file from your purchase source.
- Upload and Install: From your WordPress dashboard, navigate to Plugins > Add New > Upload Plugin. Choose the downloaded zip file and click 'Install Now'.
- Activate the Plugin: Once installed, click 'Activate Plugin'.
- Licence Activation: Go to Gatekeeper Pro > Settings > Licence and enter your licence key to activate it and receive updates.
- Configure General Settings: Head to Gatekeeper Pro > Settings > General. Here, you can configure crucial defaults like the sender email address for notifications, email branding (logo, colours), and the default token Time-To-Live (TTL). The TTL determines how long an approved user's access link remains valid. You can also specify the recipient email address for new access request notifications.
Taking a few moments to set up your email branding will ensure all automated emails, from request confirmations to access links, align with your business identity.
2. Designating Content as "Locked"
Now, let's protect the content you want to gate. Gatekeeper Pro works with any public post type on your WordPress site – posts, pages, custom post types, and even WooCommerce products.
- Edit Your Content: Navigate to the post, page, or custom post type you wish to protect.
- Locate the Gatekeeper Pro Meta Box: On the edit screen, scroll down until you find the "Gatekeeper Pro" meta box (often on the right sidebar or below the content editor, depending on your setup).
- Mark as "Locked": Tick the "Locked" checkbox. This immediately tells Gatekeeper Pro to restrict access to this content.
- Attach Your Protected File or Video:
- If you're gating a downloadable file (like a PDF or ZIP), use the "Protected File" field within the meta box to upload or select the file from your media library. Gatekeeper Pro automatically stores these files in a secure `protected directory` with randomised filenames, preventing direct URL access.
- For videos, you can use the "Protected Video" field, uploading an MP4 or providing a URL to a video file. The plugin will stream this through a secure `proxy endpoint` once access is granted.
- Configure Access Options (Optional): You can override the global token TTL for this specific piece of content, setting it to unlimited, a custom number of days, or using the default. You can also choose between "Per-Item Mode" (token only unlocks this specific resource) or "Sitewide Mode" (token unlocks all gated content).
Once you update or publish the content, it will no longer be publicly accessible without an approved `token`.
3. Displaying the Access Request Form
With your content locked, visitors need a way to request access. Gatekeeper Pro provides a native AJAX-powered wordpress content request form that's easy to embed.
- Choose Your Display Method:
- Shortcode: The simplest way is to use the `[gk_request_form]` shortcode directly within your page or post content. You can place this on the same page as your locked content, or on a dedicated "Request Access" page.
- Elementor Widget: If you use Elementor, there's a dedicated "Request Form" widget. Drag and drop it onto your canvas.
- Resource Card: The `[gk_resource_card]` shortcode or "Resource Card" Elementor widget automatically displays a thumbnail, title, description, and an action button. When clicked, this button can either directly open the request form or take the user to a page where the form is embedded.
- Configure Form Fields: Go to Gatekeeper Pro > Settings > Forms. Here, you can customise the native request form fields. You can choose which fields are visible (e.g., Name, Email, Phone, Company, Location, Message), mark them as required, set custom labels, and even reorder them using drag-and-drop. This helps you collect the specific information you need to qualify your leads.
- Spam Protection: Gatekeeper Pro includes native spam protection (honeypot, time-based, duplicate checks) and optional integration with Google reCAPTCHA v3 or Cloudflare Turnstile, ensuring you receive genuine requests.
When a visitor navigates to your locked content, they will see the access request form (or a resource card prompting them to request access) instead of the content itself. The form is designed for a smooth user experience, typically submitting without a page reload.
4. The Admin Approval Process
This is where the content approval workflow wordpress truly shines. Once a visitor submits a request, you'll be notified, and you can approve or disapprove with ease.
- Email Notification: As an administrator, you'll receive an email notification when a new access request is submitted. This email includes all the details provided by the requester.
- One-Click Approval/Disapproval: Critically, the email contains special `admin token` links. You can click "Approve Request" or "Disapprove Request" directly from your email client. You do not need to log into your WordPress dashboard to action the request. This is a massive time-saver for busy business owners.
- Dashboard Management: For a more comprehensive overview, you can log into your WordPress dashboard and go to Gatekeeper Pro > Access Requests. Here, you'll see a list of all requests with their status (Pending, Approved, Disapproved, Trashed). You can review details, manually change statuses, or use bulk actions for multiple requests.
This streamlined process ensures that you can respond to requests promptly, keeping your potential clients or partners engaged.
5. User Access and Secure Delivery
Once you approve a request, Gatekeeper Pro automatically handles the secure delivery of your content to the requester.
- Automatic Approval Email: The approved user will immediately receive an email containing a secure, time-limited access link to the gated content. This link includes a cryptographically signed `token` that validates their access.
- Secure Content Access: When the user clicks the link, Gatekeeper Pro's `proxy endpoint` validates the token before serving the file or streaming the video. This prevents direct linking or unauthorised sharing.
- Token Expiry: The access link will expire after the set TTL (Time-To-Live). This could be 24 hours, 30 days, or unlimited, depending on your configuration. Gatekeeper Pro can also send automatic expiry warning emails 24 hours before a token expires, prompting users to re-request if needed.
- Rate Limiting: To prevent link-sharing abuse, Gatekeeper Pro includes a configurable `rate limiter`. This limits how many times a single token can be used within an hour, adding another layer of security.
This robust system ensures that your valuable content is delivered securely and under your control, without requiring users to create accounts or log in.
6. Managing Requests and Monitoring Access
Gatekeeper Pro provides a comprehensive admin dashboard to help you manage your gated content and track access patterns.
- Access Requests Dashboard: Under Gatekeeper Pro > Access Requests, you can view all pending, approved, disapproved, and trashed requests. This allows you to easily find specific requests, review user details, and manage their status. You can search, filter, and export this data as a CSV for use in your CRM or marketing efforts.
- Tokens Dashboard: The Gatekeeper Pro > Tokens tab shows all active, expired, and revoked access tokens. This gives you oversight into who has access and when their access will expire. You can manually revoke tokens if necessary.
- Analytics: The Gatekeeper Pro > Analytics section provides insights into content access, showing you which resources are most popular and who is accessing them. This data can inform your content strategy and lead qualification.
The admin dashboard gives you complete control and visibility over your content distribution, allowing you to effectively approve access request wordpress submissions and monitor engagement.
Practical Applications for Your Business
Here are a few real-world scenarios where requiring an access request before download can significantly benefit your small business:
- Professional Services Firms: Gate whitepapers, industry reports, or case studies. Visitors fill out the wordpress access request form, and once approved, they receive a secure link to the valuable content. This helps capture qualified leads for consulting, accounting, or legal services.
- Agencies and Consultants: Create a secure client portal for sharing project briefs, design mock-ups, or confidential reports. You can protect these documents on a custom post type, and clients request access. You approve, and they get an unlimited `sitewide token` for all their project resources.
- Training and E-learning Platforms: Offer premium video lessons or downloadable course materials that require approval. A training company might offer a free introductory video with
Related Articles
Continue your learning with these related resources:
- How to Protect and Restrict Content on WordPress: The Complete Guide (Comprehensive Guide)
- How to Export Content Access Data as CSV From WordPress
- How Long Should You Keep Content Access Logs on WordPress?
- How to Track Who Downloads Files on Your WordPress Site
- WordPress Content Access Analytics: What to Track and Why It Matters for Agencies
- Unleashing the Power of Access Request Data for Lead Qualification on Your WordPress Site