Introduction
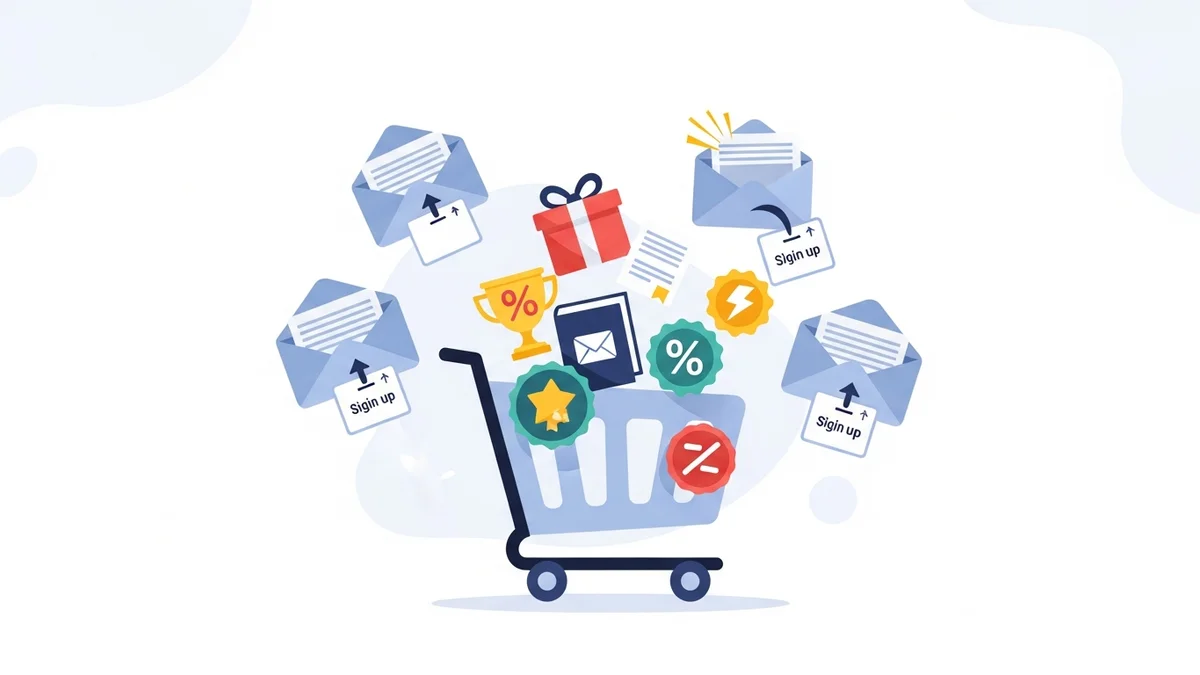
Launching a new WooCommerce store is an exciting venture, but simply opening your digital doors and hoping for sales often isn't enough. To truly hit the ground running, you need to generate excitement and an audience before you even launch. This is where a pre-launch email list becomes your most valuable asset.
A pre-launch email list allows you to connect with potential customers, build anticipation for your products, and gather valuable insights even before your store goes live. Think of it as cultivating your first group of loyal fans who are eager to be among your very first customers. This guide will walk you through the essential steps to build a powerful pre-launch email list for your new WooCommerce store.
Why a Pre-Launch Email List is Crucial for Your WooCommerce Store
Before diving into the "how," let's understand the "why." A pre-launch email list offers several significant advantages that can set your new WooCommerce store up for success.
- Build Anticipation: Generate buzz and excitement around your upcoming store and products. Subscribers will feel like they're part of something exclusive.
- Secure Early Customers: Your email list will be the first to know when your store launches, making them prime candidates for your initial sales. These early purchases can provide crucial momentum.
- Gather Valuable Feedback: Engage with your subscribers by asking about product preferences, pricing expectations, or even naming ideas. This feedback can help you fine-tune your offerings before launch.
- Test Marketing Messages: Experiment with different product descriptions, value propositions, and calls to action in your pre-launch emails. This helps you discover what resonates best with your audience.
- Drive Traffic from Day One: Instead of waiting for search engines to index your site, you'll have a direct channel to invite engaged prospects to your store the moment it opens.
- Establish Credibility: A growing list of interested individuals shows confidence in your brand and products, making your official launch feel more impactful.
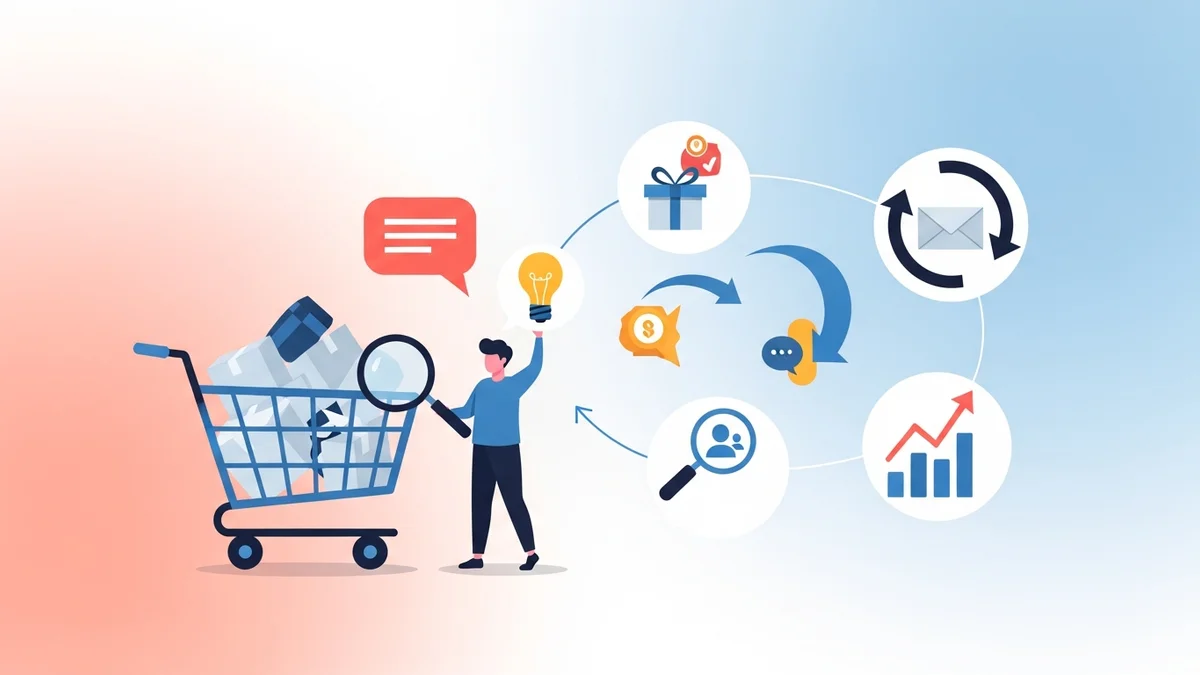
Key Components of Your Pre-Launch Strategy
To effectively build your pre-launch email list, you'll need a few essential tools and a clear plan. These components work together to attract, capture, and nurture your potential customers.
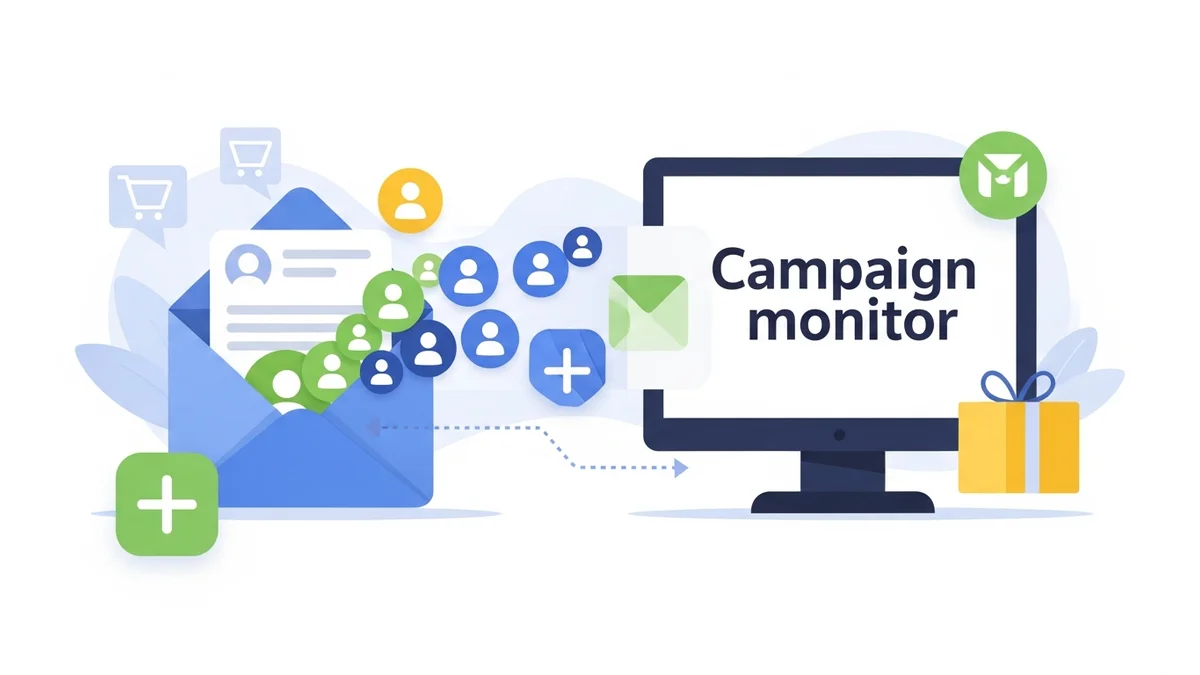
- Email Service Provider (ESP): This is the backbone of your email marketing efforts. An ESP like Campaign Monitor helps you manage your subscriber list, design opt-in forms, and send professional emails.
- Dedicated Landing Page: A standalone web page designed with one goal: to get visitors to sign up for your email list. It should be simple, compelling, and free of distractions.
- Irresistible Incentive: People need a good reason to give you their email address. Offering something valuable in exchange for their sign-up is key.
- Promotion Channels: Strategies to get your landing page in front of as many potential customers as possible.
Step-by-Step Guide to Building Your Pre-Launch Email List
Now, let's break down the process into actionable steps you can follow to build your pre-launch email list.
Step 1: Choose Your Email Service Provider (ESP)
Your ESP is where you'll store subscriber information, create email campaigns, and track their performance. Many options are available, and most offer free tiers or trials to get started.
How to do it:
- Research Options: Look for ESPs that are user-friendly for beginners and offer good integration potential with WooCommerce down the line. Popular choices include Campaign Monitor, Mailchimp, ConvertKit, and Constant Contact.
- Sign Up and Get Familiar: Create an account. Spend some time exploring the dashboard, understanding how to create lists, design forms, and send emails.
- Create a Dedicated List: Set up a specific list for your pre-launch subscribers. This keeps them separate from any future customer lists and allows you to tailor your pre-launch communications specifically for them.
Tip: Ensure your chosen ESP allows for easy segmentation and automation, which will be helpful for nurturing your list.
Step 2: Define Your Irresistible Incentive
People are protective of their inboxes. You need to offer something genuinely valuable or enticing to convince them to sign up. This "lead magnet" should be relevant to your store's products and target audience.
Examples of effective incentives:
- Exclusive Discount: "Be the first to know and get 15% off your first order when we launch!"
- Early Access: "Get VIP early access to our store a day before everyone else!"
- Giveaway or Contest Entry: "Sign up for a chance to win a free product bundle!"
- Valuable Content: If you sell kitchen gadgets, offer "The Ultimate Guide to Healthy Weeknight Meals." If you sell pet supplies, provide "5 Tips for a Happier, Healthier Dog."
- Free Sample or Bonus Item: "First 100 sign-ups get a free mini-product with their first purchase."
How to do it:
- Brainstorm Ideas: Consider what would truly excite your target customers. What problem does your store solve, and what value can you offer upfront?
- Choose One Strong Incentive: Don't offer too many things at once. Pick one compelling incentive that is easy to understand and deliver.
- Plan for Delivery: If it's a discount code, ensure you know how to generate and distribute it. If it's a guide, make sure it's created and ready to be sent.
Tip: Make your incentive time-sensitive or limited to create a sense of urgency and encourage immediate sign-ups.
Step 3: Create a Dedicated Pre-Launch Landing Page
This is the central hub where all your promotional efforts will lead. A landing page is a single web page focused solely on capturing email addresses.
Key elements of a powerful landing page:
- Compelling Headline: Grabs attention and clearly states what your store is about and the benefit of signing up.
- Clear Value Proposition: Briefly explain what your store will offer and why it's unique.
- Description of the Incentive: Clearly state what subscribers will receive for signing up.
- Simple Opt-in Form: Easy to find and fill out.
- Strong Call to Action (CTA): Buttons like "Join the VIP List," "Get Early Access," or "Claim Your Discount."
- Minimal Distractions: No navigation menus, sidebars, or other links that could pull visitors away.
How to do it:
- Choose a Platform: You can use a dedicated landing page builder (like Leadpages, Unbounce), a WordPress page builder plugin (like Elementor, SeedProd), or even a simple page created within your ESP's tools.
- Design for Simplicity: Use clean layouts, high-quality images (if relevant), and easy-to-read fonts.
- Integrate Your Opt-in Form: Connect your ESP's form directly to your landing page so new subscribers are automatically added to your pre-launch list.
- Write Engaging Copy: Focus on benefits, not just features. What problem does your product solve for the customer?
Tip: Ensure your landing page is mobile-responsive, as many visitors will likely access it from their phones.
Step 4: Design Your Opt-in Form
While part of the landing page, the opt-in form itself deserves specific attention. Its design can significantly impact conversion rates.
Best practices for your opt-in form:
- Keep it Short: Ask for only the essential information, typically just an email address. Asking for a name can be helpful for personalization but might reduce conversions slightly.
- Clear Labeling: Make it obvious what each field is for.
- Privacy Statement: Include a brief note assuring users their data is safe and won't be spammed. For example: "We respect your privacy. Your email will only be used for updates about our launch."
- Prominent CTA Button: Ensure the button text is action-oriented and reinforces the incentive (e.g., "Get My 15% Off!").
How to do it:
- Use Your ESP's Form Builder: Most ESPs provide easy-to-use tools to create and customize opt-in forms.
- Match Your Branding: Use your store's colors, fonts, and logo to create a consistent brand experience.
- Test the Form: Before promoting, sign up yourself to ensure everything works correctly and you receive the confirmation email.
Tip: Consider adding a double opt-in process (where users confirm their subscription via email) to ensure you build a high-quality, engaged list and comply with regulations.
Step 5: Promote Your Pre-Launch List
Once your landing page and form are ready, it's time to drive traffic to them. This is where you get the word out to potential customers.
Effective promotion channels:
- Social Media:
- Organic Posts: Share engaging content, teasers, behind-the-scenes glimpses, and direct links to your landing page on platforms like Instagram, Facebook, TikTok, and Pinterest.
- Paid Ads: Run targeted ads on Facebook or Instagram to reach specific demographics who are likely interested in your products. Highlight your incentive clearly in the ad copy.
- Stories & Reels: Utilize interactive features like polls or Q&As to generate engagement and then direct users to your sign-up link in your bio or via swipe-up (if eligible).
- Personal Network: Share the link with friends, family, and colleagues. Ask them to share it with anyone they think might be interested.
- Influencer Collaborations: If your budget allows, partner with micro-influencers whose audience aligns with your target market. They can promote your pre-launch offer to their followers.
- Online Communities: Share your landing page in relevant online forums, Facebook groups, or Reddit communities (where permitted and appropriate, avoid spamming).
- Guest Posting: Write articles for related blogs and include a call to action to join your pre-launch list in your author bio or within the content.
- Local Partnerships: If your store has a local angle, consider partnering with local businesses to cross-promote.
How to do it:
- Create a Content Plan: Schedule your social media posts and decide which channels you'll focus on.
- Craft Engaging Messages: Don't just share a link; explain why people should sign up and what they'll gain.
- Track Your Efforts: Use UTM parameters or your ESP's analytics to see which promotion channels are most effective.
Tip: Don't be afraid to repurpose content. A video teaser for Instagram can be adapted into a GIF for Twitter or a short clip for Facebook.
Step 6: Nurture Your Subscribers Before Launch
Once people sign up, the journey has just begun. You need to keep them engaged and excited until launch day. This involves sending a series of well-timed, valuable emails.
What to include in your pre-launch emails:
- Welcome Email (Immediate): Thank them for signing up, confirm their incentive, and briefly reiterate what they can expect.
- Behind-the-Scenes Glimpses: Share photos or short videos of product development, packaging, or your team at work. This builds connection and shows the human side of your brand.
- Product Sneak Peeks: Showcase specific products, highlighting their unique features and benefits. Don't reveal everything, just enough to pique interest.
- Brand Story: Share the "why" behind your store. What inspired you? What problem are you solving? This helps build an emotional connection.
- Ask for Feedback: Engage your audience by asking simple questions, like "Which product colour do you prefer?" or "What's your biggest challenge when buying X?" (related to your niche).
- Educational Content: Provide valuable tips, tricks, or insights related to your product category. For example, if you sell specialty coffee, share "3 Ways to Brew the Perfect Cup at Home."
- Countdown Emails: As launch day approaches, send emails counting down the days or hours. This builds excitement and creates urgency.
How to do it:
- Map Out Your Email Sequence: Plan 3-5 emails to send before launch. Decide on the topics, timing, and desired outcome for each.
- Automate Your Emails: Use your ESP's automation features to set up a welcome series that triggers immediately after sign-up, followed by subsequent emails at planned intervals.
- Write Engaging Subject Lines: Entice subscribers to open your emails. Use emojis, questions, or curiosity-driven phrases.
- Focus on Value: Every email should offer something to the reader, whether it's entertainment, information, or exclusive insight.
Tip: Keep your emails concise and easy to read, especially on mobile devices. Always include a clear call to action, even if it's just to "Share with a friend" or "Reply to this email."
Step 7: The Grand Launch Email
This is the moment your subscribers have been waiting for! Your launch email needs to be clear, exciting, and drive immediate action.
What to include in your launch email:
- Big Announcement: Clearly state that your store is officially open!
- Reinforce the Incentive: Remind them of the exclusive discount or early access they received for signing up. Provide the code or direct link to their special access.
- Showcase Key Products: Highlight a few best-sellers or flagship items to grab their attention.
- Clear Call to Action: A prominent button that says "Shop Now!" or "Visit Our Store!"
- Sense of Urgency (Optional): If applicable, mention any limited-time launch offers or product quantities.
How to do it:
- Schedule for Prime Time: Send your launch email when your audience is most likely to be online and receptive (e.g., mid-morning on a weekday).
- Personalize: Use your subscriber's name if you collected it.
- Test Thoroughly: Send a test email to yourself to check for broken links, display issues, and correct coupon codes.
Tip: Don't forget to thank them for their patience and support throughout the pre-launch phase.
Best Practices for Success
To maximize the effectiveness of your pre-launch email list, keep these best practices in mind:
- Be Consistent: Maintain a consistent brand voice, visual style, and messaging across your landing page, emails, and social media.
- Set Realistic Expectations: Don't over-promise and under-deliver. Be honest about what subscribers can expect from your emails and your store.
- Test and Optimise: A/B test different headlines, incentives, and email content to see what resonates best with your audience.
- Comply with Regulations: Be aware of privacy regulations like GDPR and CAN-SPAM. Always include an unsubscribe link in your emails.
- Focus on Value: Every interaction with your pre-launch audience should provide value, whether it's an exciting sneak peek or a helpful tip.
Transitioning to Post-Launch Email Marketing
The work doesn't stop after launch. Your pre-launch list is the foundation for your ongoing email marketing strategy. These initial subscribers are your most engaged audience. Continue to nurture them with exclusive offers, new product announcements, and valuable content.
As your WooCommerce store grows, you can integrate your ESP directly with your store to automate post-purchase follow-ups, abandoned cart reminders, and personalised recommendations, further growing your Campaign Monitor subscriber list beyond the checkout.
Related Articles
Continue your learning with these related resources:
- The Complete Email Marketing Guide for WooCommerce Stores Using Campaign Monitor (Comprehensive Guide)
- How to Run a Black Friday Email Campaign for Your WooCommerce Store in Campaign Monitor
- What Email List Opt-in Incentives Work Best for WooCommerce Stores
- How to Create a Win-Back Email Campaign for Lapsed WooCommerce Customers in Campaign Monitor
- How to Re-Engage WooCommerce Customers Who Never Opted in to Your Email List
- How to Reduce WooCommerce Customer Churn with Targeted Retention Emails in Campaign Monitor
Conclusion
Building a pre-launch email list is an investment that pays dividends. It allows you to cultivate an eager audience, gather valuable insights, and ensure your new WooCommerce store launches with a strong, engaged customer base. By following these steps, you'll not only generate early sales but also lay the groundwork for a successful and sustainable online business. Start building that list today, and get ready for a powerful launch!