Introduction
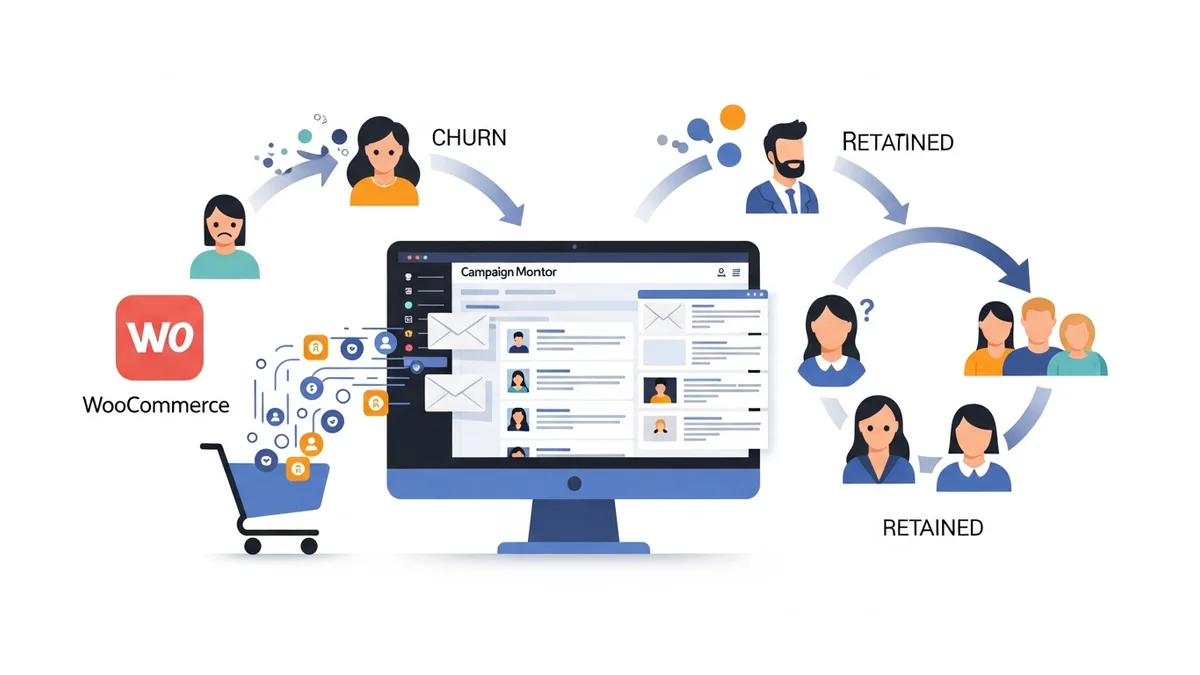
For any WooCommerce merchant, retaining existing customers is often more cost-effective than acquiring new ones. However, even the most loyal customers can become inactive over time. This is where a well-structured win-back email campaign becomes invaluable, designed specifically to re-engage those lapsed buyers and bring them back to your store.
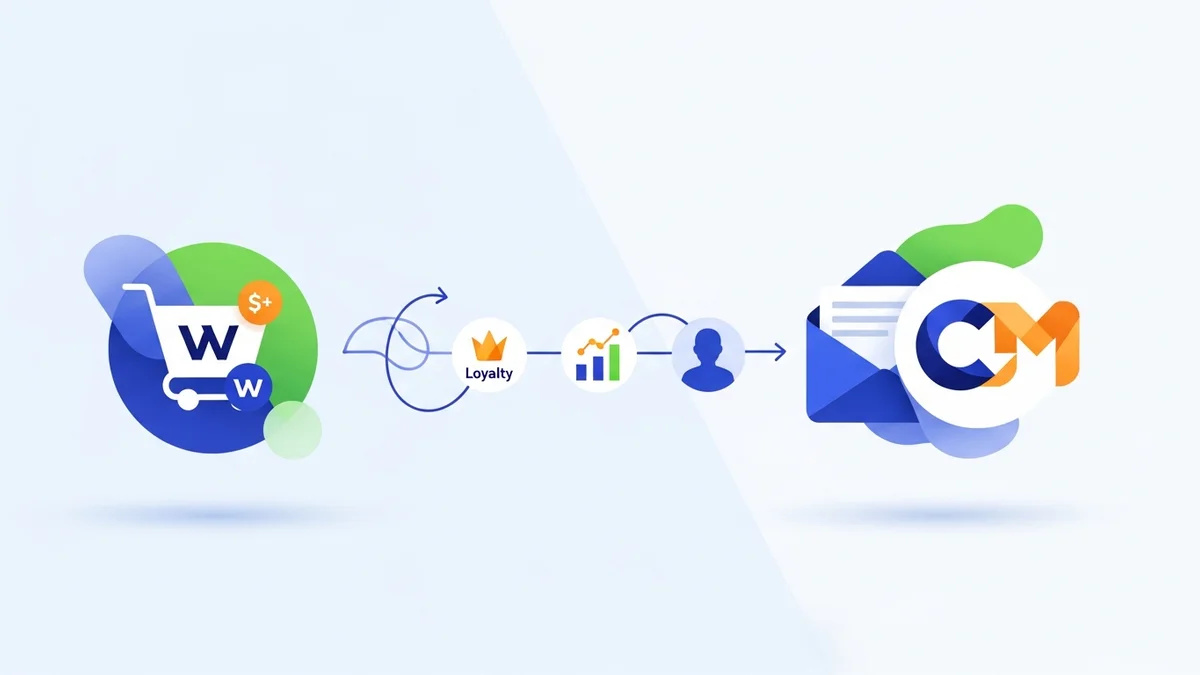
By leveraging the power of Campaign Monitor, integrated with your WooCommerce customer data, you can precisely identify, segment, and target these customers with personalised messages. This guide will walk you through the essential steps to create an effective win-back email campaign that revitalises customer relationships and boosts your bottom line.
Why Win-Back Campaigns Are Crucial for WooCommerce Merchants
Lapsed customers represent a significant untapped revenue opportunity. They already know your brand, have purchased from you before, and simply need a compelling reason to return. Ignoring them means leaving potential sales on the table and diminishing your customer lifetime value.
- Cost-Effective: Re-engaging past customers is significantly cheaper than acquiring new ones.
- Higher Conversion Rates: Lapsed customers are familiar with your brand, making them more likely to convert than cold leads.
- Increased Customer Lifetime Value (CLV): Successfully winning back customers extends their purchasing journey with your brand.
- Brand Loyalty: A thoughtful win-back campaign can strengthen brand perception and turn a passive customer into an active advocate.
Prerequisites for Your Win-Back Campaign
Before diving into the setup, ensure you have the following in place:
- Active WooCommerce Store: Your online store must be fully operational.
- Campaign Monitor Account: You'll need an active Campaign Monitor account.
- WooCommerce to Campaign Monitor Sync: A plugin that synchronises your basic WooCommerce customer profile data (e.g., name, email address) with Campaign Monitor. It's crucial to understand that standard integrations typically *do not* sync purchase history, order data, or detailed engagement patterns. This means identifying "lapsed" customers based on purchase activity will need to happen primarily within WooCommerce.
Step-by-Step Guide: Creating Your Win-Back Campaign
Step 1: Define Your "Lapsed Customer"
The first crucial step is to define what "lapsed" means for your specific business. This definition will vary based on your product, sales cycle, and customer behaviour. Common criteria include:
- No Purchase in X Days: For many businesses, 90, 180, or 365 days without a purchase is a standard benchmark. This identification will primarily occur within your WooCommerce store, as detailed purchase history is not typically synced to Campaign Monitor.
- No Website Activity: Combined with no purchase, a lack of recent website visits or email engagement can also indicate a lapsed customer.
Consider your average purchase frequency. If customers typically buy every three months, then six months without a purchase might signal a lapse. Document this definition clearly, as it will inform how you identify and transfer these customers to Campaign Monitor.
Step 2: Identify Lapsed Customers in WooCommerce & Prepare for Campaign Monitor
Given that typical WooCommerce to Campaign Monitor syncs primarily transfer customer profile data and do not include purchase history or order details, you cannot directly segment by "last purchase date" within Campaign Monitor. Instead, the identification of lapsed customers will need to occur within your WooCommerce environment.
-
Identify Lapsed Customers in WooCommerce: Use reporting tools or a dedicated WooCommerce plugin to identify customers who meet your "lapsed" criteria (e.g., no purchase in X days). You'll get a list of customer emails or IDs.
-
Prepare Your Audience for Campaign Monitor: There are two main approaches to get these identified lapsed customers into a segment in Campaign Monitor:
- Manual Export/Import: Export the list of lapsed customer emails from WooCommerce (e.g., as a CSV file). Then, log in to Campaign Monitor, navigate to your audience list, and import these customers into a new, dedicated list or segment (e.g., "Lapsed WooCommerce Customers").
- Utilise Custom Profile Fields (if available): If your specific WooCommerce-Campaign Monitor integration allows for syncing custom customer profile fields (e.g., a 'Lapsed Status' field that WooCommerce updates), you could configure WooCommerce to set this field to 'True' for lapsed customers. Campaign Monitor could then segment based on this custom field. (Note: Verify if your specific sync plugin supports this advanced functionality.)
-
Create a New Segment in Campaign Monitor: If you've imported a dedicated list, this effectively acts as your segment. If you're using a custom profile field, create a segment with a rule like
Lapsed StatusisTrue. -
Name and Save Your Segment: Give it a clear name like "Lapsed WooCommerce Customers (180 Days)" so it's easily identifiable.
This segment will be the foundation of your win-back campaign, ensuring your messages reach the right people. Remember, for this segment to remain dynamic, you'll need a recurring process (manual or automated via custom fields) to update the status of customers as they become lapsed or re-engage.
Step 3: Craft Your Win-Back Email Series Strategy
A single email is rarely enough to win back a customer. A series of 2-3 emails, spaced appropriately, provides multiple opportunities for re-engagement without overwhelming the recipient. Each email should have a distinct purpose.
-
Email 1: The Re-engagement Nudge (2-3 days after entering segment)
- Goal: Remind them of your brand, highlight value, and offer a gentle prompt to return.
- Content: "We Miss You!" or "It's Been A While!" subject line. Reiterate your unique selling proposition (USP), showcase new products, or highlight popular items they might be interested in.
-
Email 2: The Incentive Offer (5-7 days after Email 1)
- Goal: Provide a compelling reason to make a purchase.
- Content: Offer a discount code (e.g., 10-15% off), free shipping, or a small complimentary gift with their next order. Make the offer time-sensitive to create urgency.
-
Email 3: Last Chance & Feedback (7-10 days after Email 2)
- Goal: Create a sense of urgency for the offer and/or gather feedback.
- Content: "Your Offer Expires Soon!" or "Is Everything Okay?" subject line. Reiterate the expiring offer and include a link to a quick survey to understand why they might have become inactive. This provides valuable insights even if they don't buy.
Step 4: Design Engaging Email Content
The success of your win-back campaign heavily relies on the quality of your email content. Focus on personalisation, clarity, and a strong call to action.
-
Subject Lines: Make them attention-grabbing and hint at the email's purpose. Examples: "We Miss You at [Your Brand Name]," "A Special Treat Just For You," "Don't Miss Out: Your [Discount]% Off Expires Soon!"
-
Personalisation: Use customer names where possible. Campaign Monitor allows you to insert dynamic fields like
[firstname]. Since direct purchase history isn't typically synced, focus on broader appeals like showcasing popular products or new arrivals. -
Clear Value Proposition: Remind them why they chose you in the first place. What problems do you solve? What unique benefits do you offer?
-
Compelling Call to Action (CTA): Use strong, action-oriented language like "Shop Now," "Claim Your Discount," "Explore New Arrivals." Ensure the CTA button is prominent and links directly to a relevant page (e.g., homepage, new products, sale items).
-
Visuals: Use high-quality product images or lifestyle shots that align with your brand. Keep design clean and mobile-responsive.
-
Opt-Out Option: Always include a clear and easy-to-find unsubscribe link to maintain compliance and a positive user experience.
Step 5: Set Up Automation (Journeys) in Campaign Monitor
Campaign Monitor's "Journeys" feature is perfect for automating your win-back series.
-
Navigate to Journeys: In Campaign Monitor, select 'Automation' or 'Journeys'.
-
Create a New Journey: Choose to start from scratch or use a template.
-
Define Entry Point: Set the trigger for the journey as "When someone is added to a segment." Select your "Lapsed WooCommerce Customers" segment.
-
Add Email Steps: Drag and drop email actions into your journey. Link each email to the specific win-back email you designed.
-
Set Delays: Add "Wait" steps between emails to space them out according to your strategy (e.g., 3 days after Email 1, 5 days after Email 2).
-
Add Exit Conditions: Crucially, set an exit condition: "If a customer is removed from the 'Lapsed Customers' segment." This is vital. Since Campaign Monitor won't directly track purchases from WooCommerce, you'll need a process to remove customers from this segment once they re-engage (e.g., make a new purchase in WooCommerce, which then triggers their removal from the segment via manual update or custom field sync). This ensures customers who re-engage don't receive subsequent win-back emails.
-
Review and Activate: Carefully review your entire journey flow, then activate it.
Step 6: Test Your Campaign Thoroughly
Before launching, rigorous testing is essential to catch any errors and ensure a smooth customer experience.
- Send Test Emails: Use Campaign Monitor's send test feature to send each email in the series to yourself and colleagues.
- Check Links and Offers: Verify that all links work correctly and lead to the intended pages. Double-check that any discount codes are active and applied correctly.
- Mobile Responsiveness: View emails on various devices (desktop, tablet, mobile) to ensure they render perfectly across different screen sizes.
- The Complete Email Marketing Guide for WooCommerce Stores Using Campaign Monitor (Comprehensive Guide)
- How to Run a Black Friday Email Campaign for Your WooCommerce Store in Campaign Monitor
- What Email List Opt-in Incentives Work Best for WooCommerce Stores
- How to Re-Engage WooCommerce Customers Who Never Opted in to Your Email List
- How to Reduce WooCommerce Customer Churn with Targeted Retention Emails in Campaign Monitor
- How to Track WooCommerce Email Campaign Performance Using Campaign Monitor Reports
Related Articles
Continue your learning with these related resources: