Introduction
Returns are an unavoidable part of running an online store, but they don't have to be a headache. For WooCommerce businesses in Australia, efficiently processing return parcels through Australia Post is key to customer satisfaction and operational smooth running. A well-managed returns process can even transform a potentially negative experience into an opportunity to build trust and loyalty.
This guide will walk you through the essential steps and best practices for handling Australia Post return parcels. We'll cover everything from setting up your policy to processing refunds, ensuring your reverse logistics are as seamless as your outgoing shipments.
Understanding Australia Post Returns for WooCommerce
Australia Post offers various services that can be leveraged for your returns strategy. Understanding these options is the first step to building an effective system. Most returns will involve customers using an Australia Post service to send items back to you.
The key is to integrate this physical process with your WooCommerce store's digital workflow. A streamlined system means less manual work for you, clearer instructions for your customers, and faster resolution of return requests, ultimately protecting your profit margins and enhancing your brand reputation.
Why a Smooth Return Process Matters
- Boosts Customer Confidence: A clear, easy return policy encourages purchases, knowing customers aren't stuck with an unwanted item.
- Reduces Support Load: Clear instructions and an efficient system mean fewer customer queries about return status.
- Protects Your Margins: Timely processing allows for quicker re-stocking and resale of returned items, minimizing lost revenue.
- Drives Loyalty: A positive return experience can turn a one-time buyer into a repeat customer.
Laying the Groundwork: Your Returns Policy
Before you even think about processing return parcels, you need a clear, concise, and accessible returns policy. This policy acts as the rulebook for both you and your customers, setting expectations and preventing misunderstandings.
Ensure your policy covers key aspects like the return window (e.g., 30 days), eligible items, condition requirements (e.g., unworn, original packaging), who pays for return shipping, and the process for initiating a return. Clearly display this policy on your WooCommerce store, typically in the footer, on product pages, and within your FAQs.
Step-by-Step Guide: Processing Australia Post Return Parcels
Let's dive into the practical steps for managing Australia Post return parcels once a customer decides to send an item back.
Step 1: Receive the Return Request
The return process begins when a customer initiates a request. This can happen in several ways, depending on your setup.
- Through a Dedicated Returns Portal: Many WooCommerce returns management plugins offer a customer-facing portal where users can select items from their past orders, state a reason for return, and submit the request. This is the most efficient method as it captures all necessary data automatically.
- Via Email or Contact Form: If you don't use a portal, customers will likely email you or fill out a contact form. Ensure they provide their order number, the item(s) they wish to return, and the reason for the return.
- Manual Communication: Some customers may call you directly. Always follow up with an email to confirm the details in writing.
Upon receiving the request, create a return record in your system. This might be within your WooCommerce orders, a dedicated returns plugin, or even a simple spreadsheet for low volume stores. Verify the request against your returns policy to ensure eligibility.
Step 2: Authorize the Return and Provide Return Shipping Information
Once you've approved the return, the next crucial step is to provide the customer with instructions and, often, a return shipping label.
- For Prepaid Return Labels:
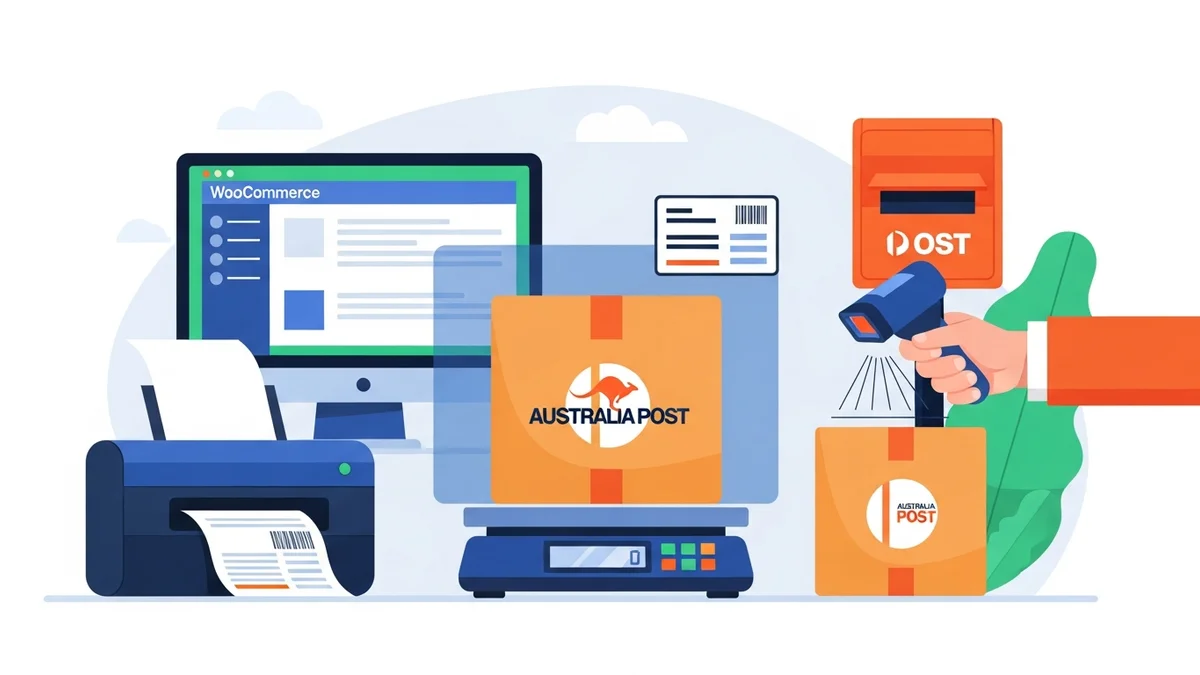
- Australia Post Returns Portal: If you have an Australia Post business account with a returns contract, you can generate return labels through their online portal. This typically involves exporting return request data (e.g., as a CSV file) from your WooCommerce system or a returns management plugin, then uploading this CSV to the Australia Post portal. Once uploaded, you can generate and download the return labels, which you can then send as PDFs directly to your customers. This method is efficient for handling multiple returns.
- MyPost Business: For smaller businesses or individual returns, you might manually create a shipping label through MyPost Business and email it to the customer. While effective, this can be time-consuming for multiple returns.
- For Customer-Paid Returns:
- Provide clear instructions on how the customer should address the parcel and which Australia Post service to use (e.g., standard parcel post).
- Recommend they use a trackable service and retain proof of postage.
Always include your return address, any required return authorization (RA) number, and clear packaging instructions. Emphasize the importance of securely packaging the item to prevent damage during transit.
Step 3: Customer Ships the Item via Australia Post
At this stage, the ball is in the customer's court. They will package the item, attach the provided or self-generated label, and drop it off at an Australia Post office or red street posting box.
- Tracking the Parcel: If you provided a prepaid label, you will automatically have access to the tracking number. For customer-paid returns, ask the customer to provide you with the tracking number so you can monitor its journey.
- Communication: Proactive communication is key. Send an automated email confirming the return label has been sent and reiterate the next steps.
This tracking information allows you to anticipate the arrival of the parcel and prevents customers from repeatedly asking "where is my refund?".
Step 4: Receive and Inspect the Returned Item
Once the return parcel arrives at your location, careful handling and inspection are critical. This step determines the final action you'll take (refund, exchange, or rejection).
- Record Arrival: Scan or manually record the arrival of the parcel. Update its status in your WooCommerce returns system to "received."
- Open and Inspect: Carefully open the package and compare the contents against the original return request.
- Item Condition: Check if the item is in the condition specified by your policy (e.g., new, unworn, undamaged).
- Original Packaging: Verify if all original packaging, tags, and accessories are included.
- Matching Item: Ensure it's the correct item and not a different product.
- Document Findings: If there are any discrepancies or damage, take photos and make detailed notes. This documentation is vital if you need to dispute the return or offer a partial refund.
The goal is to quickly and accurately assess the return so you can proceed to the next step without delay.
Step 5: Process Refund or Exchange in WooCommerce
Based on your inspection, you'll now process the appropriate action within your WooCommerce store.
- Issuing a Refund:
- Navigate to the original order in your WooCommerce admin.
- Click the "Refund" button.
- Enter the quantity of each item being refunded and the refund amount. You can choose to refund shipping costs partially or fully, or not at all, based on your policy.
- Select the refund method (e.g., via the original payment gateway like Stripe or PayPal, or manually).
- Add a note for your records and click "Refund via [Payment Gateway]" or "Manual Refund."
WooCommerce will then communicate with your payment gateway to process the actual money transfer back to the customer. It's important to understand that while your system processes it instantly, it can take several business days for the funds to appear in the customer's account.
- Managing an Exchange:
- If the customer requested an exchange for a different size, colour, or item, you might create a new order in WooCommerce for the replacement item.
- Adjust the price of the new order to reflect any differences.
- Process the shipment of the new item once the return is fully processed.
- Ensure your inventory is correctly updated for both the returned and exchanged items.
- Communicating the Outcome: Send a final confirmation email to the customer, informing them that their refund has been processed or their exchange item has been shipped. Include any relevant tracking details for exchanges.
Always aim for prompt processing. Delays in refunds can significantly diminish customer satisfaction, even if the return itself was smooth.
Step 6: Update Inventory and Re-stock
The final step in processing Australia Post return parcels is to manage your inventory accurately.
- Re-stock Sellable Items: For items returned in perfect, sellable condition, add them back into your WooCommerce inventory. Ensure your stock levels are updated to reflect these available products.
- Handle Damaged/Unsellable Items: If an item is damaged or not in a sellable condition (and you didn't offer a full refund for it), mark it appropriately in your inventory system. This might mean moving it to a "damaged" or "disposal" category and removing it from your active stock.
- Analyze Return Reasons: Regularly review the reasons for returns. This data can provide valuable insights into product quality issues, inaccurate descriptions, or sizing problems, helping you reduce future return rates and improve your products.
Accurate inventory management after returns is crucial for preventing stock discrepancies and ensuring you don't oversell items that aren't actually available.
Tips for an Efficient Australia Post Returns Process
Beyond the basic steps, consider these tips to further refine your reverse logistics and make processing Australia Post return parcels even smoother:
- Utilize a Returns Management Plugin: For WooCommerce stores, a dedicated returns plugin (e.g., Advanced WooCommerce Returns, WooCommerce Smart Refunder) can automate many steps. These plugins often provide a customer portal, workflow management, and seamless integration with your WooCommerce orders.
- Clear Communication: Over-communicate with your customers. Send automated emails at each stage: return request received, label issued, return parcel received, refund processed, or exchange shipped.
- Standardize Packaging for Returns: Provide guidelines for how customers should package items for return to minimize transit damage.
- Regularly Review Your Policy: As your business grows or product lines change, revisit your returns policy. Ensure it remains fair, clear, and aligns with current business operations and legal requirements.
- Train Your Team: If you have staff, ensure everyone involved in the returns process understands each step, your policy, and how to use your WooCommerce and Australia Post tools.
- Analyze Return Data: Use the data collected from return requests to identify patterns. Are certain products returned more frequently? Is there a common reason for returns? This insight can help you improve product descriptions, quality, or even sourcing.
Common Challenges and Solutions
Even with a robust system, you might encounter some challenges when processing Australia Post return parcels.
- Lost or Damaged Parcels in Transit:
- Solution: Always use trackable services. For valuable items, consider requiring customers to use registered post or purchasing shipping insurance. If a parcel is lost or damaged by Australia Post, you may be eligible to claim compensation.
- Items Returned in Unsellable Condition:
- Solution: Your returns policy should clearly state the required condition for returns. If an item is returned damaged due to customer negligence, you might offer a partial refund or, if your policy allows, refuse the refund entirely. Document everything with photos.
- Fraudulent Returns:
- Solution: Implement strict inspection protocols. Cross-reference serial numbers or unique identifiers if applicable. A clear, firm returns policy, combined with thorough documentation, helps deter fraudulent activity.
Leveraging Returns for Customer Loyalty
While returns might seem like a cost center, a positive return experience can actually build stronger customer loyalty. When customers know they can return an item easily and without hassle, they feel more confident buying from you again.
Focus on speed, transparency, and empathy throughout the process. A customer who has a smooth return experience, even if they didn't keep the original item, is more likely to remember your excellent service and recommend your business to others. It's an opportunity to show your commitment to customer satisfaction, reinforcing your brand's trustworthiness.
Related Articles
Continue your learning with these related resources:
- The Complete Guide to Managing Australia Post Shipping for Your WooCommerce Store (Comprehensive Guide)
- How Volumetric Weight Affects Your Australia Post Costs for WooCommerce Shipments
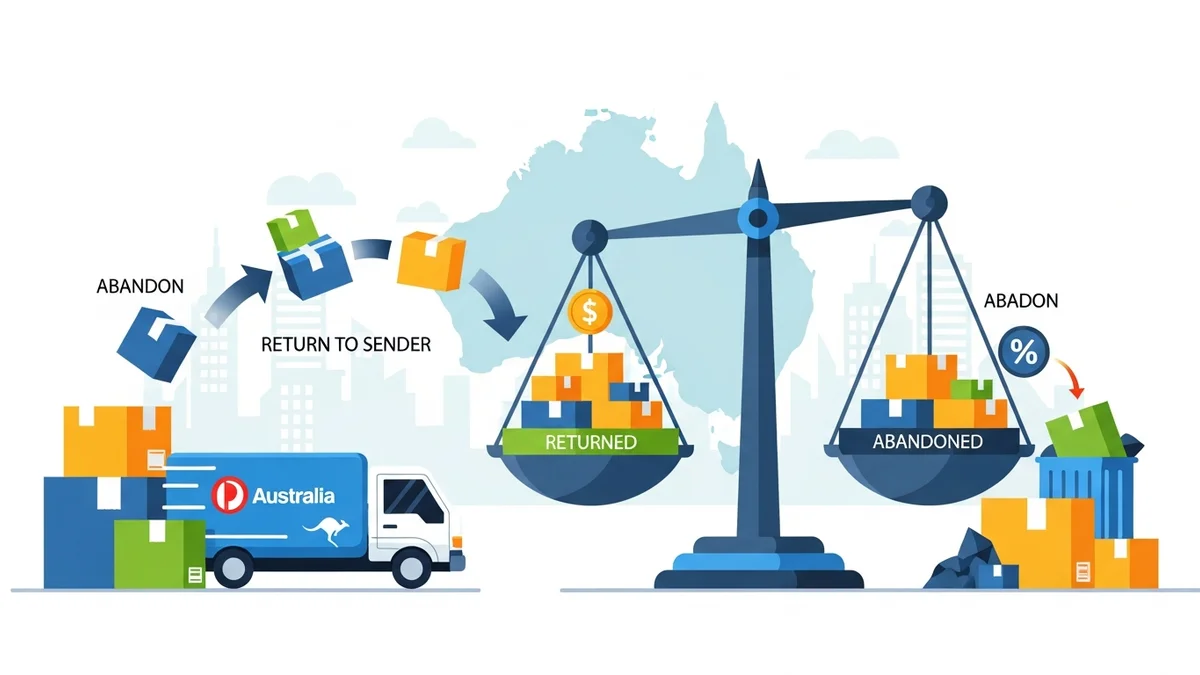
- Return to Sender vs. Abandon: Optimizing Australia Post Undeliverable Options for WooCommerce
- How to Reduce Packaging Weight to Lower Your Australia Post Costs for WooCommerce Orders
- Navigating Australia Post Dangerous Goods Rules for WooCommerce Stores
- How to Communicate Australia Post Delivery Delays to Your WooCommerce Customers
Conclusion
Processing Australia Post return parcels for your WooCommerce business doesn't have to be a complicated or costly endeavour. By implementing a clear, step-by-step process, leveraging available tools, and maintaining excellent communication, you can transform returns into a streamlined part of your operations.
An efficient reverse logistics strategy not only saves you time and money but also significantly enhances the customer experience, turning potential frustrations into opportunities for building lasting loyalty. Invest in your returns process, and your customers will thank you for it.