Introduction
In today's digital landscape, many small businesses use their WordPress websites to offer exclusive content, such as premium reports, training videos, or confidential client documents. Protecting this "gated content" means ensuring only approved individuals can access it, and often, only for a specific period. This is where wordpress token based access comes into play, providing a robust security layer.
A key aspect of effective content protection is managing how long access is granted. Simply giving someone a link forever can lead to unauthorised sharing or outdated access. By setting a wordpress access token expiry, you can precisely control the duration of access, enhancing your wordpress content access security.
This article will guide you through understanding and implementing token expiry for your gated WordPress content, using the powerful features of WordPress Gatekeeper Pro. We'll cover everything from configuring global settings to customising expiry for individual resources, ensuring your valuable content remains secure and your access policies are enforced.
Understanding Token-Based Access for WordPress Content
Before diving into expiry settings, let's clarify what token-based access means for your WordPress site. Instead of relying on user accounts or passwords, this method grants access through a unique, cryptographically secure string – an access token. When a user tries to view or download gated content, their token is validated to ensure they have permission.
WordPress Gatekeeper Pro leverages this technology to protect your files and videos. When you mark content as "Locked," the plugin ensures that direct access to the file URL is impossible. Instead, all downloads and video streams are routed through a secure "proxy endpoint." This endpoint checks the validity of the user's access token before serving the content.
How Secure Access Tokens Work
- Generation: When an access request is approved, Gatekeeper Pro generates a unique access token. This token is an HMAC-SHA256 signed access token, meaning it's cryptographically secure and tamper-proof.
- Delivery: The approved user receives an email containing a secure, time-limited access link, which embeds their unique token.
- Validation: Every time the user attempts to access the gated content, the token embedded in their link is sent to the proxy endpoint. The plugin verifies the token's authenticity, checks if it's expired, and ensures it hasn't been revoked.
- Content Delivery: Only if the token is valid and unexpired is the content (file or video stream) securely delivered to the user.
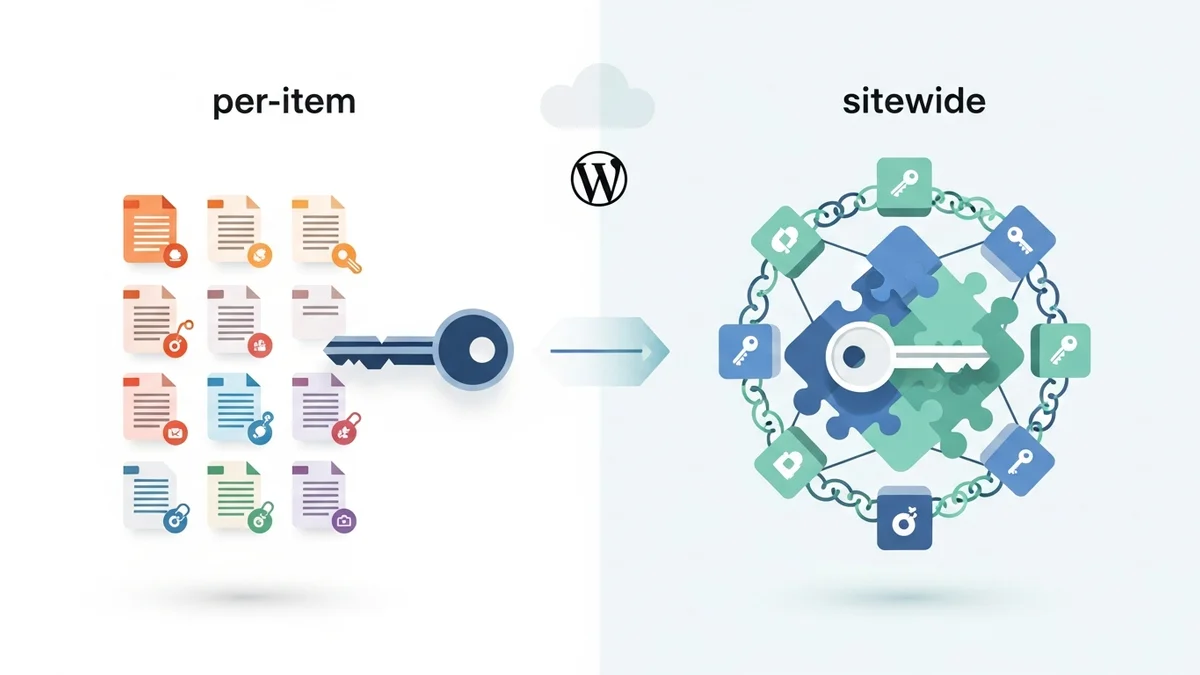
This system provides a strong defence against unauthorised access. By controlling the tokens, you control who gets in and for how long. Gatekeeper Pro also offers flexible modes: "per-item" tokens (each token unlocks one specific resource) or "sitewide" tokens (one token unlocks all locked content), giving you granular control over your access strategy.
The Importance of Setting Token Expiry
While token-based access inherently improves security, adding an expiry date takes it a step further. Setting a wordpress access token expiry isn't just a technical detail; it's a strategic decision that impacts your content's security, value, and your overall business objectives.
Enhanced Security and Control
- Limit Exposure: An access token, even if secure, could potentially be shared. By setting an expiry, you limit the window during which an accidentally or maliciously shared link remains active.
- Dynamic Access: You can grant temporary access for trials, promotions, or time-sensitive projects, automatically revoking it once the period ends without manual intervention. This is crucial for maintaining strong wordpress content access security.
- Reduced Risk: Expired tokens are automatically invalidated, reducing the risk of old, forgotten links providing continued access to content that may no longer be relevant or secure.
Business and Engagement Benefits
- Encourage Prompt Engagement: A time-limited offer for a free download can motivate users to act quickly, knowing access won't last forever.
- Lead Nurturing: For lead magnets, expiring tokens can be part of a follow-up strategy. "Your access token for the whitepaper expires in 24 hours – want more insights?"
- Resource Management: For training materials or client documents, expiry ensures access aligns with project timelines or subscription periods, prompting renewals or new requests.
Gatekeeper Pro also includes features like wordpress rate limiting file access, which prevents abuse by limiting how many times a token can be used within a certain period. Combined with expiry, this creates a comprehensive content protection strategy.
Step-by-Step Guide: Setting Token Expiry with WordPress Gatekeeper Pro
Setting up token expiry with WordPress Gatekeeper Pro is straightforward, offering both global settings and per-content overrides. Follow these steps to configure secure, time-limited access for your gated content.
Step 1: Install and Activate WordPress Gatekeeper Pro
First, ensure you have WordPress Gatekeeper Pro installed and activated on your WordPress site. If you haven't yet, you'll need to purchase, download, and install the plugin from your WordPress admin dashboard (Plugins > Add New > Upload Plugin).
Step 2: Configure Global Token Expiry Settings
The global settings act as the default for all new gated content. You can find these in the Gatekeeper Pro settings area.
- Navigate to your WordPress admin dashboard.
- Go to Gatekeeper Pro > Settings.
- Click on the Tokens tab.
- Locate the "Token Time-to-Live (TTL)" setting. This is where you define the default duration for your access tokens.
- Enter a value in hours: For example, entering
168will set tokens to expire after 7 days (168 hours). - Set to
0for unlimited access: If you want tokens to never expire by default (e.g., for permanent client portal access), simply enter0. - Consider Rate Limiting: While on this tab, you'll also see "Token Rate Limiting" options. This allows you to set a limit on how many times a token can be used per hour, adding another layer of wordpress content access security. For example, setting it to
5will prevent a single token from being used more than 5 times in an hour, which helps prevent widespread sharing. - Click Save Changes to apply your global settings.
These global settings will now apply to any new gated content you create, unless you specify an override at the individual post level.
Step 3: Gating Your Content
Now, let's apply content gating to a specific post or page. This example assumes you're protecting a file download, but the process is similar for videos or other content types.
- Edit an existing WordPress Post, Page, or Custom Post Type, or create a new one.
- Locate the "Gatekeeper Pro Content Settings" meta box (usually on the right sidebar or at the bottom of the editor).
- Check the "Locked" checkbox. This marks your content as protected.
- In the "Protected File" section, upload or select the file you want to gate. Gatekeeper Pro will automatically move this file to a secure directory with a randomised filename, ensuring direct URL access is blocked.
- Update or Publish your post.
Once published, visitors will need to submit an access request (via the built-in form or a Formidable Forms integration) and be approved to receive an access token with the global expiry you set in Step 2.
Step 4: Overriding Global Expiry for Specific Content
Sometimes, you might need a different expiry duration for a particular piece of content. Gatekeeper Pro allows you to override the global setting on a per-post basis.
- While editing the specific Post, Page, or Custom Post Type you want to customise.
- In the "Gatekeeper Pro Content Settings" meta box, ensure the "Locked" checkbox is ticked.
- Look for the "Token Time-to-Live (TTL)" field.
- Enter a value in hours: For example, if your global setting is 7 days, but this particular resource is a limited-time offer, you might set it to
24for 1-day access. - Set to
0for unlimited access: If this specific resource should grant permanent access, even if your global setting has an expiry, enter0here. - Update or Publish your post.
This per-post setting will now take precedence over the global default for this specific item, providing flexible control over your wordpress token based access strategy.
Step 5: Managing Token Expiry Warnings
Gatekeeper Pro helps keep your users informed about their access duration. It automatically sends expiry warning emails to users.
- Automatic Notifications: By default, Gatekeeper Pro is configured to send an expiry warning email 24 hours before a token is due to expire. This gives your users a heads-up and can prompt them to request renewed access if needed.
- User Experience: These warnings improve the user experience by preventing unexpected loss of access and can reduce support requests.
- Admin Insight: You can review and customise these email templates in Gatekeeper Pro's settings under the "Emails" tab, ensuring they align with your brand.
Step 6: Monitoring and Revoking Tokens
Even with automatic expiry, you might need to manually monitor or revoke access tokens. Gatekeeper Pro provides a comprehensive dashboard for this.
- Go to Gatekeeper Pro > Tokens in your WordPress admin dashboard.
- Here you'll see a list of all generated tokens, their associated content, the user who requested them, their status (active, expired, revoked), and their expiry date.
- Filter and Search: Use the filtering options to quickly find active, expired, or revoked tokens. You can also search by user email or content title.
- Manual Revocation: If you need to immediately revoke access for a specific user (e.g., due to policy violation or a cancelled project), you can select the token and choose "Revoke" from the bulk actions, or click "Edit" on an individual token and change its status.
- Analytics: The "Analytics" tab provides insights into token usage, helping you understand access patterns and identify potential areas for improving your wordpress rate limiting file access and expiry strategies.
This robust management system ensures you have full control over your wordpress content access security at all times.
Real-World Applications and Best Practices
Applying token expiry effectively can significantly impact your content strategy. Here are some real-world scenarios and best practices for leveraging wordpress access token expiry.
- Lead Magnets (Short Expiry): For whitepapers, e-books, or templates offered in exchange for contact details, set a short expiry (e.g., 72 hours). This encourages immediate download and prevents indefinite sharing, while also allowing you to follow up with new leads.
- Client Portals (Unlimited or Long Expiry): For ongoing client projects or confidential documents, grant unlimited access (TTL of
0) or a very long expiry (e.g., 365 days). This provides convenience for your clients while still offering the option to revoke access if a project concludes. - Training Courses (Course Duration Expiry): If you provide gated video training as part of a course, align the token expiry with the course duration (e.g., 30, 60, or 90 days). This ensures learners complete the course within a set timeframe.
- Internal Documents (Long Expiry, Sitewide Tokens): For internal company knowledge bases or policy documents on a WordPress intranet, use sitewide tokens with a long expiry (e.g., 1 year). This simplifies access for employees while maintaining overall wordpress content access security. Gatekeeper Pro's sitewide mode is perfect here.
- Promotional Offers (Strict Expiry): For limited-time promotional content, set a strict expiry date that aligns precisely with the end of the promotion. This creates urgency and ensures fair access.
Always combine token expiry with Gatekeeper Pro's wordpress rate limiting file access feature. For instance, a 7-day token with a limit of 10 uses per hour provides excellent balance between user convenience and abuse prevention.
Related Articles
Continue your learning with these related resources:
- How to Protect and Restrict Content on WordPress: The Complete Guide (Comprehensive Guide)
- How to Export Content Access Data as CSV From WordPress
- How Long Should You Keep Content Access Logs on WordPress?
- How to Track Who Downloads Files on Your WordPress Site
- WordPress Content Access Analytics: What to Track and Why It Matters for Agencies
- Unleashing the Power of Access Request Data for Lead Qualification on Your WordPress Site
Conclusion
Setting wordpress access token expiry is a fundamental component of a strong wordpress content access security strategy. It gives you precise control over who accesses your valuable gated content and for how long, preventing unauthorised sharing and enhancing the overall security posture of your WordPress site.
With WordPress Gatekeeper Pro, implementing token-based access with flexible expiry settings is intuitive and powerful. Whether you need short-term access for lead magnets or long-term access for client resources, the plugin offers the tools to manage your content effectively and securely. By following the steps outlined in this guide, you can confidently protect your digital assets, ensuring that only the right people, at the right time, can access them.