Introduction
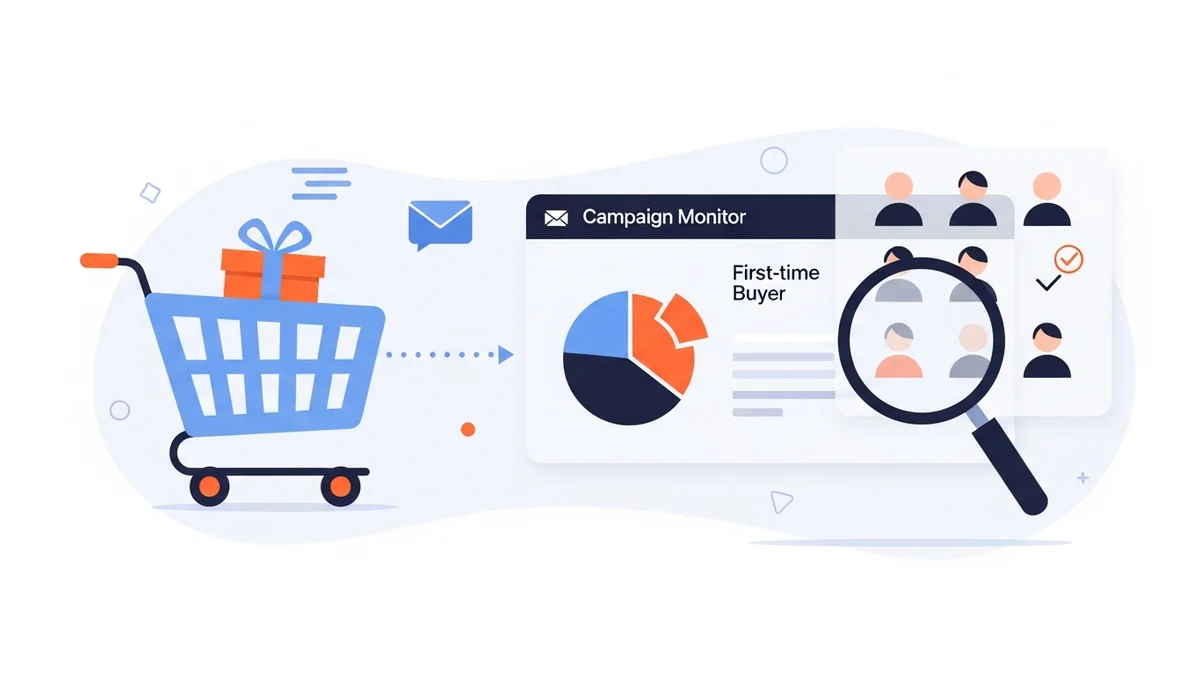
For any e-commerce business, not all customers are created equal. Identifying and nurturing your high-value customers is a cornerstone of sustainable growth, customer retention, and maximising lifetime value. These are the customers who spend more, buy more frequently, or purchase premium products, significantly contributing to your bottom line.
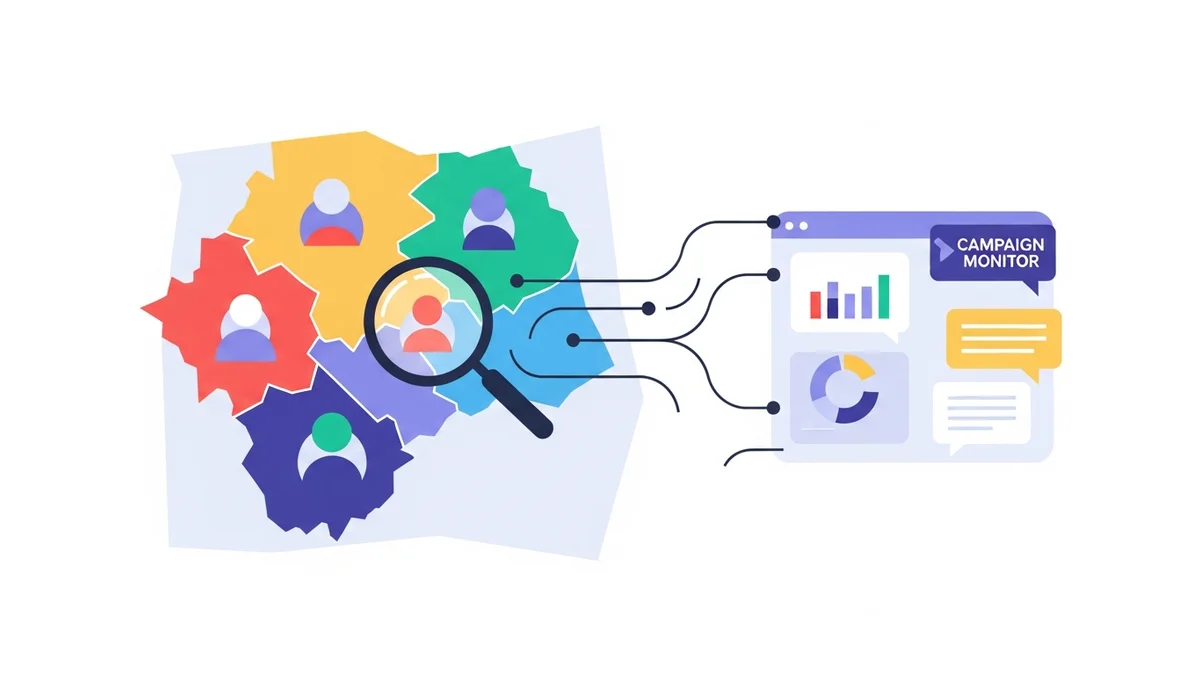
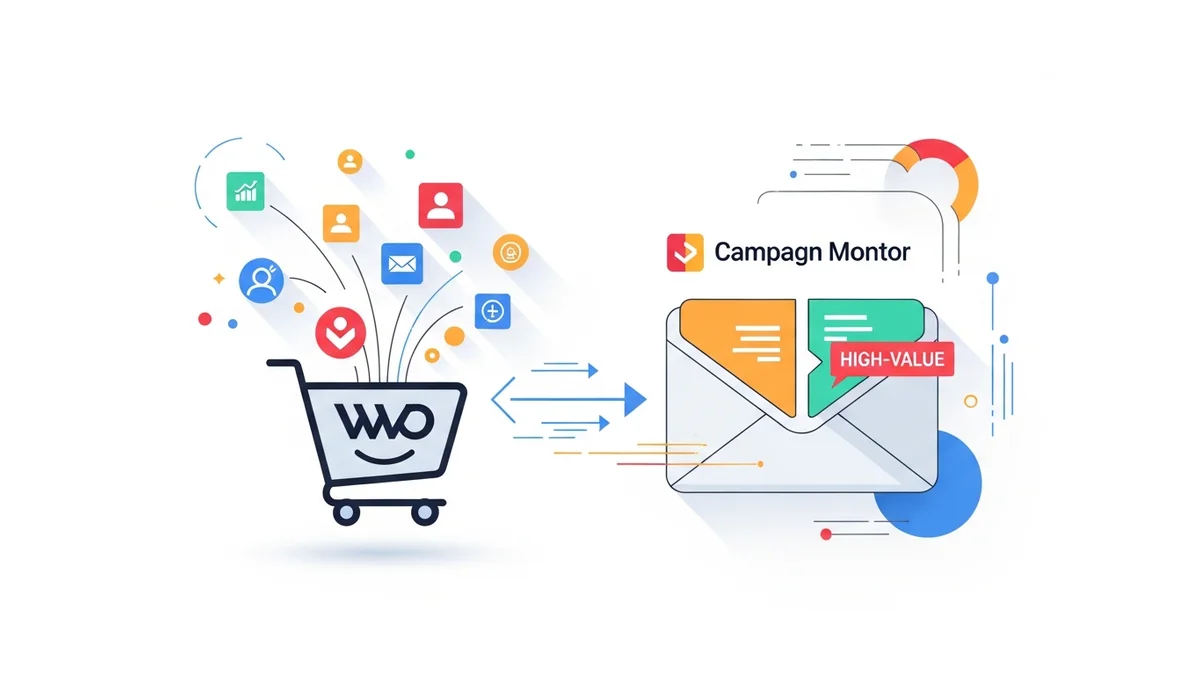
Leveraging your WooCommerce customer data within an email marketing platform like Campaign Monitor allows you to pinpoint these valuable shoppers. By creating dedicated segments, you can craft personalised campaigns that resonate, foster loyalty, and drive repeat purchases. This step-by-step tutorial will guide e-commerce managers through the process of building a robust high-value customer segment in Campaign Monitor, directly informed by your WooCommerce customer data.
Why Segment High-Value Customers?
Targeting your most valuable customers with generic marketing messages is a missed opportunity. High-value customer segmentation offers distinct advantages that directly impact your business metrics and ROI:
- Increased Customer Lifetime Value (CLTV): By recognising and rewarding your best customers, you encourage them to spend more over time, significantly boosting their CLTV.
- Higher Engagement and Conversion Rates: Personalised offers and content tailored to their preferences lead to more opens, clicks, and conversions.
- Improved Customer Retention: Exclusive access, loyalty programs, and VIP treatment make high-value customers feel appreciated, reducing churn and fostering long-term loyalty.
- Optimised Marketing Spend: Focusing resources on customers with a proven track record of spending yields a higher return on investment compared to broad, untargeted campaigns.
- Enhanced Brand Advocacy: Delighted high-value customers are more likely to become brand advocates, referring new customers and sharing positive experiences.
Prerequisites: Syncing WooCommerce Data to Campaign Monitor
Before you can build high-value segments, you need to ensure your WooCommerce customer data is accurately and consistently synced to Campaign Monitor. This integration is critical, as it populates the custom fields in Campaign Monitor that you'll use for segmentation.
It's important to clarify that many standard integrations between WooCommerce and Campaign Monitor primarily sync customer *profile* data (e.g., name, email, address, subscription status). Direct syncing of detailed purchase history, specific order data (like 'Total Spent,' 'Order Count,' 'Last Order Date'), or complex engagement patterns *is often not supported directly as custom fields for segmentation within Campaign Monitor* by typical plugins. Instead, to segment by high-value criteria, you might need to pre-calculate or assign a 'customer value tier' within WooCommerce (or an external system) and then sync this derived attribute as a custom field to Campaign Monitor. This ensures that a relevant indicator of customer value is available for your segmentation rules.
Ensure your integration is configured to bring over these key data points as custom fields in your Campaign Monitor subscriber list. Without this rich data, building sophisticated segments based on customer attributes will not be possible.
Defining Your "High-Value" Customer
The definition of a "high-value" customer isn't universal; it depends entirely on your specific business, product catalog, and sales cycles. Before you dive into Campaign Monitor, take a moment to establish what criteria define a high-value customer for your WooCommerce store. While these metrics are crucial for *defining* high value, remember that they may need to be calculated and assigned to a customer *outside* Campaign Monitor, with the resulting "value tier" or "status" then synced as a custom field. Consider these common metrics:
- Total Spend Threshold: What's the minimum cumulative amount a customer needs to spend to be considered high-value? (e.g., top 10% of spenders, customers who have spent over $500).
- Order Frequency/Count: Do they make repeat purchases? (e.g., customers who have placed 3+ orders).
- Recency of Purchase: Are they recent high-spenders, or have they not bought in a while? (e.g., customers who spent over $X in the last 90 days).
- Specific Product Purchases: Do they buy your premium products, subscriptions, or high-margin items?
For example, a luxury fashion brand might define high-value customers as those who have spent over $1,000 in the last year. A subscription box service might define them as customers who have maintained an active subscription for over six months and also purchased add-ons. Choose metrics that truly reflect significant value to your business. Once defined, you would then need to assign a corresponding custom field (e.g., "Customer Tier: VIP") to these customers in WooCommerce or through a data management process, which then syncs to Campaign Monitor.
Step-by-Step Tutorial: Building the Segment in Campaign Monitor
Once your WooCommerce customer data, including any derived high-value indicators, is flowing into Campaign Monitor and you've defined your high-value criteria, you're ready to build your segment. Follow these steps:
Step 1: Log In and Navigate to Your Subscriber List
- Log in to your Campaign Monitor account.
- From the dashboard, navigate to Lists & subscribers.
- Select the specific subscriber list that contains your WooCommerce customer data. This is typically your main customer list.
You should see an overview of your subscribers. Ensure that the custom fields reflecting WooCommerce data (like "Customer Tier," "VIP Status," etc.) are visible and populated for your subscribers.
Step 2: Create a New Segment
- Within your chosen subscriber list, click on the Segments tab.
- Click the Create a new segment button. This will open the segment builder interface.
Campaign Monitor's segment builder is intuitive, allowing you to combine various rules to narrow down your audience.
Step 3: Define Segmentation Rules Using WooCommerce Data
This is where you apply your "high-value" definition using the synced WooCommerce customer data. You'll typically use a custom field that represents a pre-calculated or assigned value tier.
- Click Add a rule.
- From the first dropdown, select a custom field synced from WooCommerce that indicates customer value. Common choices for high-value segments might include:
- Customer Tier: If you've assigned tiers like 'VIP', 'Gold', 'Silver' based on their overall value.
- VIP Status: A simple 'Yes' or 'No' indicator.
- Subscription Status: If a high-value customer is defined by holding a premium subscription.
- Choose the appropriate operator for your rule:
- is equal to: For specific tiers or statuses (e.g., "Customer Tier is equal to VIP").
- contains: If a field might contain multiple tags or statuses.
- Enter the value for your rule.
Practical Examples for High-Value Segments:
Example 1: VIP Customers (Based on a Tiered System)
- Rule 1: "Customer Tier" is equal to "VIP"
This segment identifies all customers who have been designated as VIPs in your WooCommerce system and had that status synced as a custom field.
Example 2: Customers with Active Premium Subscriptions
- Rule 1: "Subscription Status" is equal to "Premium Active"
This segment targets customers who are actively subscribed to your most valuable subscription service, assuming "Subscription Status" is a synced custom field.
Example 3: Customers with a Specific Loyalty Tag
If your WooCommerce setup allows for customer tagging and those tags sync as a custom field (e.g., "Customer Tags"):
- Rule 1: "Customer Tags" contains "Loyalty Club Member"
This allows you to target high-value customers who have been enrolled in a loyalty program.
Step 4: Naming and Saving Your Segment
- Once you've set all your rules, review the "Subscribers in this segment" count to ensure it aligns with your expectations.
- Enter a clear and descriptive name for your segment (e.g., "WooCommerce - VIP Tier Customers", "WooCommerce - Premium Subscribers").
- Click Save segment.
A well-named segment makes it easy to find and use in future campaigns.
Step 5: Reviewing and Refining the Segment
After saving, you can always revisit and refine your segment:
- From the Segments tab, click on your newly created segment.
- You can edit the rules, add new ones, or delete existing ones.
- Observe how changes to the rules affect the number of subscribers in the segment. Adjust thresholds as needed to achieve your desired segment size and focus.
Regularly review your high-value segment. Customer behaviour changes, and your definition of "high-value" might evolve with your business. Campaign Monitor segments update dynamically, so as new WooCommerce data syncs, customers will automatically enter or leave segments based on the rules you've set.
Leveraging Your High-Value Segment for Maximum Impact
Creating the segment is just the first step. The real value comes from how you engage these customers. Here are strategies for leveraging your high-value segment:
- Exclusive Offers and Discounts: Provide early access to sales, unique discount codes, or special bundles not available to general subscribers.
- Loyalty Programs: Invite them to a VIP loyalty program with exclusive perks, points, or tiered rewards.
- Personalised Product Recommendations: Send emails featuring new products or complementary items based on their known preferences or what's typically purchased by their value tier.
- Early Access to New Products: Make them feel special by offering them the first look or opportunity to purchase upcoming products before the general public.
- Birthday and Anniversary Rewards: Celebrate their special days with personalised gifts or discounts.
- Dedicated Customer Support: Highlight access to priority support or a dedicated contact person.
- Feedback and Input Requests: Ask for their opinions on new product ideas or services, making them feel valued and heard.
Measure the success of these campaigns by tracking open rates, click-through rates, conversion rates, and the overall ROI generated from emails sent to this segment. Compare these metrics to your general campaigns to demonstrate the effectiveness of segmentation.
Advanced Segmentation Strategies
Once you're comfortable with basic high-value segmentation, consider these advanced tactics:
- Segment Overlap: Create segments that combine high-value status with other interests (e.g., "High-Value Customers interested in Product Category X") by adding more rules, assuming "Product Category X" is another synced profile attribute or tag.
- Exclusion Segments: Create segments of high-value customers who *haven't* engaged with recent communications to create re-engagement campaigns for at-risk VIPs.
The flexibility of Campaign Monitor, coupled with rich WooCommerce customer profile data and derived value attributes, allows for highly sophisticated and effective segmentation strategies that can continuously drive business growth.
Related Articles
Continue your learning with these related resources:
- The Complete Email Marketing Guide for WooCommerce Stores Using Campaign Monitor (Comprehensive Guide)
- How to Run a Black Friday Email Campaign for Your WooCommerce Store in Campaign Monitor
- What Email List Opt-in Incentives Work Best for WooCommerce Stores
- How to Create a Win-Back Email Campaign for Lapsed WooCommerce Customers in Campaign Monitor
- How to Re-Engage WooCommerce Customers Who Never Opted in to Your Email List
- How to Reduce WooCommerce Customer Churn with Targeted Retention Emails in Campaign Monitor
Conclusion
Building a high-value customer segment in Campaign Monitor using your WooCommerce data is a powerful strategy for any e-commerce manager focused on business growth and ROI. By precisely identifying your most valuable customers through synced customer profile data and derived value attributes, you can craft highly personalised and impactful email campaigns that foster loyalty, increase repeat purchases, and significantly boost customer lifetime value.
Embrace the power of data-driven segmentation to transform your email marketing from a broadcast tool into a precision instrument, ensuring your best customers always receive the attention and offers they deserve. This proactive approach will undoubtedly lead to stronger customer relationships and a healthier bottom line for your WooCommerce store.