Introduction
For any WooCommerce store owner, building a strong connection with customers is key to repeat business and growth. Email marketing remains one of the most effective ways to achieve this, and Campaign Monitor offers a powerful platform to manage your subscriber lists and send engaging campaigns. By linking your WooCommerce store directly to Campaign Monitor, you can automatically add new customers, track their engagement, and segment them for highly targeted email promotions.
This guide will walk you through the entire process of connecting your WooCommerce store to Campaign Monitor using a dedicated integration plugin. We'll cover everything from finding your API keys to configuring subscriber lists, managing opt-in settings, and ensuring your customer data flows seamlessly between platforms. Get ready to streamline your email marketing and unlock new opportunities for your online business.
Why Connect WooCommerce to Campaign Monitor?
Connecting your e-commerce platform with your email marketing service isn't just a convenience; it's a strategic move that can significantly impact your sales and customer loyalty. When WooCommerce and Campaign Monitor work together, you gain a holistic view of your customers and their engagement, allowing for more personalized and effective communication.
Here’s why this integration is a game-changer for your store:
- Automated Subscriber Management: New customers or newsletter sign-ups from WooCommerce are automatically added to your Campaign Monitor lists, saving you manual effort and ensuring your lists are always up-to-date.
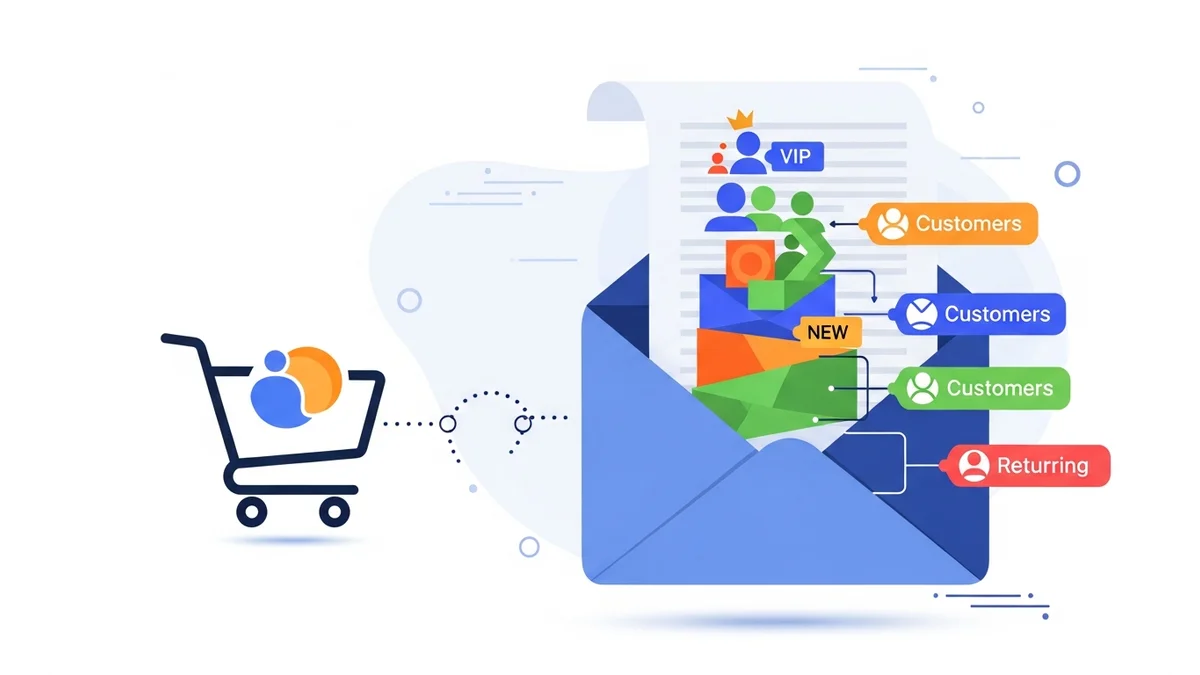
- Customer Segmentation: Easily segment customers based on their profile data, such as registration date, general activity, or location. This allows you to create highly specific campaigns, such as special offers for repeat buyers or reminders for customers who haven't shopped in a while.
- Targeted Email Campaigns: Send relevant emails that resonate with your audience. Imagine sending a discount based on a customer's general interests or a follow-up email about related products after a broad category purchase.
- Abandoned Cart Recovery: Leverage Campaign Monitor's automation features, often triggered by the plugin, to send reminders to customers who left items in their cart, encouraging them to complete their purchase.
- Personalized Communication: Use customer data like names and other profile details to personalize emails, making your messages feel more individual and less generic.
It's important to note that while this integration streamlines customer management, the plugin typically syncs customer profile data (such as name, email, and address) directly to Campaign Monitor. Detailed purchase history, specific order data, or deep engagement patterns from individual products are generally not synced as standard custom fields. Campaign Monitor's strength lies in leveraging this profile data for broad segmentation and automation triggers, while detailed transaction analysis often remains within WooCommerce. Campaigns and automations are primarily based on the synced customer profile data and email engagement metrics.
Prerequisites for Connection
Before you begin the integration process, ensure you have a few essential components in place. Having these ready will make the setup much smoother and quicker.
- An Active WooCommerce Store: Your online store must be fully set up and running on the WooCommerce platform.
- A Campaign Monitor Account: You need an active Campaign Monitor account with access to its API keys. If you don't have one, you can easily sign up on their website.
- A WooCommerce Campaign Monitor Integration Plugin: To bridge the gap between WooCommerce and Campaign Monitor, you'll need a dedicated plugin. There are several options available that facilitate this connection, providing the necessary settings and synchronization features. Choose a reputable plugin that is regularly updated and compatible with your WooCommerce version.
Step-by-Step Guide: Plugin Installation and Activation
The first step in connecting your WooCommerce store to Campaign Monitor is to install and activate the integration plugin. This process is straightforward and similar to installing any other WordPress plugin.
- Access Your WordPress Dashboard: Log in to your WordPress admin area.
- Navigate to Plugins: In the left-hand menu, hover over "Plugins" and click on "Add New."
- Search for the Plugin: In the search bar on the "Add Plugins" page, type "WooCommerce Campaign Monitor" or the specific name of the integration plugin you've chosen.
- Install the Plugin: Locate the correct plugin in the search results and click the "Install Now" button. WordPress will download and install the plugin files.
- Activate the Plugin: Once the installation is complete, the "Install Now" button will change to "Activate." Click "Activate" to enable the plugin on your website.
After activation, a new menu item or a settings tab within WooCommerce or WordPress settings should appear, indicating that the plugin is ready for configuration. This is where you'll manage your connection settings.
Step-by-Step Guide: Connecting to Campaign Monitor API
With the plugin activated, the next crucial step is to establish a secure connection between your WooCommerce store and your Campaign Monitor account. This is done by entering your Campaign Monitor API credentials into the plugin settings.
- Locate Your Campaign Monitor API Key:
- Log in to your Campaign Monitor account.
- Click on your profile picture or initials in the top right corner, then select "Account settings."
- On the account settings page, navigate to "API keys" (it might be under "API & Integrations" or a similar tab).
- You will see your API key listed. Copy this key. It's a long string of alphanumeric characters.
- Find the Plugin Settings in WooCommerce:
- Go back to your WordPress dashboard.
- Look for the newly installed plugin's settings. This is typically found under "WooCommerce" > "Settings" > "Integrations" tab, or it might have its own dedicated menu item (e.g., "Campaign Monitor" or "CM Integration").
- Enter the API Key:
- In the plugin's settings, locate the field labeled "API Key" or "Campaign Monitor API Key."
- Paste the API key you copied from your Campaign Monitor account into this field.
- Enter the Client ID (if required):
- Some plugins also require a Client ID. If your plugin asks for this, you can usually find it on the same Campaign Monitor "API keys" page, often listed directly below the API key. Copy and paste it into the designated field.
- Test the Connection:
- Most reputable integration plugins include a "Test Connection" button. Click this button to verify that your API key and Client ID are correct and that the plugin can successfully communicate with Campaign Monitor.
- If the connection is successful, you'll usually see a confirmation message. If it fails, double-check your API key and Client ID for any typos or missing characters.
- Save Changes:
- Always remember to click "Save Changes" or "Update Settings" after entering your credentials to ensure your connection details are stored.
Once connected, your WooCommerce store can now send and receive data from Campaign Monitor, opening up possibilities for automated marketing.
Step-by-Step Guide: Configuring Core Sync Settings
After establishing the API connection, the next crucial step is to configure how your customer data will synchronize between WooCommerce and Campaign Monitor. This involves choosing the right subscriber lists and understanding how different customer types will be added.
- Select Your Primary Subscriber List:
- In the plugin settings, you'll typically find an option to "Select List" or "Default Campaign Monitor List."
- This dropdown menu will populate with all the lists you've created in your Campaign Monitor account.
- Choose the main list where you want your WooCommerce customer data to be sent. For example, you might have a "WooCommerce Customers" list or a "General Newsletter" list.
- Configure Customer Roles for Sync:
- Many plugins allow you to specify which WooCommerce customer roles should be synced. For instance, you might want to sync "Customers" (those who have purchased) but not "Subscribers" (WordPress blog subscribers).
- Ensure that the relevant roles, typically "Customer," are selected for synchronization.
- Map Customer Data to Campaign Monitor Fields:
- This is vital for effective segmentation. The plugin should provide options to map WooCommerce customer data (like first name, last name, email, and address) to corresponding custom fields in Campaign Monitor.
- Ensure the "Email Address" field is correctly mapped, as this is the primary identifier.
- Enable "Subscribe on Checkout" Option:
- To grow your email list directly from your store, look for an option to display a "Subscribe to newsletter" checkbox on your WooCommerce checkout page.
- Enable this feature and customize the checkbox text (e.g., "Yes, I'd like to receive updates and exclusive offers!").
- Specify which Campaign Monitor list these opt-ins should be added to. This could be your general newsletter list or a specific "Checkout Subscribers" list.
- Set Up Subscriber Groups (Optional but Recommended):
- Campaign Monitor uses "Groups" within lists for finer segmentation. Some plugins allow you to automatically assign customers to specific groups based on their actions (e.g., "High Spender").
- Explore if your plugin offers this functionality and how to configure it to organize your subscribers further.
- Save Your Core Sync Settings:
- After making all your selections and mappings, click "Save Changes" to apply your configurations.
Properly configuring these core sync settings ensures that valuable customer profile data is accurately transferred and organized in Campaign Monitor, forming the foundation for your targeted email campaigns.
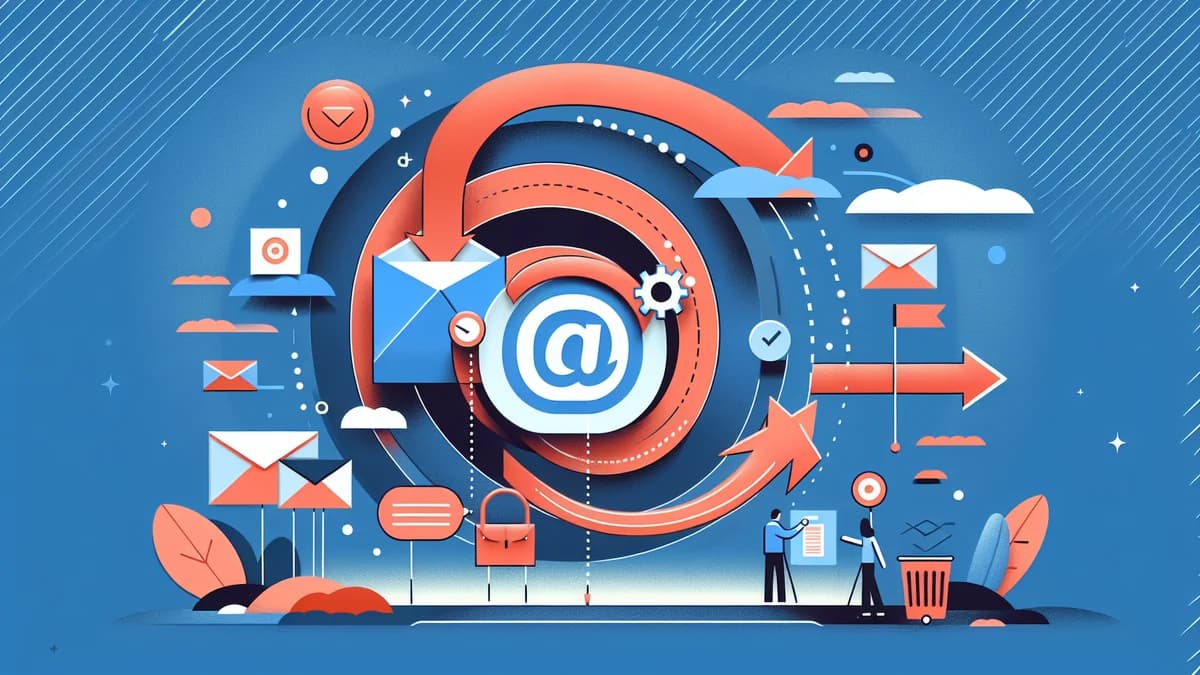
Step-by-Step Guide: Managing Double Opt-In
Double opt-in is a crucial setting that impacts the quality and compliance of your email list. It requires subscribers to confirm their subscription via an email link after signing up, ensuring they genuinely want to receive your communications.
- Understand Double Opt-In:
- Single Opt-In: A user is added to your list immediately after submitting their email address.
- Double Opt-In: After submitting their email, the user receives a confirmation email. They are only added to your active list once they click a link in that email.
- Why Use Double Opt-In?
- Improves List Quality: Reduces fake or mistyped email addresses.
- Enhances Deliverability: ISPs are more likely to trust emails sent to confirmed subscribers, reducing the chance of your emails landing in spam folders.
- Ensures Compliance: Helps you comply with various email marketing regulations (like GDPR) by providing clear proof of consent.
- Reduces Spam Complaints: Subscribers are less likely to mark your emails as spam if they actively confirmed their interest.
- Locate Double Opt-In Settings in Your Plugin:
- Within your WooCommerce Campaign Monitor integration plugin settings, look for a section related to "Opt-In Settings," "Subscription Confirmation," or "Double Opt-In."
- Enable or Disable Double Opt-In:
- You will typically find a checkbox or toggle switch to enable or disable double opt-in.
- Recommendation: For best practices and list hygiene, it is generally recommended to enable double opt-in, especially for new subscribers from the checkout page.
- Configure Confirmation Email (if available):
- Some plugins allow you to choose which Campaign Monitor confirmation email template to use, or even customize the subject line and body of the confirmation email directly from the plugin.
- Ensure the confirmation email is clear, branded, and encourages users to complete their subscription.
- Save Your Settings:
- Once you've made your decision and configured any related options, click "Save Changes" to apply your double opt-in preferences.
By carefully managing double opt-in, you build a healthier, more engaged email list, which is essential for long-term email marketing success.
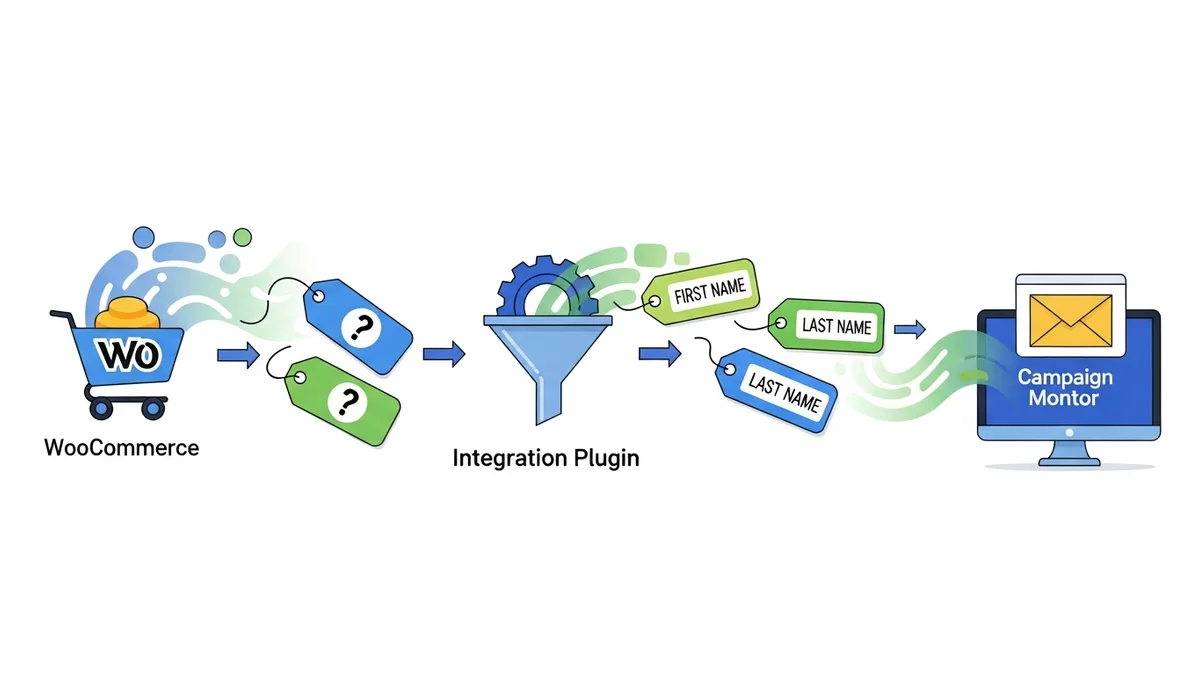
Step-by-Step Guide: Configuring Name Format and Custom Fields
Accurate name formatting and comprehensive custom field mapping are critical for personalizing your emails and segmenting your audience effectively. This ensures that when you send an email, it addresses your customer correctly and uses any other relevant data you've collected.
- Set Name Format Options:
- In your plugin's settings, look for options related to "Name Format," "Subscriber Name," or similar.
- You might have choices like:
- First Name, Last Name: (e.g., "John Doe") – This is usually the default and most common.
- Full Name: (e.g., "John Doe") – If WooCommerce stores it as one field.
- Only First Name: (e.g., "John") – Useful if you only collect first names or prefer a less formal approach.
- Select the format that best suits your communication style and the data you collect in WooCommerce.
- Map Standard Customer Fields:
- The plugin should automatically map basic fields like "Email Address," "First Name," and "Last Name" to their corresponding Campaign Monitor fields.
- Verify these mappings are correct. If your Campaign Monitor list uses different field names (e.g., "Given Name" instead of "First Name"), ensure they are correctly linked.
- Map WooCommerce Specific Data to Custom Fields:
- This is where the real power of the integration comes into play. You'll want to send valuable WooCommerce customer profile data to Campaign Monitor as custom fields for advanced segmentation.
- Create Custom Fields in Campaign Monitor: Before mapping, log into Campaign Monitor and create any custom fields you need (e.g., "City," "Registration Date"). Ensure the data type (Text, Number, Date) matches what you'll be sending.
- Map in Plugin Settings: Go back to your WooCommerce plugin settings. You should find a section for "Custom Field Mapping" or "Advanced Fields."
- Some plugins also allow mapping customer address details (city, state, postcode).
- Verify Data Types:
- Double-check that the data type of the WooCommerce field matches the data type of the Campaign Monitor custom field. Mismatches can cause sync errors.
- Save All Changes:
- After meticulously mapping all your desired fields, remember to click the "Save Changes" button to apply your configuration.
With accurate name formats and rich custom field data, you can create highly personalized and targeted email campaigns that resonate deeply with your customers.
Step-by-Step Guide: Setting Up Sync Timing
Determining how often your WooCommerce data synchronizes with Campaign Monitor is an important configuration step. The right sync timing ensures your customer lists are always up-to-date without overburdening your server.
- Locate Sync Timing Settings:
- In your plugin's settings, look for sections like "Synchronization Schedule," "Sync Frequency," or "Update Interval."
- Choose Your Sync Frequency:
- Most plugins offer various options for how often data is pushed from WooCommerce to Campaign Monitor:
- Real-time/Instant Sync: Data is sent to Campaign Monitor immediately after a customer action (e.g., new order, new subscription). This is ideal for timely communications like abandoned cart emails.
- Hourly/Daily Sync: Data is batched and sent at specific intervals (e.g., every hour, once a day). This can be less resource-intensive for your server.
- Manual Sync Only: Data is only sent when you manually trigger a sync (covered in the next section).
- Most plugins offer various options for how often data is pushed from WooCommerce to Campaign Monitor:
- Consider Your Store's Needs:
- For high-volume stores or critical automations (like abandoned carts): "Real-time" or "Hourly" sync is often preferred to ensure data is fresh and automations trigger promptly.
- For smaller stores or less time-sensitive campaigns: "Daily" sync might be sufficient and helps conserve server resources.
- Understand Server Impact:
- More frequent syncs mean your server will be working harder. While modern plugins are optimized, very frequent syncs on shared hosting can sometimes cause performance issues. Choose a balance between data freshness and server load.
- Configure Specific Sync Events (if available):
- Some advanced plugins allow you to specify exactly what triggers a sync. For example, you might choose to sync:
- When a new customer account is created.
- When an order status changes (e.g., "Processing" to "Completed").
- When a customer opts into the newsletter.
- Some advanced plugins allow you to specify exactly what triggers a sync. For example, you might choose to sync:
- Save Your Sync Schedule:
- Once you've selected your preferred sync timing and events, click "Save Changes" to apply your settings.
Regular and appropriate sync timing ensures that your Campaign Monitor lists reflect the most current state of your WooCommerce customer base, enabling effective and timely marketing.
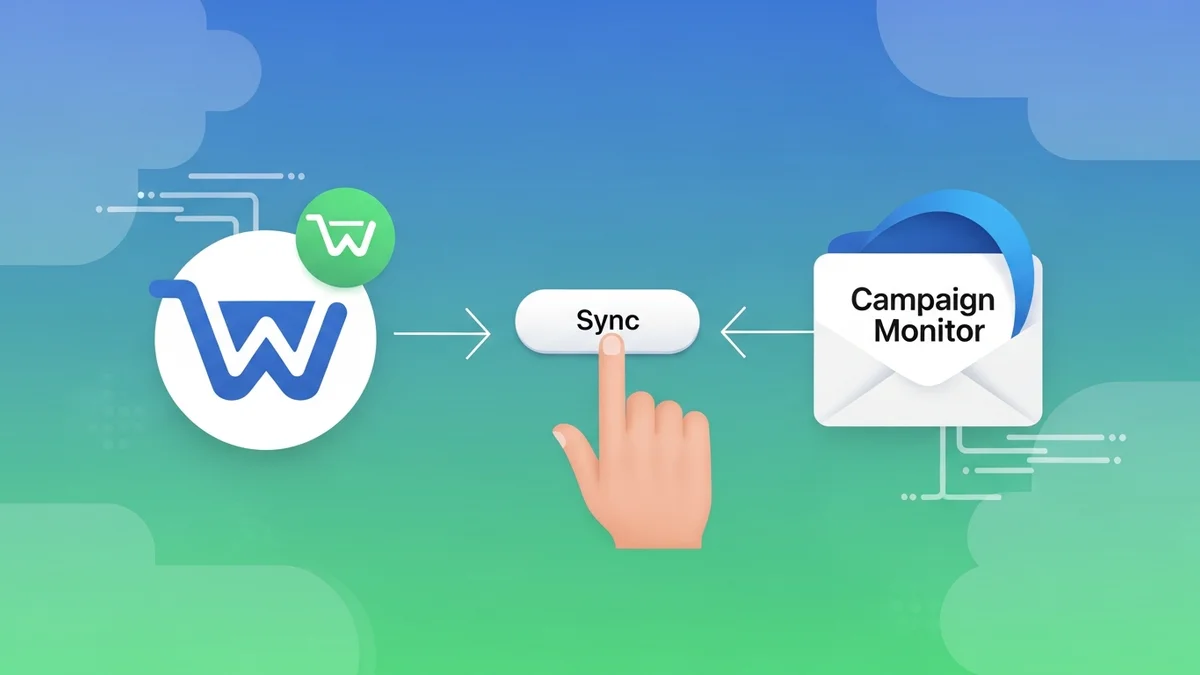
Step-by-Step Guide: Utilizing Manual Sync Options
While automated synchronization handles most data transfers, there are times when a manual sync is necessary or beneficial. This feature allows you to force a data update, especially useful for historical data or troubleshooting.
- When to Use Manual Sync:
- Initial Setup: After first connecting, you'll likely want to sync all existing WooCommerce customers to your Campaign Monitor list.
- Historical Data Transfer: If you've been running your store for a while before integrating, manual sync can push all past customer profile data.
- Troubleshooting: If you suspect some data isn't syncing automatically, a manual sync can help diagnose or resolve the issue.
- Bulk Updates: After making significant changes to customer profile data in WooCommerce (e.g., importing a large batch of new customers), you can use manual sync to push these updates.
- Locate Manual Sync Option:
- In your plugin's settings, look for a button or link labeled "Manual Sync," "Sync All Customers," "Run Sync Now," or similar. This is often found within the general settings or a dedicated "Tools" tab.
- Initiate the Sync:
- Click the "Manual Sync" button. The plugin will typically start processing your WooCommerce customer profile data and sending it to Campaign Monitor.
- Be Patient: Depending on the number of customers and orders you have, a full manual sync can take some time. Do not close the browser tab or navigate away if the plugin indicates it's actively syncing.
- Monitor Progress (if available):
- Some plugins provide a progress bar or status message indicating how many customers have been synced. This is helpful for large data transfers.
- Verify Data in Campaign Monitor:
- After the manual sync completes, log in to your Campaign Monitor account.
- Navigate to the list you selected for synchronization.
- Check if your existing customers have appeared on the list and if their custom field data has been correctly populated.
The manual sync option is a powerful tool for ensuring all your valuable customer profile data is consistently available in Campaign Monitor, ready for your email marketing efforts.
Best Practices for Using Campaign Monitor with WooCommerce
Connecting your platforms is just the first step. To truly maximize the value of this integration, implement these best practices:
- Segment Your Audience: Don't just send blanket emails. Use the customer profile data mapped from WooCommerce to create highly specific segments (e.g., "Customers in City Y," "Customers who signed up last month").
- Automate Welcome Series: Set up an automated welcome email series for new subscribers or first-time buyers. This builds rapport and guides them through their initial experience.
- Implement Abandoned Cart Automations: Leverage Campaign Monitor's automation features, often triggered by the plugin, to send reminders to customers who left items in their cart, encouraging them to complete their purchase.
- Personalize Everything: Use custom fields to dynamically insert customer names or other relevant profile details into your emails.
- Send Post-Purchase Follow-ups: Automate emails that ask for reviews or offer support after a purchase, based on general customer status.
- Re-engagement Campaigns: Identify inactive customers and target them with special offers to bring them back to your store.
- Monitor Performance: Regularly check Campaign Monitor's reports to understand what campaigns are performing well, which segments are most engaged, and what adjustments you need to make.
Troubleshooting Common Connection Issues
Even with careful setup, you might encounter issues. Here are common problems and their solutions:
- "Invalid API Key" Error:
- Solution: Double-check your API key and Client ID in Campaign Monitor. Ensure you've copied and pasted them exactly, without any extra spaces. Re-enter them into the plugin settings.
- Data Not Syncing:
- Solution 1: Verify your sync timing settings. If it's set to daily, wait for the next scheduled sync or initiate a manual sync.
- Mastering WooCommerce Campaign Monitor Pro: Your Ultimate Integration Guide for E-commerce Growth (Comprehensive Guide)
- How to Optimize WooCommerce Order Sync Timing for Campaign Monitor
- How to Set the Subscriber Name Format Sent from WooCommerce to Campaign Monitor
- How to Manually Sync a WooCommerce Order to Campaign Monitor from the Order Admin
- How to Choose the Right Campaign Monitor List for Your WooCommerce Store
- How to Bypass Campaign Monitor Double Opt-in for WooCommerce Checkout Subscribers
Related Articles
Continue your learning with these related resources: