Introduction
In the world of online retail, connecting with your customers on a personal level is key to building lasting relationships and driving sales. One of the simplest yet most effective ways to do this is by addressing them by name in your email campaigns. When you integrate your WooCommerce store with an email marketing platform like Campaign Monitor, ensuring that subscriber names are sent in the correct format becomes incredibly important.
Imagine sending an email that starts with "Hello [First Name]" instead of "Hello Valued Customer." This small detail can make a big difference in how your messages are received. This guide will walk you through the process of setting the subscriber name format from your WooCommerce store to Campaign Monitor, helping you achieve better personalisation and more engaging marketing.
Why Accurate Name Formatting is Crucial for Your Marketing
The way subscriber names appear in your Campaign Monitor lists directly impacts your ability to personalise communications. Getting this right offers several benefits for your email marketing strategy:
- Enhanced Personalisation: Using a customer's actual name in email subject lines or greetings significantly increases open rates and engagement. It makes your emails feel less like generic marketing and more like a direct conversation.
- Improved Segmentation: While names aren't typically used for primary segmentation, having accurate first and last names can aid in more advanced personalisation tactics or simply ensure your data is clean for other uses.
- Professional Communication: Sending emails that correctly address your subscribers reflects professionalism and attention to detail. Incorrect or incomplete names can detract from your brand's image.
- Better User Experience: When customers see their name correctly displayed, it reinforces that your brand understands and values them, contributing to a positive overall experience.
Understanding How Names are Stored and Synced
Before diving into the setup, it's helpful to understand how customer names typically flow from WooCommerce to Campaign Monitor.
WooCommerce Customer Data
When a customer places an order or creates an account on your WooCommerce store, their information, including their name, is recorded. WooCommerce typically stores names in separate fields: a "First Name" and a "Last Name." Sometimes, a "Full Name" might be derived from these two fields.
For example, if a customer named "Jane Smith" buys something, WooCommerce will store "Jane" in the first name field and "Smith" in the last name field. This structured data is what your integration plugin uses to send information to Campaign Monitor.
Campaign Monitor Subscriber Fields
Campaign Monitor, like many email marketing platforms, has its own way of storing subscriber names. Most commonly, it uses a single "Name" field where the full name (e.g., "Jane Smith") is stored. However, Campaign Monitor also allows for custom fields, meaning you could potentially have separate "First Name" and "Last Name" fields if you configure them that way. Your integration plugin needs to know how to map the WooCommerce name data to the appropriate Campaign Monitor field.
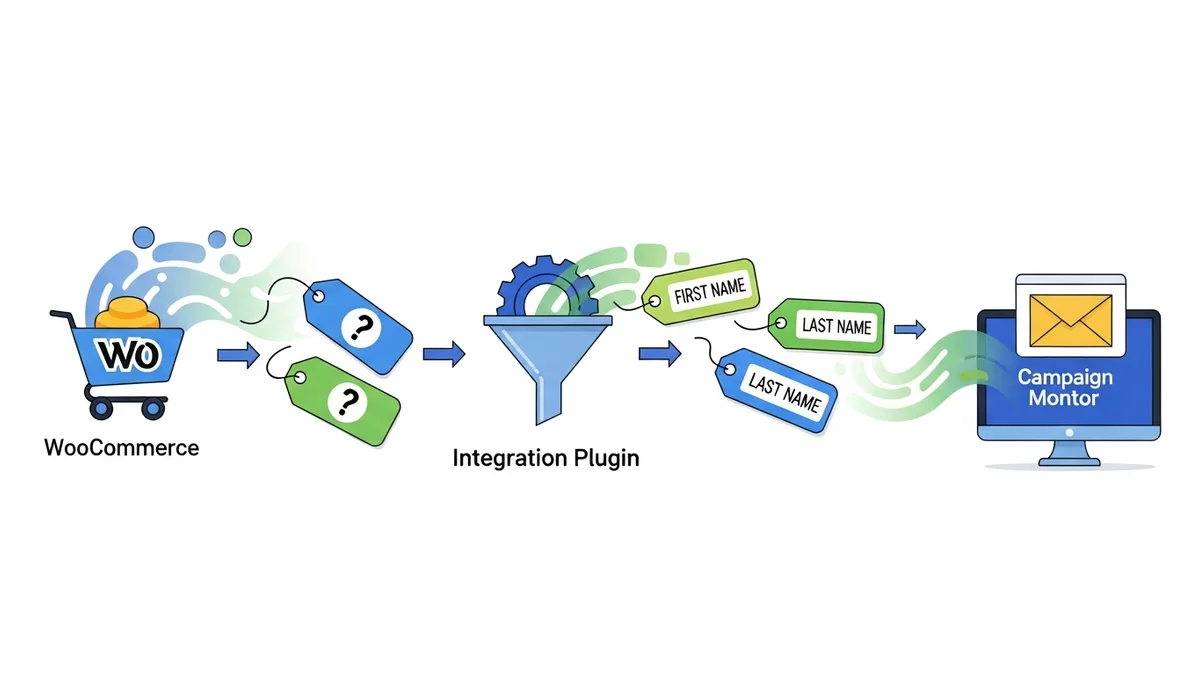
The Role of Your Integration Plugin
Your WooCommerce Campaign Monitor connector plugin acts as the bridge between your store and your email marketing platform. It's responsible for taking the customer data from WooCommerce and formatting it correctly before sending it over to Campaign Monitor. This includes managing how the first name, last name, or a combination of both is presented as the subscriber's name in your Campaign Monitor list.
The plugin provides specific settings that allow you to define this name format, ensuring that your personalisation efforts are accurate and effective.
Step-by-Step Guide: Setting Your Subscriber Name Format
Now, let's walk through the exact steps to configure the subscriber name format within your WooCommerce Campaign Monitor integration plugin. The exact names of menus or options might vary slightly depending on the specific plugin you use, but the general process remains the same.
Step 1: Access Your Plugin Settings in WooCommerce
Your first step is to navigate to the settings area of your WooCommerce Campaign Monitor integration plugin. This is typically found within your WordPress dashboard.
- Log in to your WordPress admin dashboard.
- From the left-hand menu, look for WooCommerce and click on it.
- Under the WooCommerce menu, you should find an option related to your Campaign Monitor integration. This might be labelled "Campaign Monitor," "Email Marketing," or similar. Click on it to open the plugin's main settings page.
Once you're on the plugin's settings page, you'll likely see several tabs or sections. Look for the one that deals with general settings, subscriber settings, or field mapping.
Step 2: Locate the Subscriber Field Mapping or Name Format Options
Within the plugin's settings, you need to find the specific option that controls how the subscriber's name is formatted when sent to Campaign Monitor. This is where you tell the plugin what combination of WooCommerce name fields to use.
- Scan the tabs or sections of the plugin settings. Common labels for this section include "Subscriber Fields," "Field Mapping," "General Settings," or "Synchronisation Options."
- Once you've found the relevant section, look for a setting specifically related to the "Subscriber Name," "Name Format," or "How to send names to Campaign Monitor."
This setting will usually present you with a dropdown menu or a series of radio buttons to choose from.
Step 3: Choose Your Desired Name Format
This is the critical step where you decide how your customers' names will appear in Campaign Monitor. Your plugin will offer several standard options, and selecting the right one depends on your personalisation strategy and how Campaign Monitor is set up.
- Full Name (First Name Last Name): This is often the default and most common choice. It combines the customer's first name and last name into a single string (e.g., "John Doe").
- When to use: Ideal if your Campaign Monitor list uses a single "Name" field for personalisation, which is very common. It provides a complete and professional address.
- First Name Only: This option sends only the customer's first name (e.g., "John") to Campaign Monitor.
- When to use: Suitable if you prefer a more informal tone in your emails (e.g., "Hey John!") or if your Campaign Monitor setup specifically requires only the first name for a particular field.
- Last Name Only: This option sends only the customer's last name (e.g., "Doe").
- When to use: Less common for direct personalisation but might be used for specific internal data management or if your Campaign Monitor list is configured in an unusual way.
- Custom Format (if available): Some advanced plugins might offer a "Custom Format" option, allowing you to combine fields using placeholders (e.g.,
{first_name} {last_initial}for "John D.").- When to use: If you have a very specific or unique way you want names to appear, and your plugin supports it. This offers the most flexibility.
Carefully consider which option best suits your email marketing goals and how you plan to use the name data in Campaign Monitor.
Step 4: Consider Campaign Monitor's Field Structure
While choosing the format, quickly double-check your Campaign Monitor list setup. If Campaign Monitor has separate fields for "First Name" and "Last Name," your plugin might have options to map WooCommerce's individual first and last name fields directly. However, if Campaign Monitor primarily uses a single "Name" field, then selecting "Full Name" (First Name Last Name) in your plugin's settings is usually the best approach.
Most integration plugins are designed to work smoothly with Campaign Monitor's default "Name" field, making the "Full Name" option the most straightforward choice.
Step 5: Save Your Changes
Once you've selected the desired name format, it's crucial to save your settings. Forgetting this step means your changes won't be applied, and your names will continue to sync in the previous format.
- Look for a "Save Changes," "Update Settings," or similar button at the bottom or top of the plugin's settings page.
- Click this button to apply your new name format configuration.
You should see a confirmation message indicating that your settings have been successfully updated.
Step 6: Test Your Configuration
The final and perhaps most important step is to test your new configuration to ensure everything is working as expected. This helps confirm that names are now syncing in your chosen format.
- For New Subscribers: Place a test order on your WooCommerce store using a new email address and a clear first and last name. Complete the checkout process.
- For Existing Subscribers: If your plugin has a manual sync option, try performing a manual sync for an existing customer whose name you've updated or confirmed in WooCommerce. Alternatively, make a small change to an existing customer's account (e.g., update their address) which might trigger a re-sync.
- Check Campaign Monitor: Log in to your Campaign Monitor account. Navigate to the list where your WooCommerce subscribers are added. Find the test subscriber you just created or updated.
- Verify the Name: Check the "Name" field (or relevant name fields) for that subscriber. Does it match the format you selected in your plugin settings?
If the name appears correctly, congratulations! Your name format is successfully configured. If not, revisit the steps, double-check your selections, and ensure you saved the changes.
Best Practices for Managing Subscriber Names
Beyond the initial setup, consider these best practices to maintain clean and effective subscriber data:
- Consistency is Key: Once you choose a name format, try to stick with it. Constantly changing formats can lead to inconsistencies in your data and complicate personalisation efforts.
- Handling Existing Subscribers: Understand how your plugin treats existing subscribers when you change the name format. Some plugins might only apply the new format to future subscribers, while others might update existing ones during a re-sync. Check your plugin's documentation if unsure.
- Default Fallbacks: What happens if a customer doesn't provide a first or last name during checkout? Most plugins have a fallback (e.g., using "Customer" or leaving the field blank). Be aware of this and consider if you need to enforce name fields during checkout.
- Review Regularly: As your business evolves, periodically review your integration settings. Your marketing needs might change, requiring adjustments to how you manage subscriber data.
Troubleshooting Common Name Format Issues
Even with careful setup, you might occasionally encounter issues. Here are some common problems and how to troubleshoot them:
- Names Not Appearing Correctly:
- Check Plugin Settings: Double-verify that you selected the correct name format option in your WooCommerce Campaign Monitor plugin settings and saved the changes.
- Campaign Monitor Field Type: Ensure the "Name" field in your Campaign Monitor list is set to a "Text" field type, which can accept full names.
- Missing Names for Some Subscribers:
- WooCommerce Data: Check the customer's order or account details in WooCommerce. Was the first or last name actually provided during their purchase or account creation?
- Required Fields: Consider making the first and last name fields mandatory during your WooCommerce checkout process to ensure you always capture this data.
- Updates Not Reflecting Immediately:
- Sync Frequency: Most plugins sync data on a set schedule (e.g., hourly, daily). Your changes might not appear until the next scheduled sync.
- Manual Sync: If available, use your plugin's manual sync option to force an immediate update for specific customers or your entire list.
- Cache Issues: If you use caching plugins, clear your cache after making changes to plugin settings.
Related Articles
Continue your learning with these related resources:
- Mastering WooCommerce Campaign Monitor Pro: Your Ultimate Integration Guide for E-commerce Growth (Comprehensive Guide)
- How to Optimize WooCommerce Order Sync Timing for Campaign Monitor
- How to Manually Sync a WooCommerce Order to Campaign Monitor from the Order Admin
- How to Choose the Right Campaign Monitor List for Your WooCommerce Store
- How to Bypass Campaign Monitor Double Opt-in for WooCommerce Checkout Subscribers
- How to Connect WooCommerce to Campaign Monitor: Complete Setup Guide
Conclusion
Setting the subscriber name format correctly from WooCommerce to Campaign Monitor is a small but powerful step towards creating more personalised and effective email marketing campaigns. By following this step-by-step guide, you can ensure that your customer data flows seamlessly and appears exactly as you intend in Campaign Monitor.
A well-configured integration not only saves you time on manual data entry but also empowers you to build stronger connections with your audience, leading to increased engagement and ultimately, more sales for your WooCommerce store. Take control of your personalisation today and make every email count.