Introduction
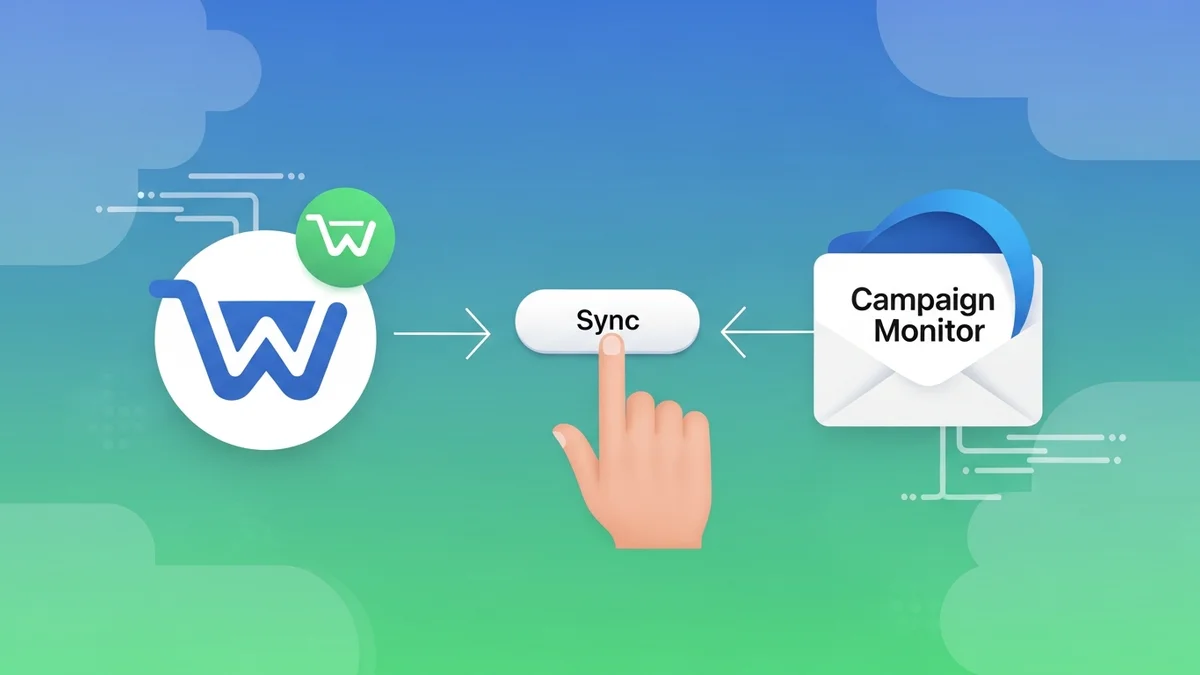
Maintaining a seamless flow of customer data between your e-commerce platform and email marketing service is paramount for effective marketing automation. For WooCommerce store owners utilising Campaign Monitor, automated syncs typically handle this transfer. However, there are specific scenarios where a manual sync of a WooCommerce order to Campaign Monitor directly from the order administration page becomes an indispensable tool.
This guide provides e-commerce managers with a clear, step-by-step process for performing a manual order sync. Understanding this functionality empowers you to troubleshoot data discrepancies, test new configurations, and ensure that critical customer profile information is always accurately reflected in your Campaign Monitor account, driving more personalised and effective campaigns.
Why Manual Sync is Essential for E-commerce Managers
While automated integrations generally work flawlessly, circumstances arise where manual intervention is required. For e-commerce managers focussed on data integrity and operational efficiency, knowing how to manually sync an order is a valuable skill. It provides a safety net and a powerful diagnostic tool.
Key Scenarios for Manual Sync
- Troubleshooting Data Issues: If an order doesn't appear in Campaign Monitor as expected, a manual sync helps pinpoint if the issue is with the order data itself or the automated sync process.
- Initial Setup and Testing: When first configuring your Campaign Monitor integration, manual syncing allows you to test the connection and data mapping with specific orders before relying on automation.
- Missed Automated Syncs: Occasionally, a temporary server glitch or plugin conflict might cause an automated sync to fail for a particular order. Manual sync ensures that no valuable customer data is lost.
- Updating Existing Subscriber Data: If a customer's order details change (e.g., address update, refund processed and re-ordered), a manual sync can push the latest information to Campaign Monitor, updating their subscriber profile.
- Specific Campaign Requirements: For targeted campaigns that require immediate, precise customer profile updates related to a recent purchase, a manual sync ensures the information is available without waiting for the next automated cycle.
By leveraging manual sync, you maintain greater control over your customer data, ensuring that your Campaign Monitor segments and automation workflows are always based on the most current and accurate information from your WooCommerce store.
Prerequisites for Manual Sync
Before you can manually sync a WooCommerce order, ensure that your environment is properly configured. These foundational steps guarantee that the integration between your WooCommerce store and Campaign Monitor is active and ready to transmit data.
- WooCommerce Installed and Active: Your e-commerce store must be operational on the WooCommerce platform.
- Campaign Monitor for WooCommerce Plugin: You need the official Campaign Monitor for WooCommerce plugin installed and activated on your WordPress site. This plugin facilitates the connection and data transfer.
- Active Campaign Monitor Account: You must have a live Campaign Monitor account with appropriate API access.
- Plugin Connected to Campaign Monitor: The WooCommerce Campaign Monitor plugin must be successfully connected to your Campaign Monitor account via API credentials. This is typically configured in the plugin's settings within your WordPress admin.
- Default List Selected: Ensure that you have selected a default subscriber list in your plugin settings. This is where new subscribers and customer profile data will primarily be directed.
Once these prerequisites are met, you're ready to proceed with the manual synchronisation process, confident that your systems are properly aligned for data transfer.
Step-by-Step Guide: Manually Syncing a WooCommerce Order
This tutorial walks you through the precise steps to manually push a specific WooCommerce order's customer profile data to your Campaign Monitor account. Follow these instructions carefully to ensure a successful synchronisation.
Step 1: Access Your WooCommerce Orders
Your first step is to navigate to the order administration area within your WooCommerce store. This is where all your customer purchase records are managed.
- Log in to your WordPress admin dashboard.
- From the left-hand navigation menu, hover over "WooCommerce".
- Click on "Orders" to open the list of all customer orders.
Step 2: Select the Specific Order to Sync
From the list of orders, identify the particular order you wish to manually sync. You can use the search bar or filters to quickly locate a specific order by ID, customer name, or date.
- On the Orders page, locate the desired order. You can click on the Order Number or the "Edit" link that appears when you hover over the order row.
- Clicking this will take you to the detailed order editing screen for that specific transaction.
Step 3: Locate the Campaign Monitor Meta Box
Within the individual order editing screen, the Campaign Monitor for WooCommerce plugin adds a dedicated section, often referred to as a "meta box." This box contains integration-specific options, including the manual sync functionality.
- Scroll down the order editing page. The Campaign Monitor meta box is typically found on the right-hand sidebar, alongside other standard WooCommerce meta boxes like "Order actions" or "Custom fields."
- Look for a box titled something similar to "Campaign Monitor" or "Campaign Monitor for WooCommerce."
Step 4: Initiate the Manual Sync
Inside the Campaign Monitor meta box, you will find the option to trigger a manual synchronisation. This action will push the order's customer profile data to your connected Campaign Monitor account immediately.
- Within the Campaign Monitor meta box, locate the button or link labelled "Manually Sync Order to Campaign Monitor" or similar.
- Click this button. The plugin will then attempt to connect to Campaign Monitor and transmit the customer data.
- You should see a confirmation message (e.g., "Order successfully synced to Campaign Monitor") or an error message if the sync fails. Pay attention to any error messages for troubleshooting.
Step 5: Verify Data in Campaign Monitor
After initiating the manual sync, it's crucial to verify that the data has successfully arrived in your Campaign Monitor account. This step confirms the integrity of the data transfer.
- Log in to your Campaign Monitor account.
- Navigate to the "Lists & Subscribers" section.
- Select the subscriber list where your WooCommerce customers are typically added (as configured in your plugin settings).
- Search for the customer associated with the synced order by their email address.
- Click on the subscriber's profile to view their details.
- Verify the following:
- The customer's email address, first name, and last name are correct.
- Any configured custom fields (e.g., customer type, last order value) are populated.
By following these steps, you can confidently manually sync any WooCommerce order's customer profile data to Campaign Monitor, ensuring your marketing efforts are always backed by the most current customer information.
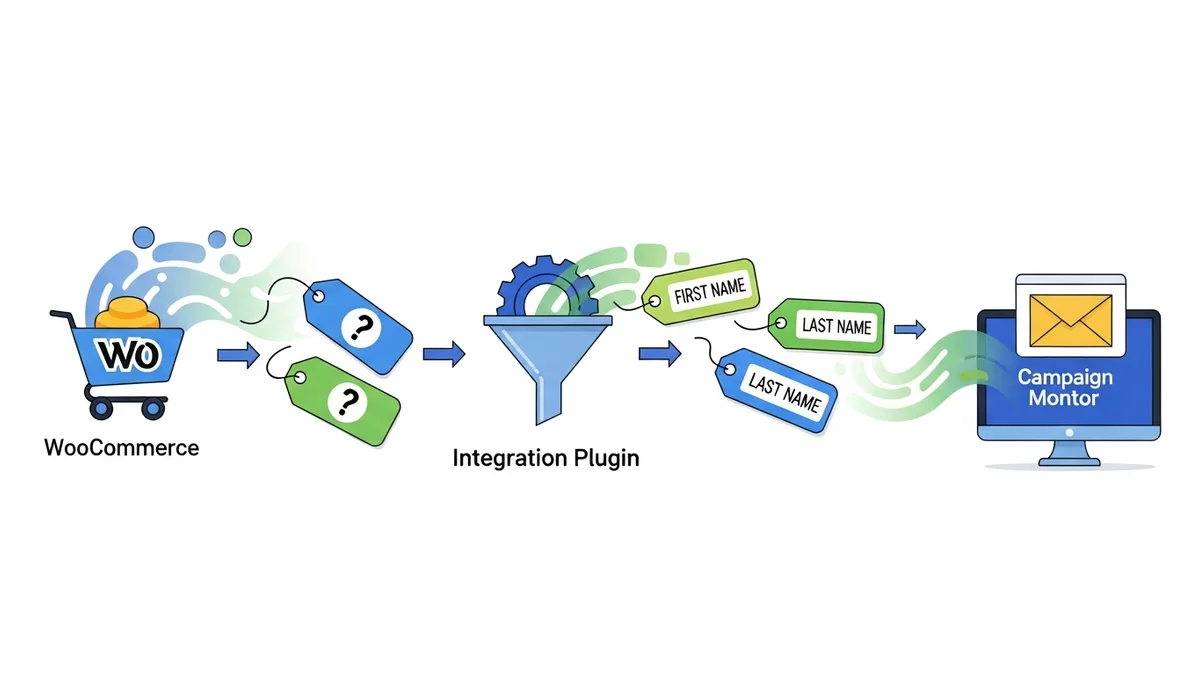
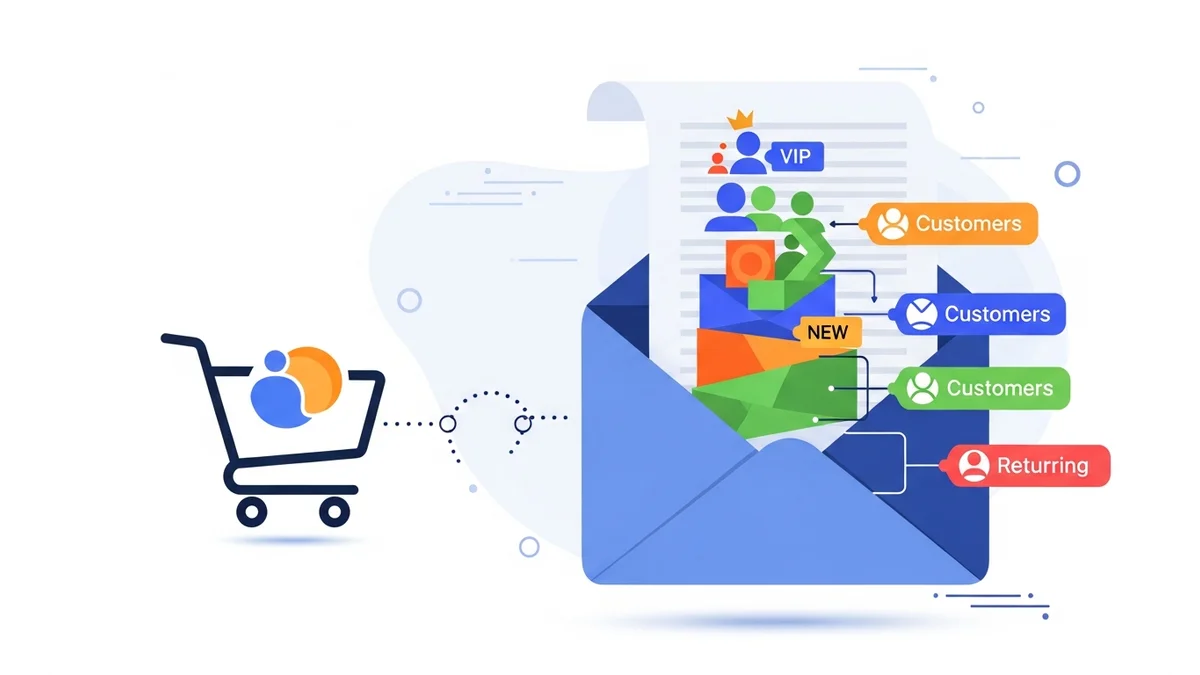
What Data Gets Synced During Manual Transfer?
When you manually sync a WooCommerce order, the Campaign Monitor for WooCommerce plugin intelligently transfers key customer profile data. This ensures your subscriber profiles in Campaign Monitor are updated with current contact information and any relevant custom fields, enabling targeted segmentation.
It's important to note that the Campaign Monitor for WooCommerce plugin primarily focuses on syncing core customer profile data. It does not sync detailed purchase history, individual order line items, or specific engagement patterns directly into Campaign Monitor's transactional data features. Instead, it ensures the customer's contact information and any mapped custom fields related to their profile are updated.
Core Customer Data
- Email Address: The primary identifier for the subscriber.
- First Name: From the billing details.
- Last Name: From the billing details.
Custom Field Mapping
Beyond the default data, the plugin often allows you to map specific WooCommerce fields to custom fields in Campaign Monitor. When you manually sync, these mapped fields will also be updated or populated. This could include customer groups, referral sources, or any other custom data you've configured to track that pertains to the customer's profile.
Understanding the scope of data transferred helps e-commerce managers leverage Campaign Monitor's full potential for segmentation and personalised email campaigns based on updated customer profile information.
Troubleshooting Common Manual Sync Issues
While manual sync is generally straightforward, you might occasionally encounter issues. Knowing how to troubleshoot these common problems will save you time and ensure your data remains consistent.
1. "Failed to Sync" or Generic Error Message
If you receive a generic error message after attempting a manual sync, it often points to a connection problem or misconfiguration.
- Check API Key: Go to your plugin settings in WordPress (WooCommerce > Campaign Monitor). Verify that your Campaign Monitor API key is correctly entered and active. A revoked or incorrect key is a common cause of failure.
- Test Connection: Many plugins offer a "Test Connection" button within their settings. Use this to confirm that the plugin can communicate with Campaign Monitor.
- Server Connectivity: Ensure your web server can establish outbound connections to Campaign Monitor's API. This might require checking firewall rules or contacting your hosting provider.
2. Order Synced but Data Missing/Incorrect in Campaign Monitor
If the sync reports success but the data isn't as expected in Campaign Monitor, the issue usually lies with mapping or configuration.
- Review List Selection: Confirm that the correct Campaign Monitor list is selected in your plugin settings. The customer profile might have synced to a different list.
- Check Custom Field Mapping: If specific customer profile data (e.g., a custom field you've set up) isn't appearing, review your custom field mapping in the plugin settings. Ensure WooCommerce fields are correctly mapped to corresponding custom fields in Campaign Monitor, and that these custom fields exist and are of the correct type (text, number, date, etc.).
3. No Campaign Monitor Meta Box on Order Page
If you can't find the Campaign Monitor section on the individual order page, it suggests a plugin issue.
- Plugin Activation: Double-check that the Campaign Monitor for WooCommerce plugin is installed and activated under "Plugins" in your WordPress admin.
- Plugin Conflicts: Temporarily deactivate other plugins to see if a conflict is preventing the meta box from appearing. Re-activate them one by one to identify the culprit.
- Plugin Update: Ensure the plugin is running the latest version. Outdated plugins can sometimes have display issues or bugs.
By systematically checking these points, e-commerce managers can quickly diagnose and resolve most manual sync issues, ensuring reliable data transfer and accurate customer profiles in Campaign Monitor.
Best Practices for Using Manual Sync
While automation handles the bulk of data transfers, incorporating manual syncs into your operational toolkit with a strategic approach can significantly enhance data quality and marketing agility. Here are some best practices for e-commerce managers.
- Use for Targeted Updates: Reserve manual syncs for specific, critical orders that require immediate customer profile updates or for which you suspect an automated sync may have failed. Avoid using it as a primary method for all orders, as this defeats the purpose of automation.
- Verify After Every Manual Sync: Always follow up a manual sync with a verification step in Campaign Monitor. Check the subscriber profile to confirm that all expected profile data fields are correctly populated. This reinforces data integrity.
- Document Troubleshooting Steps: If you use manual sync to resolve a specific data issue, document the problem, the solution (manual sync), and any underlying cause you identified. This creates a knowledge base for future troubleshooting.
- Educate Your Team: Ensure anyone on your team responsible for order management or email marketing understands when and how to perform a manual sync. This empowers them to quickly address data discrepancies.
- Regularly Review Plugin Settings: Periodically check your Campaign Monitor for WooCommerce plugin settings. Ensure API keys are current, default lists are correct, and custom field mappings are still relevant to your marketing strategy.
- Test New Configurations: Whenever you modify your Campaign Monitor custom fields, add new automation workflows, or update the plugin, use a test order and a manual sync to validate that customer profile data is flowing as expected before going live with changes.
Adopting these best practices transforms manual sync from a reactive fix into a proactive tool for maintaining a robust and reliable data integration between WooCommerce and Campaign Monitor.
Related Articles
Continue your learning with these related resources:
- Mastering WooCommerce Campaign Monitor Pro: Your Ultimate Integration Guide for E-commerce Growth (Comprehensive Guide)
- How to Optimize WooCommerce Order Sync Timing for Campaign Monitor
- How to Set the Subscriber Name Format Sent from WooCommerce to Campaign Monitor
- How to Choose the Right Campaign Monitor List for Your WooCommerce Store
- How to Bypass Campaign Monitor Double Opt-in for WooCommerce Checkout Subscribers
- How to Connect WooCommerce to Campaign Monitor: Complete Setup Guide
Conclusion
Mastering the manual synchronisation of WooCommerce orders' customer profile data to Campaign Monitor from the order admin page is a vital skill for any e-commerce manager. It provides a powerful mechanism for ensuring data accuracy, troubleshooting integration issues, and validating configurations, thereby protecting the integrity of your customer data and the effectiveness of your marketing automation.
By following the detailed steps outlined in this guide, you can confidently take control of your data flow, ensuring that every customer interaction and purchase contributes meaningfully to your Campaign Monitor profiles. This meticulous approach to data management ultimately leads to more precise segmentation, highly personalised campaigns, and improved ROI for your e-commerce business.