Introduction
For e-commerce managers, timely and accurate customer data is the bedrock of successful marketing campaigns. When integrating your WooCommerce store with Campaign Monitor, understanding and configuring the synchronization timing of customer profile data, often triggered by order events, is not just a technical detail; it's a strategic decision that directly impacts your customer engagement, campaign effectiveness, and ultimately, your sales.
Optimising how and when your customer profile data flows from WooCommerce to Campaign Monitor ensures your automated emails, targeted segments, and personalised communications are always relevant. This guide will walk you through the process of configuring these crucial sync timing settings, empowering you to make data-driven decisions that enhance your operational efficiency and marketing ROI.
Why Sync Timing is Critical for E-commerce Marketing Success
The speed and frequency of customer data synchronization between WooCommerce and Campaign Monitor directly influence your ability to react to customer actions and deliver timely messages. Properly configured sync timing transforms raw customer profile data (triggered by order events) into actionable insights for your marketing efforts.
Driving Timely Customer Engagements
Consider the impact of immediate follow-ups. A welcome series triggered moments after a first purchase leverages the customer's peak engagement. If your customer profile data syncs hours later, these critical windows of opportunity are missed, diminishing the potential impact of your campaigns.
Enhancing Data Accuracy for Segmentation
Accurate, up-to-date customer profile data allows for precise customer segmentation within Campaign Monitor. Whether you're targeting repeat buyers (based on a profile attribute indicating multiple purchases) or those who haven't bought in a while, fresh data ensures your segments reflect the current state of your customer base. Stale data leads to misdirected messages and wasted marketing spend.
Optimising Operational Efficiency
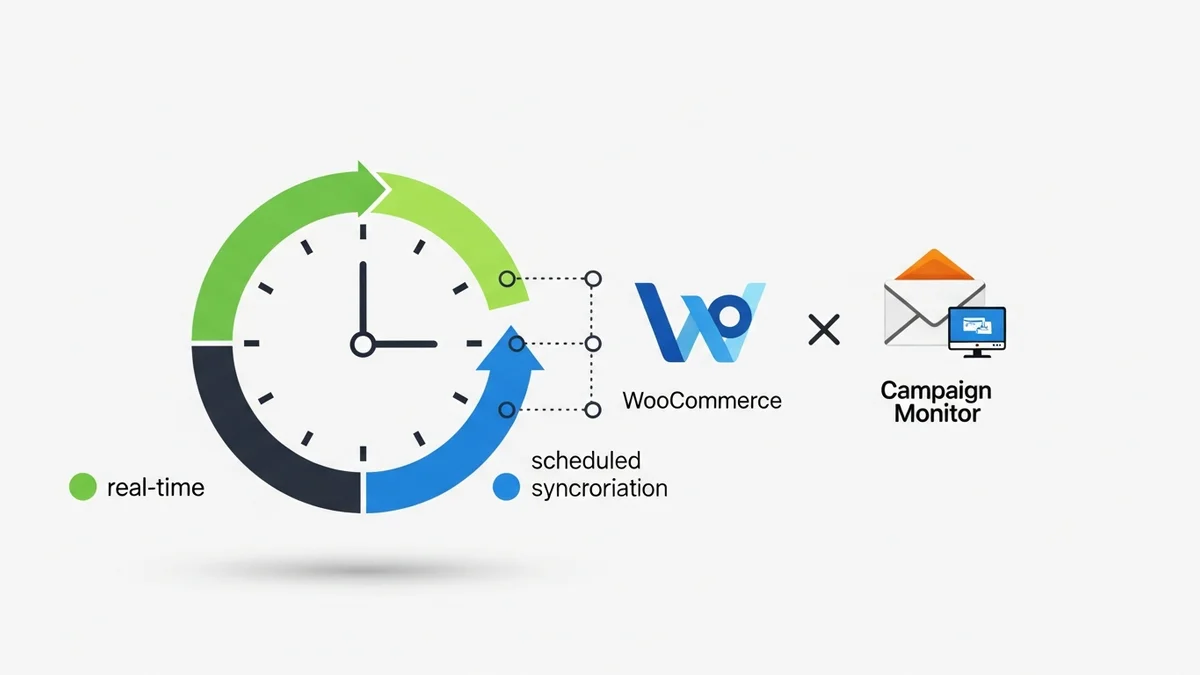
While real-time sync offers speed, it can sometimes be resource-intensive for stores with very high traffic. Scheduled syncs can be more efficient for larger datasets or less time-sensitive campaigns, balancing data freshness with server performance. Choosing the right timing minimizes unnecessary server load while still providing customer profile data when you need it.
Understanding WooCommerce Customer Data Synchronization
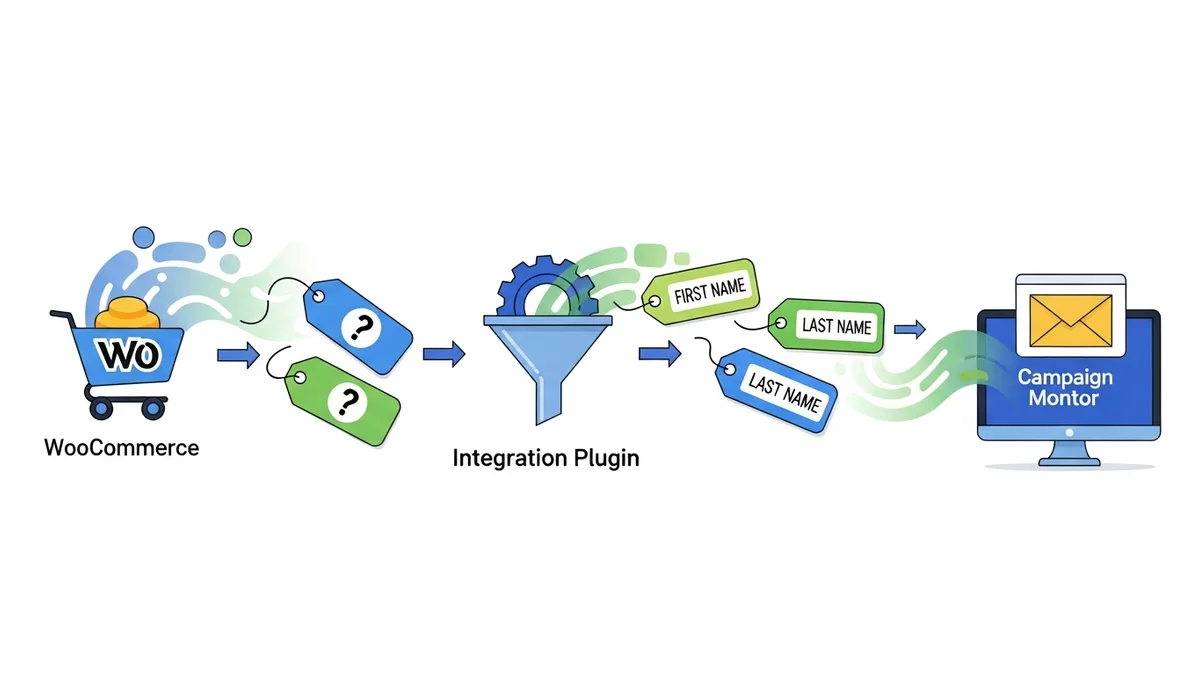
Before diving into the configuration, it's helpful to understand what customer data is typically synchronized and how it's used by Campaign Monitor. When an order is processed in WooCommerce, key customer profile information is captured. This integration primarily focuses on syncing *customer profile details only*, such as name, email, phone number, and billing/shipping addresses. It is crucial to understand that this integration *does NOT sync* specific purchase history, individual order details (like products purchased, order total, or order status beyond triggering a profile update), or granular engagement patterns directly into Campaign Monitor's traditional subscriber fields. Furthermore, *abandoned cart data is not synced* by this standard integration; specialized plugins are required for such functionality. Instead, the sync ensures that your customer records in Campaign Monitor are kept up-to-date with their latest profile information as triggered by order events.
Campaign Monitor then leverages this customer profile information to:
- Build Customer Profiles: Create comprehensive records for each subscriber.
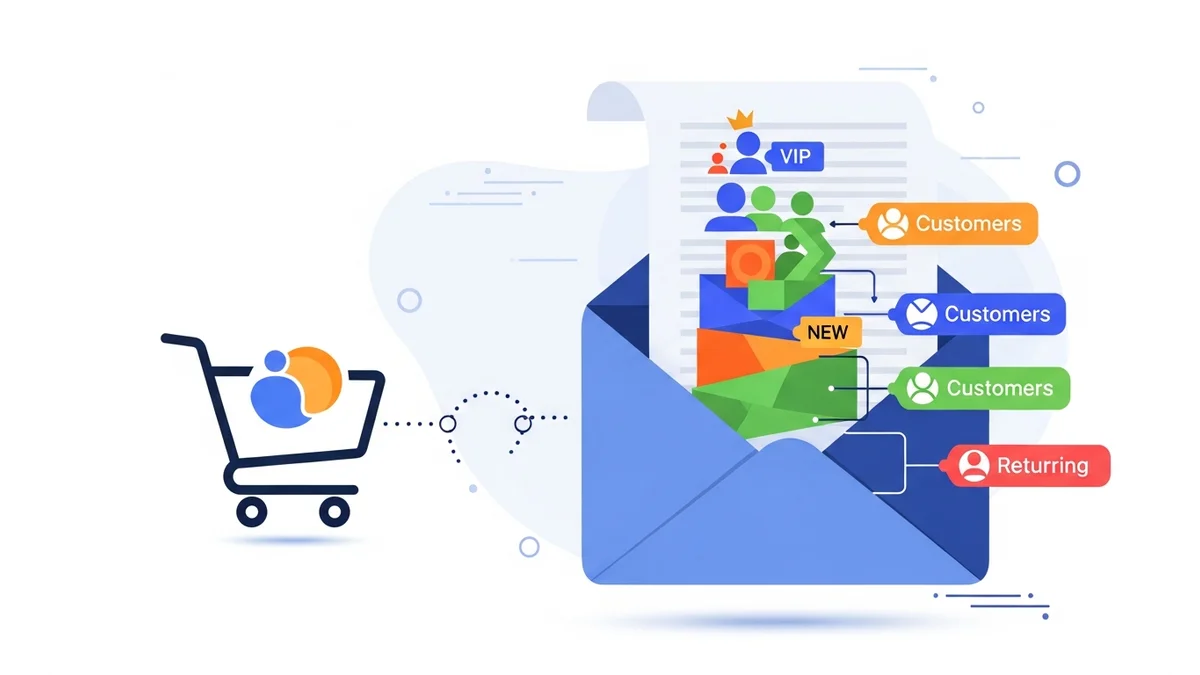
- Segment Audiences: Group customers based on updated profile attributes or their presence in Campaign Monitor lists.
- Trigger Automations: Launch email sequences for welcome messages or other automations based on a customer's presence or updated profile.
- Personalise Content: Dynamically insert customer profile details (like name) into emails.
The efficiency of these marketing strategies hinges on the reliability and timeliness of the customer data sync.
Accessing Campaign Monitor Sync Timing Settings
Configuring your sync timing is done within your WooCommerce plugin settings. The exact path may vary slightly depending on the specific Campaign Monitor integration plugin you are using, but the general navigation is consistent.
Step 1: Log into Your WordPress Dashboard
Begin by logging into your WordPress admin area, which is typically found at yourdomain.com/wp-admin.
Step 2: Navigate to WooCommerce Settings
In the left-hand sidebar, hover over "WooCommerce" and then click on "Settings."
Step 3: Locate the Campaign Monitor Integration Tab
Within the WooCommerce settings page, look for a tab labelled "Integrations," "Campaign Monitor," or similar. Click on this tab to access your Campaign Monitor plugin's specific settings. This is where you'll find options related to API keys, list selection, and crucially, customer data synchronization.
Key Sync Timing Configuration Options Explained
Most Campaign Monitor integration plugins for WooCommerce offer a few core options for managing when and how your customer profile data syncs. Understanding these options is key to making informed decisions for your store.
Real-time vs. Scheduled Sync
This is arguably the most important decision regarding your sync timing. Each approach has distinct advantages and disadvantages:
Real-time Synchronization
What it is: Customer profile data is pushed to Campaign Monitor almost instantaneously when an order status changes or a new order is placed in WooCommerce. There's virtually no delay between the event occurring on your store and the customer's updated profile appearing in Campaign Monitor.
When to use it:
- Urgent Campaigns: Ideal for immediate welcome emails after a first purchase or other time-sensitive communications triggered by a customer's profile update.
- High Personalisation: Ensures that automated emails can leverage the absolute latest customer profile updates for personalisation.
- Smaller Stores: For stores with moderate order volume, real-time sync is often manageable without significant performance impact.
Considerations:
- Server Load: For very high-volume stores, constant real-time syncing can place a higher load on your server, potentially impacting site performance if not properly optimised or hosted on robust infrastructure.
- API Limits: Some APIs have rate limits. While Campaign Monitor typically handles high volumes, it's a factor to be aware of.
Scheduled/Batch Synchronization
What it is: Customer profile data is gathered over a period and then sent to Campaign Monitor in batches at predefined intervals (e.g., hourly, daily, twice daily). This uses a cron job (a time-based job scheduler) on your server to initiate the sync.
When to use it:
- Less Urgent Campaigns: Suitable for weekly newsletters, loyalty program updates, or general re-engagement campaigns where immediate customer profile data isn't critical.
- High-Volume Stores: Can help reduce server load by processing customer data in chunks rather than constant individual pushes, making it more efficient for busy stores.
- Specific Reporting Needs: If your marketing reports or customer profile segmentation updates are scheduled daily or weekly, a corresponding batch sync can be perfectly adequate.
Considerations:
- Data Latency: There will be a delay between an event in WooCommerce and the customer's updated profile appearing in Campaign Monitor. This means certain time-sensitive automations might not be effective.
- Cron Job Reliability: Relies on your WordPress cron jobs functioning correctly. Issues with cron can lead to delayed or missed syncs.
Initial Sync Configuration
When you first connect your WooCommerce store to Campaign Monitor, or if you're enabling customer data synchronization for the first time, you'll typically have an option to perform an "initial sync."
Purpose: This process pushes all your existing historical customer profile information from WooCommerce to Campaign Monitor. It's crucial for populating your Campaign Monitor lists with your current customer base, allowing you to segment and target effectively from day one.
Best Practice: Always perform an initial sync when first setting up. Be aware that for stores with thousands of customer profiles, this can take some time and consume server resources. It's often recommended to run this during off-peak hours if possible.
Specific Event Triggers
Some advanced plugins might offer more granular control, allowing you to trigger customer profile syncs based on specific WooCommerce order statuses. For example:
- On Order Complete: Syncs customer profile data only when an order's status changes to "completed."
- On Order Processing: Syncs customer profile data as soon as an order moves to "processing."
- On Order Refunded: Updates Campaign Monitor with the customer profile when an order is refunded, allowing for specific post-refund automations.
These event-based triggers give you fine-tuned control over when specific customer profile data points are updated, enabling highly precise marketing campaigns.
Step-by-Step Guide to Configuring Customer Data Sync Timing
Let's put theory into practice. Follow these steps to set up the optimal sync timing for your WooCommerce customer profiles to Campaign Monitor.
Step 1: Assess Your Marketing Campaign Needs
Before touching any settings, define your priorities. Which Campaign Monitor automations are most critical for your business? Do you have time-sensitive campaigns that require immediate customer profile data?
- High Urgency: Immediate post-purchase welcome/thank you. (Requires real-time sync of the customer profile)
- Moderate Urgency: Specific segment promotions (e.g., for customers whose profile attributes indicate a certain status). (Hourly or twice-daily sync might suffice)
- Low Urgency: Monthly newsletters, annual loyalty program updates, general re-engagement. (Daily sync is often fine)
Step 2: Navigate to Campaign Monitor Plugin Settings
As outlined earlier:
- Log into your WordPress admin dashboard.
- Go to WooCommerce > Settings.
- Click on the Campaign Monitor Integration tab (or similar).
Step 3: Locate the "Customer Synchronization" or "Sync Timing" Section
Scroll through the plugin settings until
Related Articles
Continue your learning with these related resources:
- Mastering WooCommerce Campaign Monitor Pro: Your Ultimate Integration Guide for E-commerce Growth (Comprehensive Guide)
- How to Set the Subscriber Name Format Sent from WooCommerce to Campaign Monitor
- How to Manually Sync a WooCommerce Order to Campaign Monitor from the Order Admin
- How to Choose the Right Campaign Monitor List for Your WooCommerce Store
- How to Bypass Campaign Monitor Double Opt-in for WooCommerce Checkout Subscribers
- How to Connect WooCommerce to Campaign Monitor: Complete Setup Guide