Introduction
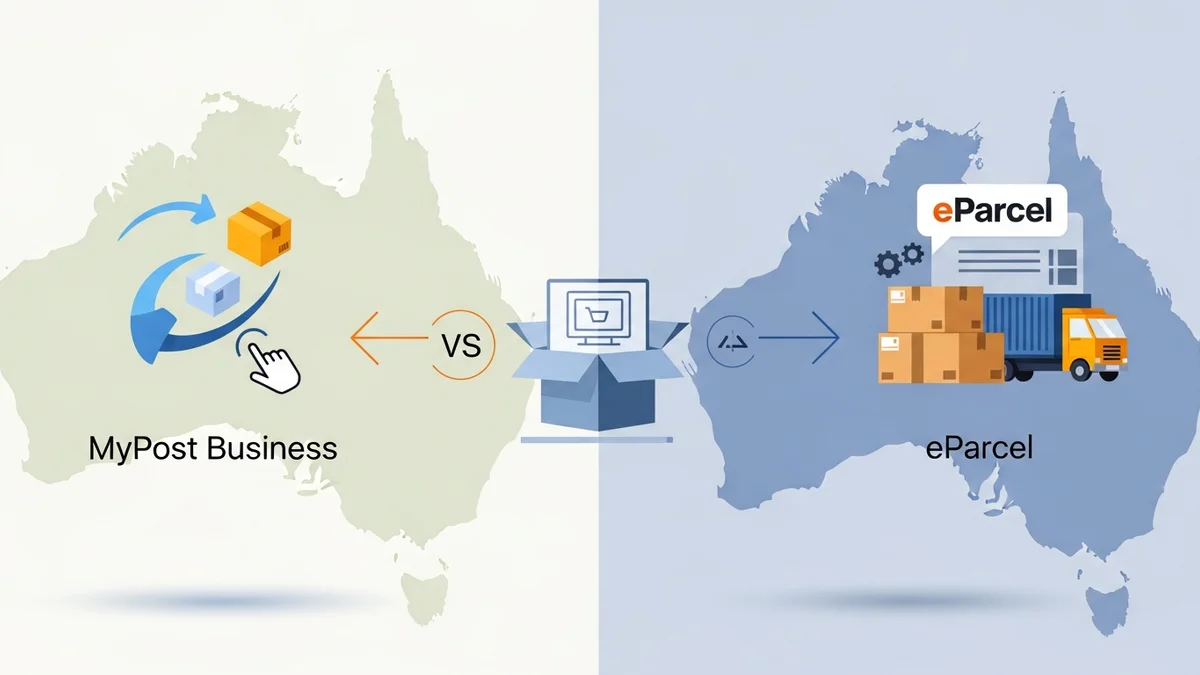
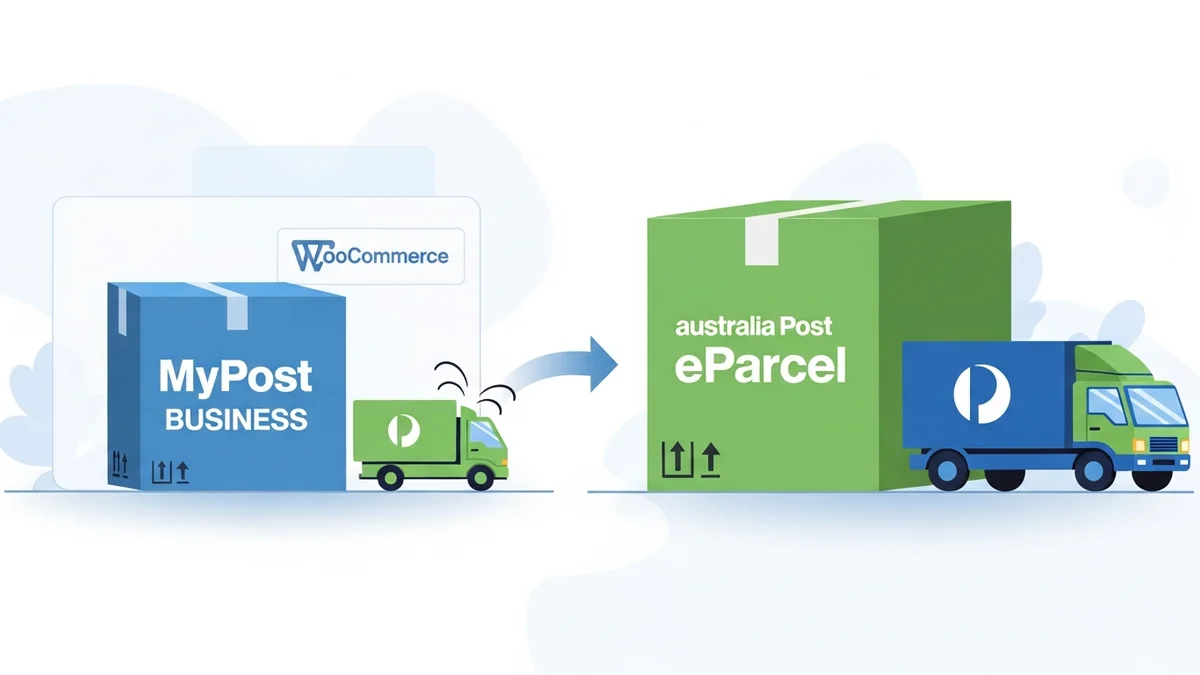
As a WooCommerce store owner, efficient shipping is key to customer satisfaction and business growth. Australia Post's MyPost Business account is designed to simplify parcel sending, offering discounted rates, easy label printing, and streamlined tracking. It's an ideal solution for small to medium-sized online stores looking to professionalise their shipping process without the complexities of larger enterprise solutions like eParcel.
This guide will walk you through the entire process of setting up your MyPost Business account. We'll cover everything from the initial sign-up to optimising your profile, ensuring you can quickly integrate it into your WooCommerce store's operations. By the end, you'll be ready to send parcels with greater ease and cost-efficiency.
Why Choose MyPost Business for Your WooCommerce Store?
MyPost Business offers several advantages specifically tailored for online sellers, making it an excellent choice for WooCommerce store owners. It bridges the gap between casual parcel sending and the more demanding needs of an e-commerce business, providing a scalable solution as your order volume grows.
- Cost Savings: Access to discounted shipping rates compared to standard retail postage, helping you save on operational costs.
- Efficiency: Generate shipping labels from your computer via the MyPost Business portal, eliminating manual handwriting and saving valuable time.
- Professionalism: Use branded labels and access to tracking features, enhancing your customer's post-purchase experience.
- Simplicity: A user-friendly online portal makes managing shipments, payments, and tracking straightforward, even for non-technical users.
- Integration Ready: Easily integrates with popular e-commerce platforms, including WooCommerce, often through dedicated plugins, further automating your workflow.
Before You Begin: What You'll Need
To ensure a smooth setup process for your MyPost Business account, gather the following information and items. Having these ready will save you time and prevent delays during registration.
- Australian Business Number (ABN): Essential for registering as a business and accessing business-specific rates.
- Business Contact Information: Your business name, physical address, email address, and phone number.
- Personal Identification: Your full name and contact details as the account administrator.
- Payment Method: A valid credit or debit card (Visa, Mastercard, Amex) for setting up your payment preferences.
- Active Email Address: Needed for account verification and receiving important communications.
- Internet Connection: A reliable connection to access the Australia Post website.
Step-by-Step Guide: Setting Up Your MyPost Business Account
Follow these detailed steps to successfully create and configure your MyPost Business account. Each step includes practical advice to ensure you complete the process correctly.
Step 1: Navigate to the MyPost Business Website
Open your web browser and go directly to the Australia Post MyPost Business portal. You can usually find this by searching "Australia Post MyPost Business" or by visiting the main Australia Post website and looking for the "Business" or "Small Business" section.
- Tip: Ensure you are on the official Australia Post website to protect your information. Look for "auspost.com.au" in the URL.
Step 2: Start the Registration Process
Once on the MyPost Business homepage, look for a prominent button or link that says "Sign up", "Create an account", or "Get started". Click this to begin your registration journey.
- Action: Click on the "Create an account" or similar button.
Step 3: Provide Your Personal Details
The first part of the form will ask for your personal information. This is typically the details of the individual who will be the primary administrator of the MyPost Business account.
- Input: Your full name, email address, and a mobile phone number.
- Tip: Use an email address you check regularly, as this will be used for verification and important account notifications.
Step 4: Verify Your Email Address
After submitting your personal details, Australia Post will send a verification email to the address you provided. You'll need to open this email and click on the verification link to confirm your identity and proceed.
- Action: Check your inbox (and spam/junk folder) for the verification email and click the link.
- Tip: The link usually expires after a certain period, so complete this step promptly.
Step 5: Enter Your Business Details
Once your email is verified, you'll be prompted to enter your business information. This is where your ABN comes in handy.
- Business Type: Select "Sole Trader", "Company", "Partnership", or "Trust" based on your business structure. Most WooCommerce store owners start as a Sole Trader or Company.
- ABN: Carefully enter your 11-digit Australian Business Number. This allows MyPost Business to link your account to your registered business.
- Business Name: Type in the registered name of your WooCommerce store or business.
- Business Address: Provide the physical address associated with your ABN. This will often be your primary shipping address.
- Tip: Double-check your ABN and business address for accuracy to avoid any issues with account activation or shipping.
Step 6: Create Your Login Credentials
You'll need to set up a secure password for your MyPost Business account. Choose a strong password that combines uppercase and lowercase letters, numbers, and symbols.
- Action: Create a unique and strong password.
- Tip: Do not use the same password you use for your WooCommerce admin or other sensitive accounts. Consider using a password manager.
Step 7: Set Up Your Payment Method
MyPost Business requires a payment method on file for automatic deductions of shipping costs. This simplifies the process, as you won't need to pay for each parcel individually.
- Select Payment Type: Choose between a credit card (Visa, Mastercard, Amex) or direct debit from a bank account (if available and preferred).
- Enter Details: Input your card number, expiry date, and CVV. If opting for direct debit, provide your bank account details.
- Authorise Payment: You may be asked to authorise a small pre-authorisation charge (which will be refunded) to verify the card.
- Tip: Using a dedicated business credit card can help with expense tracking for your WooCommerce store.
Step 8: Review and Accept Terms and Conditions
Before finalising your account, you must review and agree to Australia Post's MyPost Business terms and conditions. It's important to understand the service agreements, privacy policy, and any specific shipping rules.
- Action: Read the terms and conditions carefully, then check the box to indicate your agreement.
Step 9: Confirm and Activate Your Account
After reviewing everything, click the final "Submit" or "Create Account" button. You should receive a confirmation message that your MyPost Business account has been successfully created and activated.
- Tip: Keep a record of your login details in a secure place.
Optimising Your MyPost Business Account Profile
Once your account is set up, take a few minutes to complete your profile and set up some default preferences. This will make your future shipping tasks even smoother.
- Sender Details: Confirm your default sender address, which will appear on your shipping labels. Ensure it matches your WooCommerce store's return address.
- Default Preferences: Look for options to set default parcel dimensions, weight units, or preferred shipping services for common items.
- Notification Settings: Adjust how you receive notifications about shipments, account activity, and important updates.
- Additional Users: If you have team members helping with fulfilment, you might be able to add them as authorised users with specific permissions.
Integrating MyPost Business with Your WooCommerce Store
While this article focuses on setting up your MyPost Business account, it's important to note how it connects to your WooCommerce store. The most common method is through a dedicated WooCommerce Australia Post shipping plugin. These plugins allow your store to:
- Display Real-time Rates: Show customers accurate shipping costs at checkout based on their location and order weight.
- Export Shipping Data: Generate CSV files containing all necessary shipment details from your WooCommerce orders. This file can then be uploaded to your MyPost Business portal to efficiently create and print shipping labels in bulk.
- Automate Tracking: Automatically update order statuses and send tracking information to your customers once labels are generated and tracking numbers are available.
Many reliable plugins are available that integrate seamlessly with MyPost Business, automating much of your shipping workflow. Researching and selecting the right plugin will be the next step after your account is fully operational.
Managing Your MyPost Business Account Dashboard
After logging in, you'll be greeted by your MyPost Business dashboard, your central hub for all shipping activities. Familiarise yourself with its key sections:
- Send a Parcel: The primary function for creating new shipments and printing labels.
- History: View all your past shipments, reprint labels, and track parcels.
- Address Book: Store frequently used recipient addresses to save time.
- Profile & Settings: Update your personal and business details, payment methods, and notification preferences.
- Billing & Payments: Access invoices, view transaction history, and manage your stored payment methods.
- Rates & Services: Look up current shipping rates and explore different Australia Post services available to you.
Tips for WooCommerce Merchants Using MyPost Business
To get the most out of your MyPost Business account and streamline your WooCommerce operations, consider these practical tips:
- Batch Process Shipments: If you use an integrated plugin, leverage its ability to export multiple shipment details into a CSV file. Uploading this file to the MyPost Business portal allows for efficient batch label generation and printing, significantly speeding up your fulfilment process.
- Accurate Product Weights and Dimensions: Ensure your WooCommerce products have accurate weights and dimensions entered. This feeds into the shipping calculator, guaranteeing correct postage costs.
- Proper Packaging: Use appropriate packaging to protect your items during transit. MyPost Business rates are often based on weight and cubic volume, so efficient packaging can also save costs.
- Understand Shipping Services: Familiarise yourself with the different Australia Post services (e.g., Parcel Post, Express Post, International Post) and their respective delivery times and features to offer suitable options to your customers.
- Regularly Review Invoices: Check your MyPost Business invoices against your shipping records to ensure accuracy and reconcile expenses.
- Stay Updated: Australia Post occasionally updates its services, rates, or MyPost Business portal. Keep an eye on announcements to adapt your shipping strategy if needed.
Related Articles
Continue your learning with these related resources:
- The Complete Guide to Managing Australia Post Shipping for Your WooCommerce Store (Comprehensive Guide)
- How Volumetric Weight Affects Your Australia Post Costs for WooCommerce Shipments
- Return to Sender vs. Abandon: Optimizing Australia Post Undeliverable Options for WooCommerce
- How to Reduce Packaging Weight to Lower Your Australia Post Costs for WooCommerce Orders
- Navigating Australia Post Dangerous Goods Rules for WooCommerce Stores
- How to Communicate Australia Post Delivery Delays to Your WooCommerce Customers
Conclusion
Setting up a MyPost Business account is a simple yet impactful step for any WooCommerce store owner in Australia. It provides the tools you need to manage your shipping efficiently, save money, and offer a professional delivery experience to your customers. By following this step-by-step guide, you've laid the groundwork for a more streamlined and scalable shipping operation. Now, you're ready to connect it with your WooCommerce store and focus on growing your business with confidence.