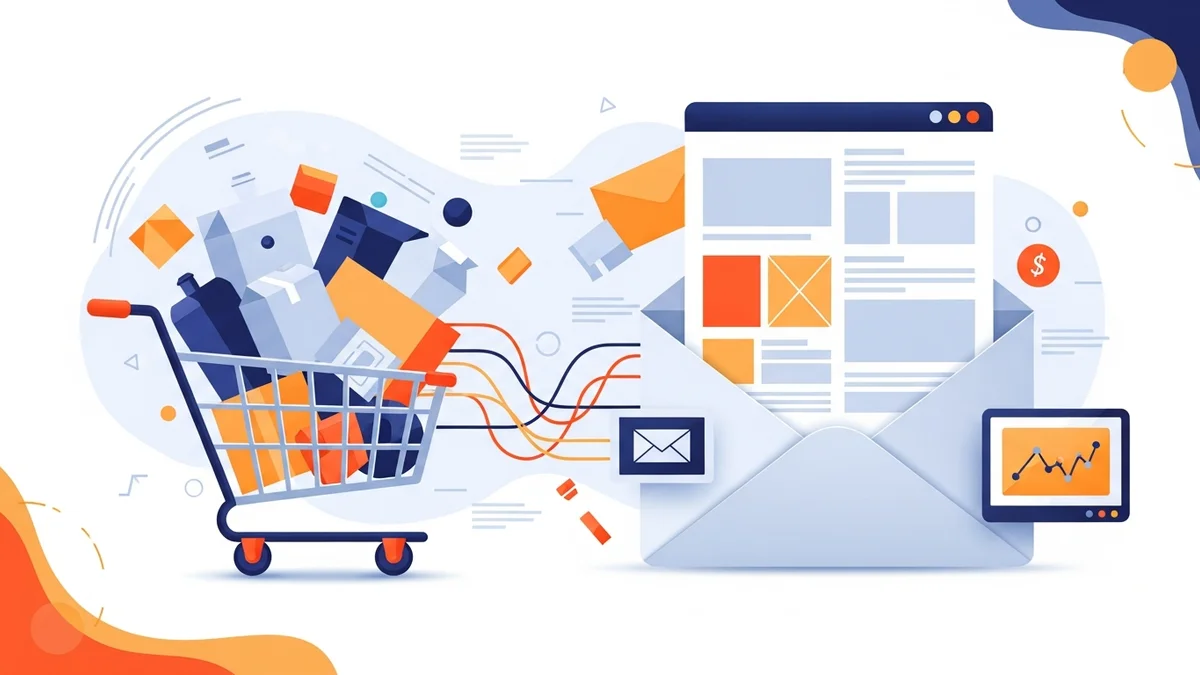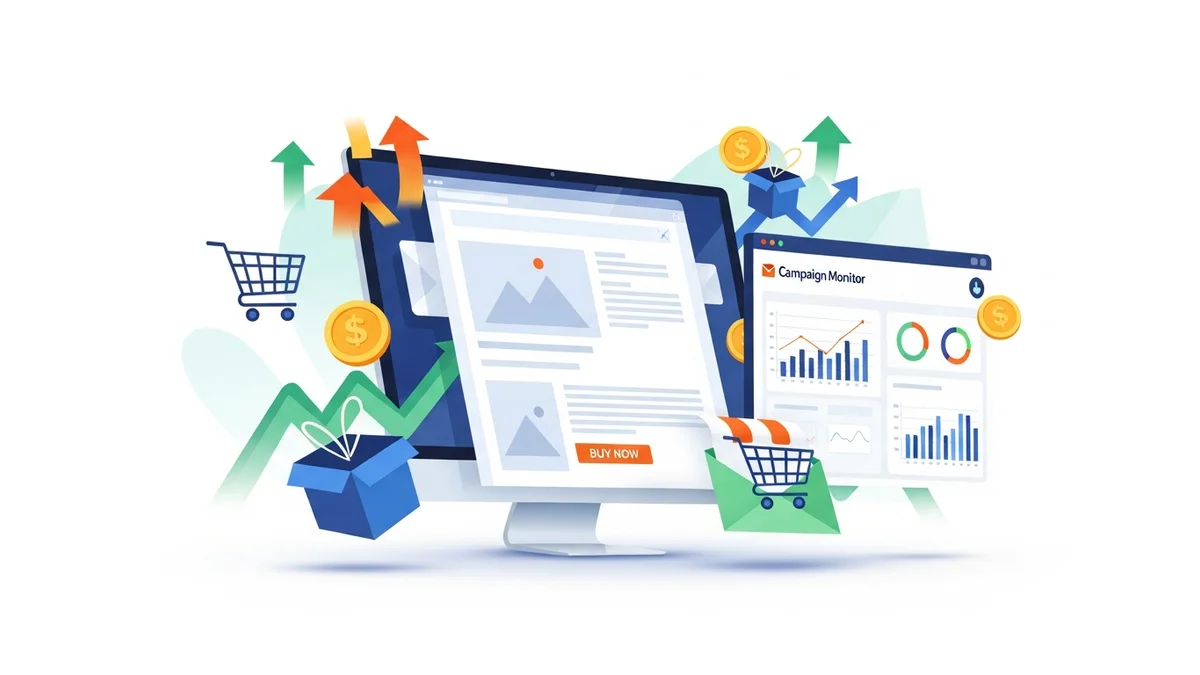
Introduction
In the competitive e-commerce landscape, securing a sale is just the beginning. The period immediately following a customer's purchase is a golden opportunity to nurture relationships, build loyalty, and significantly increase their lifetime value. A well-crafted post-purchase email sequence can transform a one-time buyer into a loyal advocate for your WooCommerce store.
This article will guide you through the process of setting up an impactful post-purchase email sequence using Campaign Monitor, integrated with your WooCommerce platform. We'll cover everything from strategic planning to detailed execution, ensuring your automation drives tangible results for your business.
Why a Post-Purchase Sequence is Crucial for E-commerce
Many e-commerce managers focus heavily on acquisition, often overlooking the immense potential of post-purchase engagement. However, retaining an existing customer is significantly more cost-effective than acquiring a new one. A strategic post-purchase sequence offers several key benefits:
- Boosts Customer Lifetime Value (CLV): Encourages repeat purchases and turns first-time buyers into loyal customers.
- Enhances Customer Satisfaction: Provides valuable information, support, and a personalised experience that reinforces their purchase decision.
- Gathers Valuable Feedback: Prompts reviews and testimonials, which are vital for social proof and product improvement.
- Drives Upsells and Cross-sells: Recommends complementary products or upgrades based on their recent purchase history.
- Reduces Buyer's Remorse: Reassures customers and provides helpful tips, reducing the likelihood of returns or negative sentiment.
- Builds Brand Loyalty: Demonstrates care and attention, fostering a stronger connection between the customer and your brand.
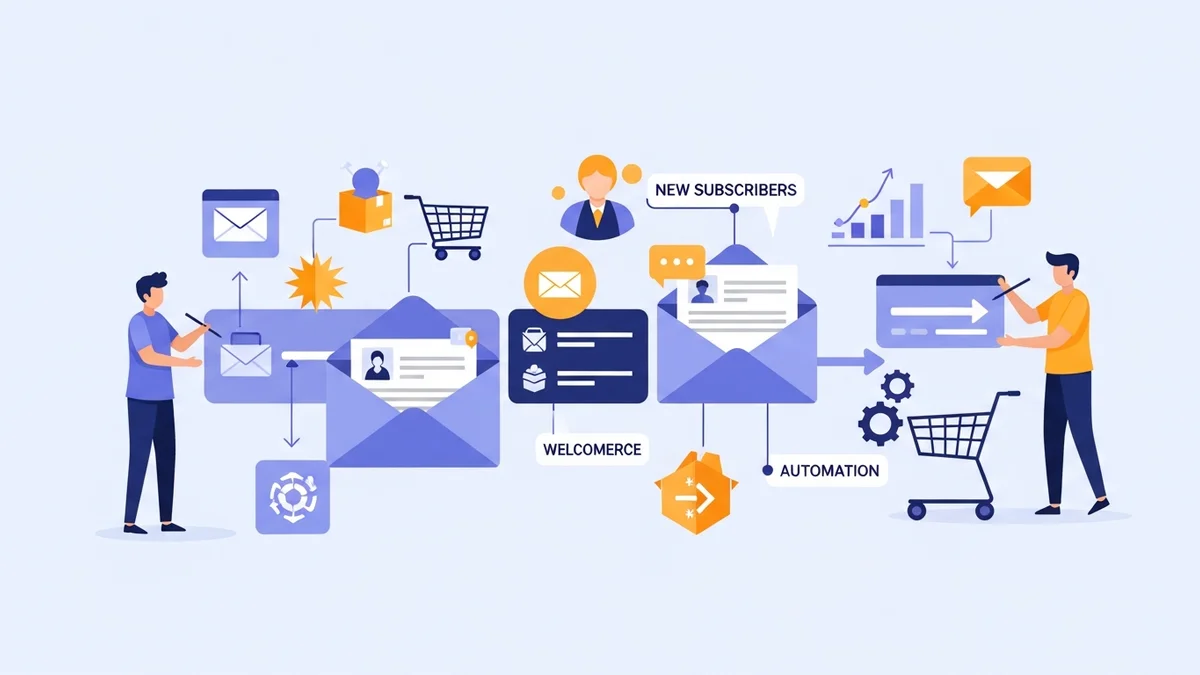
Integrating WooCommerce with Campaign Monitor
To create effective post-purchase sequences, your WooCommerce store needs to communicate seamlessly with Campaign Monitor. This integration ensures that customer data and purchase events are automatically passed to your email marketing platform, triggering your automated workflows.
Official plugins, such as the Campaign Monitor for WooCommerce plugin, or other reliable third-party connectors, facilitate this connection. It's crucial to understand that the official Campaign Monitor for WooCommerce plugin primarily synchronizes customer profile data (such as name and email address). It does not automatically sync granular purchase history, specific order data (like order ID, purchased products, purchase date, or total value), or customer engagement patterns into Campaign Monitor. While this profile data is essential, leveraging detailed purchase information for advanced segmentation and personalization within Campaign Monitor Journeys often requires a more sophisticated third-party integration or custom development to pass this granular order-level data as custom fields or events.
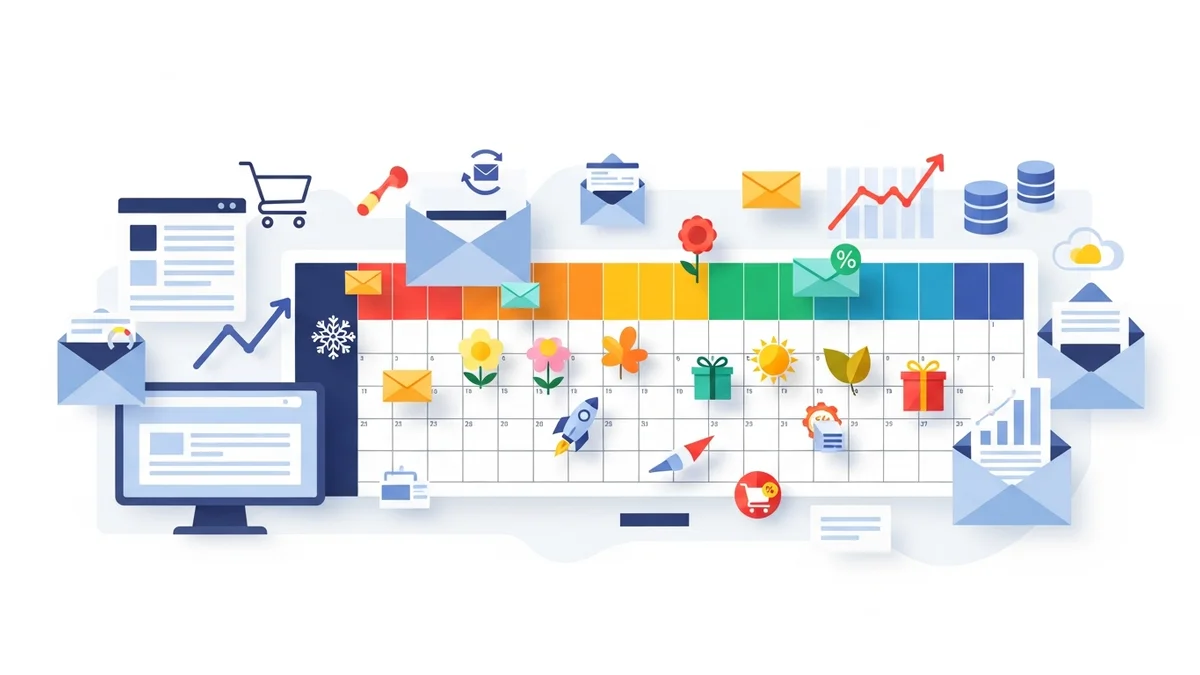
Planning Your Post-Purchase Email Sequence Strategy
Before diving into Campaign Monitor, outline the goals and structure of your sequence. Consider the customer journey after purchase and identify optimal touchpoints.
Define Your Sequence Goals
What do you want to achieve with this sequence? Common goals include:
- Encouraging product reviews.
- Driving a second purchase.
- Increasing engagement with your brand.
- Educating customers on product usage.
- Soliciting referrals.
Map Out Your Touchpoints
A typical post-purchase sequence involves multiple emails, each with a specific purpose and timing. Here’s a common structure:
- Order Confirmation (Immediately): Acknowledges the purchase, provides order details and estimated delivery.
- Shipping/Delivery Update (When Applicable): Informs customers about shipment and tracking details.
- Post-Delivery Check-in (1-3 days after delivery): Ensures satisfaction and offers initial product usage tips.
- Product Review Request (5-10 days after delivery): Asks for feedback on the purchased item.
- Product Care/Upsell/Cross-sell (10-20 days after delivery): Offers tips for maintaining the product or suggests complementary items.
- Re-engagement/Next Purchase Incentive (30-45 days after delivery): Provides a discount or highlights new products to encourage repeat business.
Consider segmenting your audience based on factors like first-time buyers versus repeat customers, specific product categories purchased, or order value. This allows for even more targeted and relevant messaging.
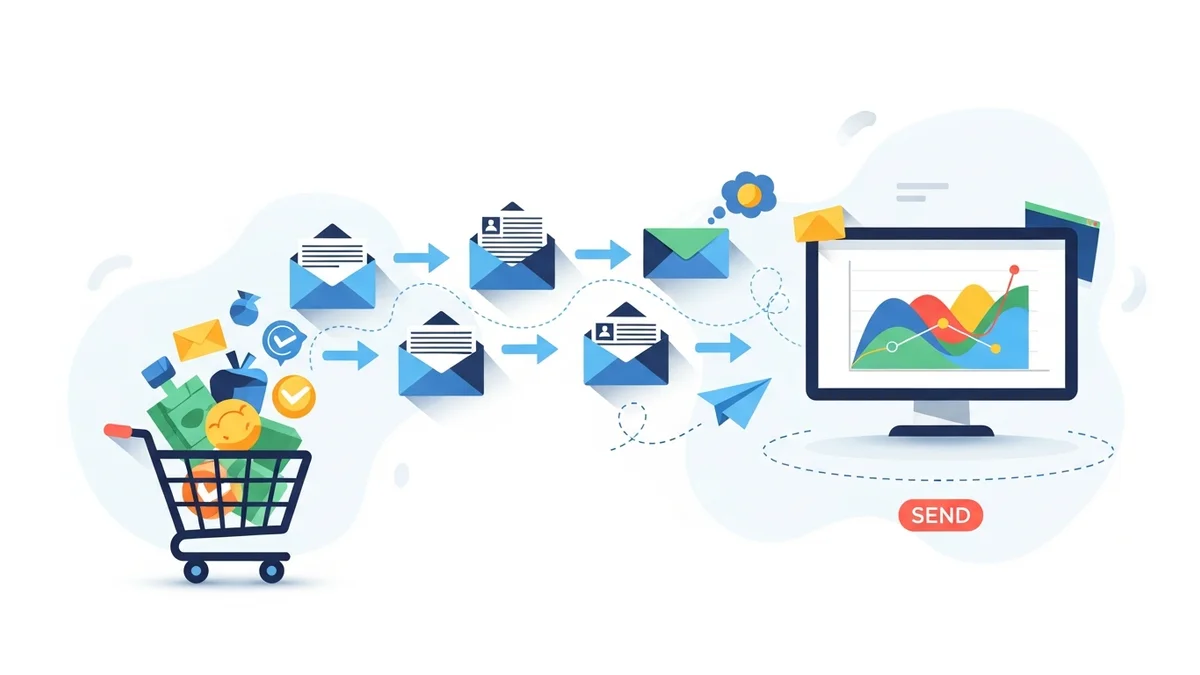
Step-by-Step: Creating Your Post-Purchase Sequence in Campaign Monitor
With your strategy in place, let's build the sequence in Campaign Monitor.
Step 1: Ensure WooCommerce Integration and Data Flow
First, verify that your WooCommerce store is correctly connected to Campaign Monitor and that essential customer profile data (like name and email) is flowing through. This typically involves installing and configuring a dedicated plugin or setting up API connections. While the official Campaign Monitor for WooCommerce plugin primarily syncs customer profiles, for advanced personalization based on purchase specifics (like product names, order dates, or total order value), you would need to ensure these details are passed into Campaign Monitor via custom fields or events, often requiring a more sophisticated third-party connector or custom development. This granular data, if successfully mapped, is critical for personalising your emails.
Step 2: Set Up Relevant Segments in Campaign Monitor
Leverage the customer profile data from WooCommerce, and any additional purchase-related custom fields you've configured, to create targeted segments within Campaign Monitor. This allows you to send highly relevant emails. Examples of segments include: First-Time Buyers: Customers whose purchase count is 1. Repeat Customers: Customers with more than one purchase. Purchased Product X: Customers who bought a specific item. High-Value Customers: Based on total spend or average order value. These segments, when powered by the right data, will enable you to tailor content, offers, and timing for maximum impact within your automated journeys.
Step 3: Design Your Email Templates
Create visually appealing and on-brand email templates within Campaign Monitor's email builder. Each email in your sequence should have a clear purpose and call to action (CTA). Focus on:
- Branding Consistency: Use your brand's colours, logo, and tone of voice.
- Mobile Responsiveness: Ensure emails look great on all devices.
- Clear CTAs: Make it obvious what action you want the customer to take (e.g., "Leave a Review," "Shop Related Products").
- Personalisation Tokens: Utilise available fields (e.g.,
[FirstName],[OrderNumber],[ProductName]) to make each email feel personal.
Step 4: Build the Automation Workflow (Journey)
Campaign Monitor's Journeys feature is where you'll assemble your post-purchase sequence. This allows you to set triggers, delays, and conditional logic.
- Choose a Trigger: Start a new journey and select a trigger event. This will typically be "Customer completes purchase" or "Customer is added to a specific list/segment after purchase" if your integration pushes this data.
- Email 1: Order Confirmation (Immediate)
- Action: Send email.
- Content: Reiterate order details, thank the customer, provide an order number and estimated delivery. This is largely transactional but should reinforce your brand.
- Delay 1: (e.g., 1 day)
- Action: Add a delay component.
- Purpose: Allows time for the order to be processed or shipped.
- Email 2: Shipping/Delivery Update (Optional, but Recommended)
- Action: Send email.
- Content: Provide tracking information and an estimated delivery date. Build excitement for their incoming product.
- Delay 2: (e.g., 3-5 days after delivery)
- Action: Add a delay.
- Purpose: Allow the customer to receive and start using the product.
- Email 3: Post-Delivery Check-in / Usage Tips
- Action: Send email.
- Content: "How are you enjoying your purchase?" Offer helpful tips, care instructions, or links to support resources.
- Delay 3: (e.g., 5-7 days after previous email)
- Action: Add a delay.
- Email 4: Product Review Request
- Action: Send email.
- Content: Politely ask for a product review. Include a direct link to the product page or a dedicated review form. Consider a small incentive for completing a review.
- Conditional Split (Optional): Add a decision step here. If the customer has already left a review (if your integration tracks this), send them to a different path (e.g., a "thank you" email or skip the next step).
- Delay 4: (e.g., 7-10 days)
- Action: Add a delay.
- Email 5: Product Care / Upsell/Cross-sell
- Action: Send email.
- Content: Offer further product care advice, suggest complementary items they might like based on their purchase, or highlight related products.
- Delay 5: (e.g., 15-20 days)
- Action: Add a delay.
- Email 6: Re-engagement / Next Purchase Incentive
- Action: Send email.
- Content: Remind them of your brand, highlight new arrivals, or provide a special discount code for their next purchase to encourage repeat business.
Remember to configure exit conditions for your journey. For instance, if a customer makes another purchase within the sequence, you might want to remove them from the current sequence and enrol them into a new one, or a "repeat customer" specific journey.
Step 5: Personalise Your Emails
Personalisation goes beyond using a customer's first name. Utilise the customer profile data from WooCommerce, and any additional purchase-related custom fields you've successfully mapped, to make your emails highly relevant:
- Reference the specific product(s) they purchased.
- Include their order number and purchase date.
- Recommend related products based on their purchase history.
- Tailor offers based on their segment (e.g., a higher discount for first-time buyers).
Step 6: Test and Launch Your Sequence
Before setting your journey live, thoroughly test every aspect:
- Send Test Emails: Ensure all emails render correctly across different email clients and devices.
- Check Links: Verify that all links, especially review links and product recommendations, lead to the correct pages.
- Review Workflow Logic: Double-check delays, conditional splits, and exit conditions to ensure the journey flows as intended.
Once confident, activate your Campaign Monitor journey. Monitor initial performance closely for any unexpected issues.
Step 7: Monitor and Optimise
A set-and-forget approach won't maximise your ROI. Continuously monitor the performance of your post-purchase sequence and iterate based on the data:
- Key Metrics: Track open rates, click-through rates (CTR), conversion rates (e.g., review submissions, second purchases), and unsubscribe rates.
- A/B Test: Experiment with different subject lines, email content, CTAs, timing, and the number of emails in your sequence.
- Gather Feedback: Pay attention to direct customer feedback or support queries that might indicate areas for improvement.
Regular optimisation ensures your sequence remains effective and aligned with evolving customer behaviour and business goals.
Best Practices for High-Performing Post-Purchase Sequences
To truly excel, keep these best practices in mind:
- Provide Value First: Don't just sell. Offer usage tips, care instructions, or exclusive content that enhances their ownership experience.
- Keep it Concise: Customers are busy. Get to the point quickly with clear, scannable content.
- Maintain Brand Voice: Every email should feel like it's coming from your brand, reinforcing your identity.
- Segment Thoughtfully: The more relevant your emails are, the higher their engagement will be. Avoid generic messaging where possible.
- Respect Timing: Don't overwhelm customers with too many emails too quickly. Space them out logically.
- Easy Opt-Out: Always provide a clear and easy way for customers to unsubscribe, maintaining trust and compliance.
- Integrate Social Proof: If customers leave great reviews, consider incorporating snippets into future emails.
Real-World Examples & Impact
Consider a hypothetical Australian fashion retailer, "Coastal Threads," using this strategy. After a customer purchases a linen shirt, their post-purchase sequence might include:
- An immediate order confirmation.
- A shipping update with tracking information.
- Three days post-delivery, an email with "Linen Care Tips" and suggestions for styling their new shirt.
- Seven days post-delivery, a request for a product review with a direct link.
- Two weeks later, an email showcasing "Matching Shorts & Accessories" from the same collection, offering a small discount.
This approach helps Coastal Threads achieve higher average order values, significantly increases product reviews, and cultivates a loyal customer base who feel valued beyond the initial transaction.
Related Articles
Continue your learning with these related resources:
- The Complete Email Marketing Guide for WooCommerce Stores Using Campaign Monitor (Comprehensive Guide)
- How to Run a Black Friday Email Campaign for Your WooCommerce Store in Campaign Monitor
- What Email List Opt-in Incentives Work Best for WooCommerce Stores
- How to Create a Win-Back Email Campaign for Lapsed WooCommerce Customers in Campaign Monitor
- How to Re-Engage WooCommerce Customers Who Never Opted in to Your Email List
- How to Reduce WooCommerce Customer Churn with Targeted Retention Emails in Campaign Monitor
Conclusion
Implementing a robust post-purchase email sequence for your WooCommerce customers in Campaign Monitor is a powerful strategy for driving repeat business and fostering lasting customer relationships. By planning your touchpoints, leveraging personalisation, and continuously optimising your sequences, you can significantly enhance customer lifetime value and build a thriving e-commerce business. Start crafting your sequence today to transform one-time buyers into loyal brand advocates.