Introduction
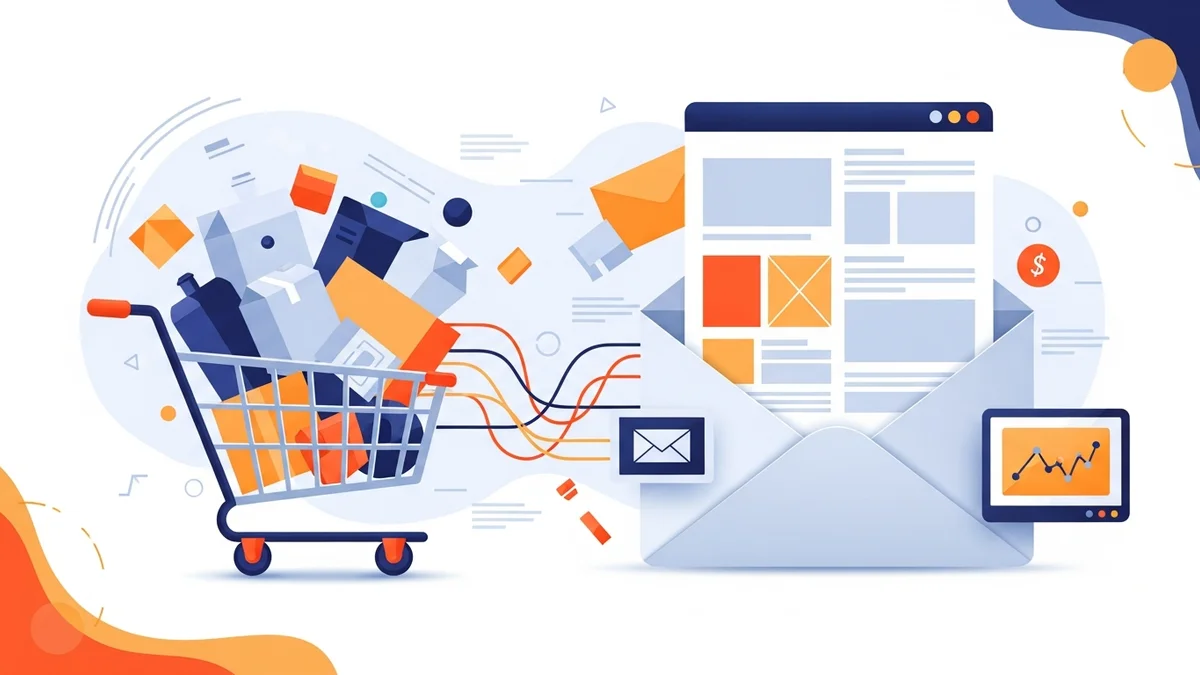
For any WooCommerce store, acquiring new subscribers is just the first step. Turning those subscribers into engaged, purchasing customers often hinges on a compelling welcome email series. This initial sequence of communications is your opportunity to make a strong first impression, introduce your brand, and guide new leads towards their first purchase.
This article provides a step-by-step tutorial on how to structure and implement an effective welcome email series for your new WooCommerce subscribers using Campaign Monitor. We'll cover everything from planning your content strategy to setting up automation, ensuring we maximise engagement from day one.
Why a Welcome Series Matters for WooCommerce Businesses
A welcome email series is more than just a polite greeting; it's a critical component of your e-commerce marketing strategy. For WooCommerce merchants, it serves several vital purposes:
- Builds Immediate Rapport: It establishes a connection with new subscribers when their interest in your brand is highest.
- Sets Expectations: Clearly communicate what subscribers can expect from your emails, including content, frequency, and value.
- Drives First Purchases: Strategically placed calls-to-action (CTAs) and incentives can significantly accelerate a new subscriber's journey to becoming a customer.
- Educates and Informs: Introduce your brand story, unique selling propositions, and popular products, helping subscribers understand your value.
- Increases Engagement: Compared to standalone emails, welcome series typically boast higher open and click-through rates, leading to better overall customer engagement.
Key Elements of an Effective Welcome Series
Before diving into the technical setup within Campaign Monitor, it's crucial to understand the strategic elements that make a welcome series successful. Each email in your sequence should have a clear purpose and contribute to the overall goal of converting subscribers into customers.
- Clear Purpose: Every email needs a specific objective, whether it's brand introduction, product showcase, or encouraging a purchase.
- Brand Consistency: Maintain a consistent tone, visual style, and messaging that reflects your WooCommerce store's identity.
- Personalisation: Use subscriber data (like their name) to make emails feel more individual and relevant.
- Compelling Content: Deliver value, whether it's through helpful tips, exclusive content, or an attractive offer.
- Strong Call-to-Action (CTA): Guide subscribers on what to do next with clear, single-minded CTAs in each email.
Structuring Your Welcome Email Series in Campaign Monitor: A Step-by-Step Guide
Let's walk through the process of building your welcome email series within Campaign Monitor, tailored for your WooCommerce subscribers.
Step 1: Define Your Series Goals and Audience
Before you write a single word, clarify what you want your welcome series to achieve. Are you aiming for an immediate first purchase, brand education, or simply to nurture leads?
- Primary Goal: Is it to drive a first purchase (e.g., within 7 days), encourage product exploration, or build community?
- Target Audience: Consider who your new WooCommerce subscribers are. Are they brand new to your store, or returning visitors who haven't purchased yet? This will influence your messaging.
Having a clear goal will dictate the length, content, and calls-to-action in your sequence.
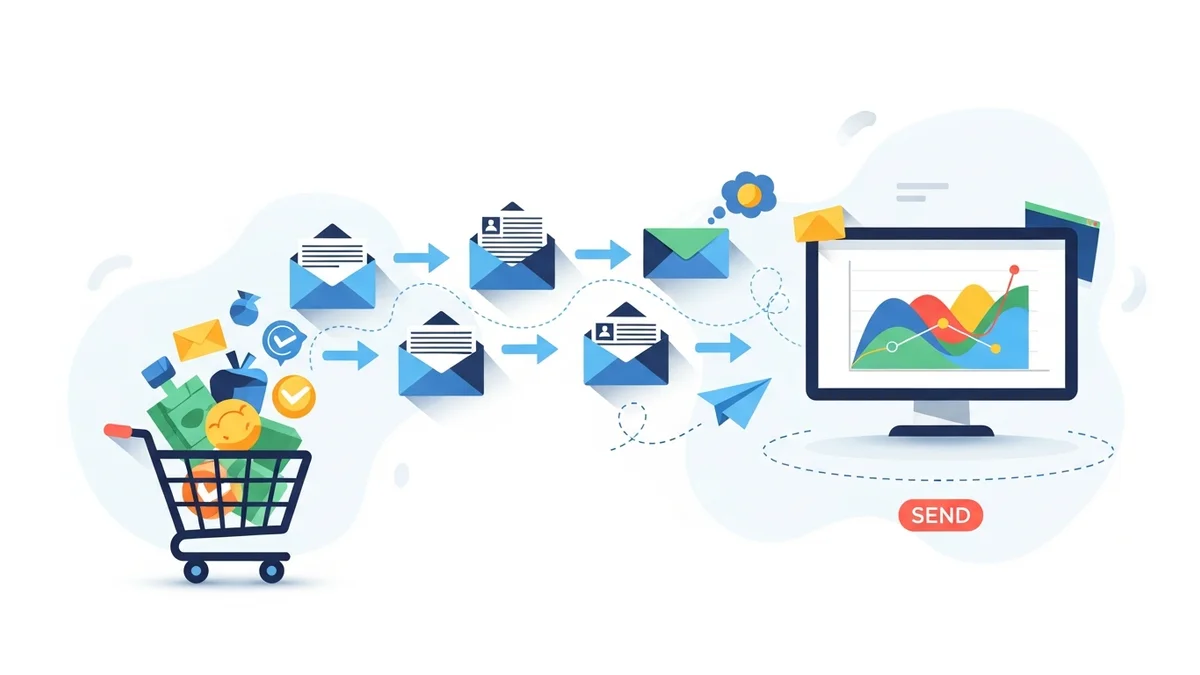
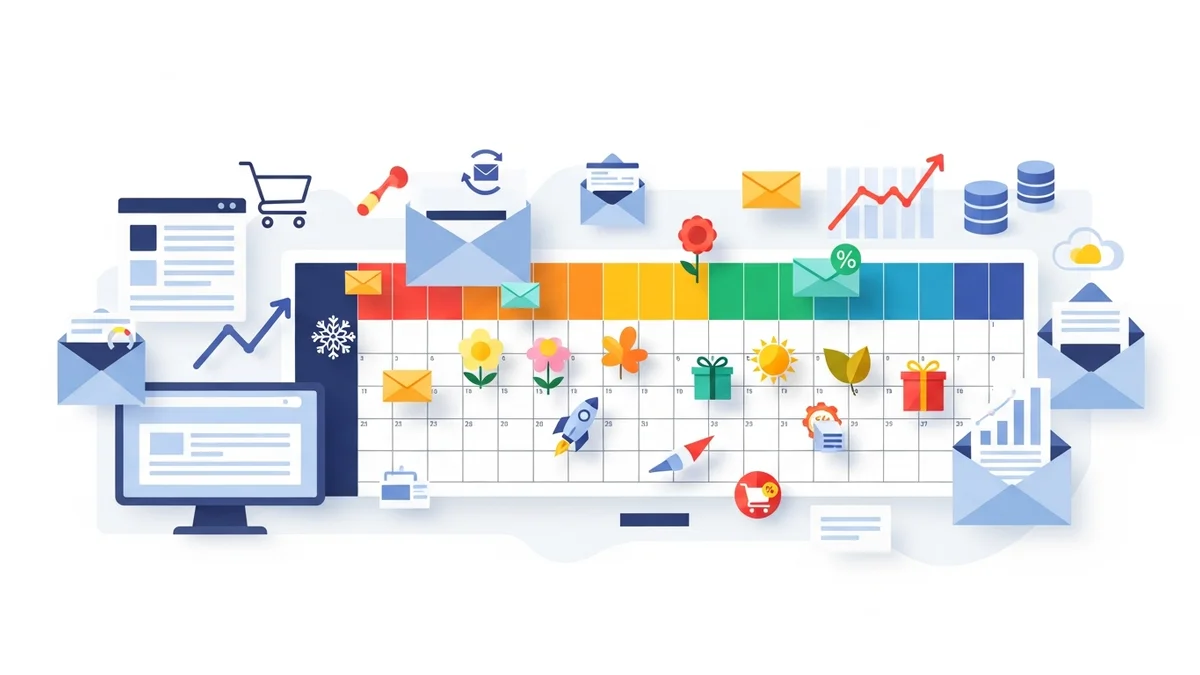
Step 2: Plan Your Email Sequence and Content Strategy
A typical welcome series consists of 3-5 emails, spaced out over several days. Here's a common structure you can adapt for your WooCommerce store:
- Email 1: The Immediate Welcome & Thank You (Sent instantly)
- Purpose: Confirm subscription, thank them, and make a great first impression.
- Content: Warm welcome, introduce your brand briefly, reiterate what they'll receive, and perhaps offer a small, time-sensitive discount for their first purchase.
- CTA: "Shop Now & Use Your Discount," "Explore Our Bestsellers."
- Email 2: Brand Story & Value Proposition (Sent 24-48 hours later)
- Purpose: Deepen the connection and explain what makes your brand unique.
- Content: Share your brand's mission, values, or the story behind your WooCommerce store. Highlight key benefits or product categories.
- CTA: "Learn More About Us," "Discover Our Unique Collection."
- Email 3: Product Showcase & Social Proof (Sent 2-3 days later)
- Purpose: Showcase popular products and build trust through social proof.
- Content: Feature your top-selling items, new arrivals, or products relevant to their signup interest. Include customer testimonials, reviews, or user-generated content.
- CTA: "Shop Our Bestsellers," "Read Customer Reviews."
- Email 4 (Optional): Overcoming Objections & Last Chance Offer (Sent 3-4 days later)
- Purpose: Address common hesitations and provide a gentle nudge for conversion.
- Content: Answer common FAQs, highlight your return policy, or free shipping. If you offered a discount in Email 1, this is a good place for a "last chance" reminder.
- CTA: "Your Discount Expires Soon," "Find Your Perfect Product."
- Email 5 (Optional): Segmentation & Future Engagement (Sent 4-5 days later)
- Purpose: Further segment subscribers based on interests or direct them to other valuable content.
- Content: Ask about their preferences (e.g., "What products are you interested in?"). Point them to your blog, social media, or other resources.
- CTA: "Tell Us Your Preferences," "Follow Us on Instagram."
Step 3: Design Your Email Templates in Campaign Monitor
Visual appeal and mobile responsiveness are non-negotiable. Use Campaign Monitor's drag-and-drop editor to create beautiful, branded templates.
- Branding: Incorporate your WooCommerce store's logo, colours, and fonts.
- Mobile Responsiveness: Ensure your emails look great on all devices, as many subscribers will check emails on their phones.
- Clear Layout: Use plenty of white space, clear headings, and concise paragraphs.
- Image Optimisation: Use high-quality, relevant images that are optimised for web to ensure fast loading times.
Step 4: Set Up Automation in Campaign Monitor's Customer Journeys
Campaign Monitor's "Customer Journeys" feature is where your welcome series comes to life. This allows you to automate the sending of your email sequence.
- Create a New Journey: Navigate to "Automation" and select "Create a new journey."
- Choose a Trigger: Select "When someone subscribes to a list." Specify the list new WooCommerce subscribers will join.
- Add Your First Email: Drag and drop an "Email" step. Select your Welcome Email 1 template and customise the subject line and preheader text.
- Set Delays: After Email 1, add a "Delay" step (e.g., 24 hours) before adding Email 2. Repeat this for each subsequent email in your series.
- Add Subsequent Emails: Continue adding email steps and delays according to your planned sequence (Email 2, Email 3, etc.).
- Define Exit Conditions (Optional but Recommended): Consider adding a condition to exit the journey if a subscriber makes a purchase. This prevents them from receiving welcome emails after they've become a customer, allowing you to move them to a post-purchase sequence. Use the "If someone performs an activity" condition, specifying "Purchased a product" and integrating with your WooCommerce data.
- Review and Activate: Carefully review your entire journey for correct timing, email content, and conditions before setting it live.
Step 5: Craft Compelling Content for Each Email
While templates provide the structure, the content is what truly engages your WooCommerce subscribers.
- Catchy Subject Lines: Use emojis, personalisation, and curiosity to encourage opens (e.g., "Welcome to [Your Store Name]! Here's 10% Off Your First Order!").
- Personalisation: Use Campaign Monitor's personalisation tags to insert the subscriber's name or other relevant data.
- Concise Copy: Keep paragraphs short and scannable. Get straight to the point and highlight benefits over features.
- Clear CTAs: Ensure each email has a single, prominent call-to-action button that stands out and clearly tells the subscriber what to do next.
- Visuals: Incorporate high-quality product images, lifestyle shots, or engaging graphics that align with your brand.
Step 6: Integrate WooCommerce with Campaign Monitor
For your welcome series to function, new subscribers from your WooCommerce store must be added to your designated Campaign Monitor list. There are several ways to achieve this:
- Campaign Monitor for WooCommerce Plugin: This is often the simplest method. Install the official plugin, which automatically syncs new customers and opt-in subscribers from your checkout and signup forms directly to your chosen Campaign Monitor list.
- Custom Integration via API: For more complex requirements, you might use Campaign Monitor's API to build a custom integration that pushes subscriber data from WooCommerce.
- Third-Party Connectors: Tools like Zapier can connect WooCommerce opt-ins to Campaign Monitor, though the direct plugin is usually more robust for this specific task.
Ensure that your integration is properly configured to pass essential subscriber data, such as name and email address, to enable personalisation in your welcome series.
Step 7: Test, Monitor, and Optimise Your Series
Once your welcome series is live, the work isn't over. Continuous testing and optimisation are key to maximising its performance.
- A/B Testing: Experiment with different subject lines, CTA copy, email layouts, and discount offers. Campaign Monitor allows for A/B testing directly within your email campaigns.
- Monitor Analytics: Regularly review open rates, click-through rates, and conversion rates within Campaign Monitor. Identify which emails perform best and where subscribers might be dropping off.
- Adjust Timing: Based on engagement data, you might find that adjusting the delays between emails can improve performance.
- Gather Feedback: Pay attention to any direct feedback from subscribers or common support questions that could be addressed in the series.
Best Practices for WooCommerce Welcome Series
To ensure your welcome series is a powerful conversion engine for your WooCommerce store, keep these best practices in mind:
- Don't Overwhelm: Space out your emails appropriately. Too many emails too quickly can lead to unsubscribes.
- Segment Early: If possible, segment subscribers at the point of signup (e.g., based on interests, browsing behaviour) to deliver even more relevant welcome content.
- Reinforce Value: Consistently remind subscribers of the benefits of being part of your community and shopping with you.
- Include Social Links: Make it easy for subscribers to connect with your brand on other platforms.
- Maintain a Single Focus: Each email should generally have one primary message and one clear call to action to avoid confusion.
Related Articles
Continue your learning with these related resources:
- The Complete Email Marketing Guide for WooCommerce Stores Using Campaign Monitor (Comprehensive Guide)
- How to Run a Black Friday Email Campaign for Your WooCommerce Store in Campaign Monitor
- What Email List Opt-in Incentives Work Best for WooCommerce Stores
- How to Create a Win-Back Email Campaign for Lapsed WooCommerce Customers in Campaign Monitor
- How to Re-Engage WooCommerce Customers Who Never Opted in to Your Email List
- How to Reduce WooCommerce Customer Churn with Targeted Retention Emails in Campaign Monitor
Conclusion
A well-structured welcome email series is an indispensable tool for any WooCommerce merchant looking to convert new subscribers into loyal customers. By following these steps to plan, build, and optimise your series in Campaign Monitor, you can create a powerful automated sequence that builds rapport, educates your audience, and drives those crucial first purchases.
Invest the time to craft compelling content and leverage Campaign Monitor's robust automation features. The effort will pay dividends in increased customer engagement, stronger brand loyalty, and ultimately, a healthier bottom line for your e-commerce business.