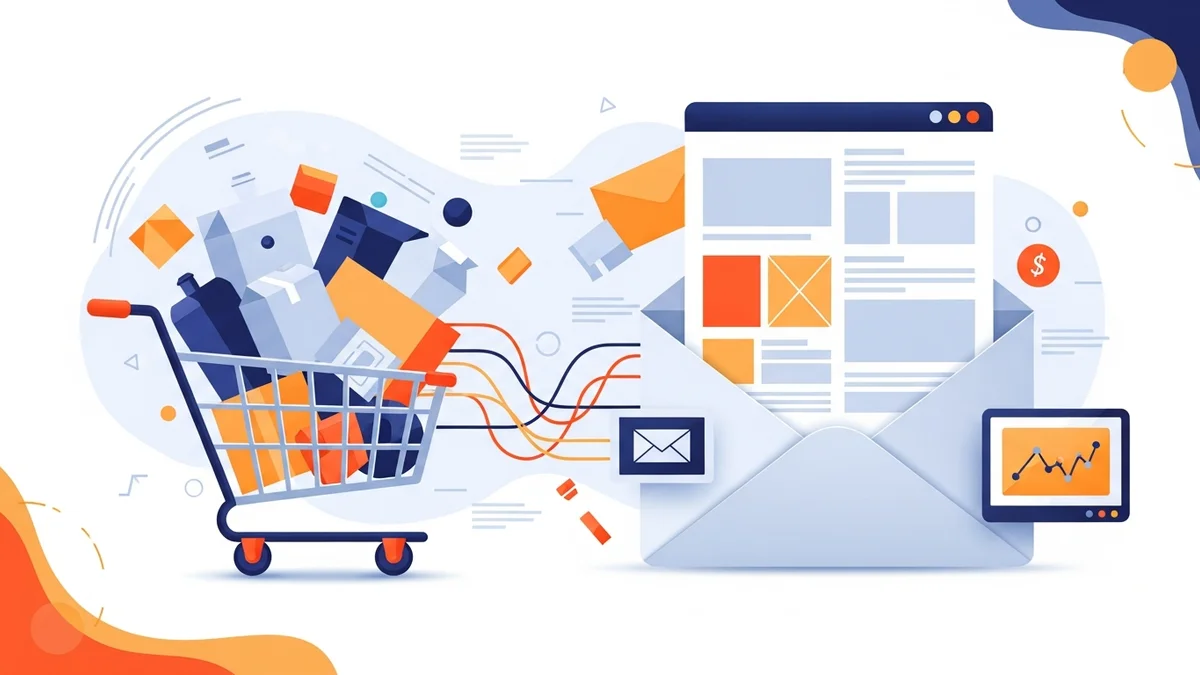
Introduction
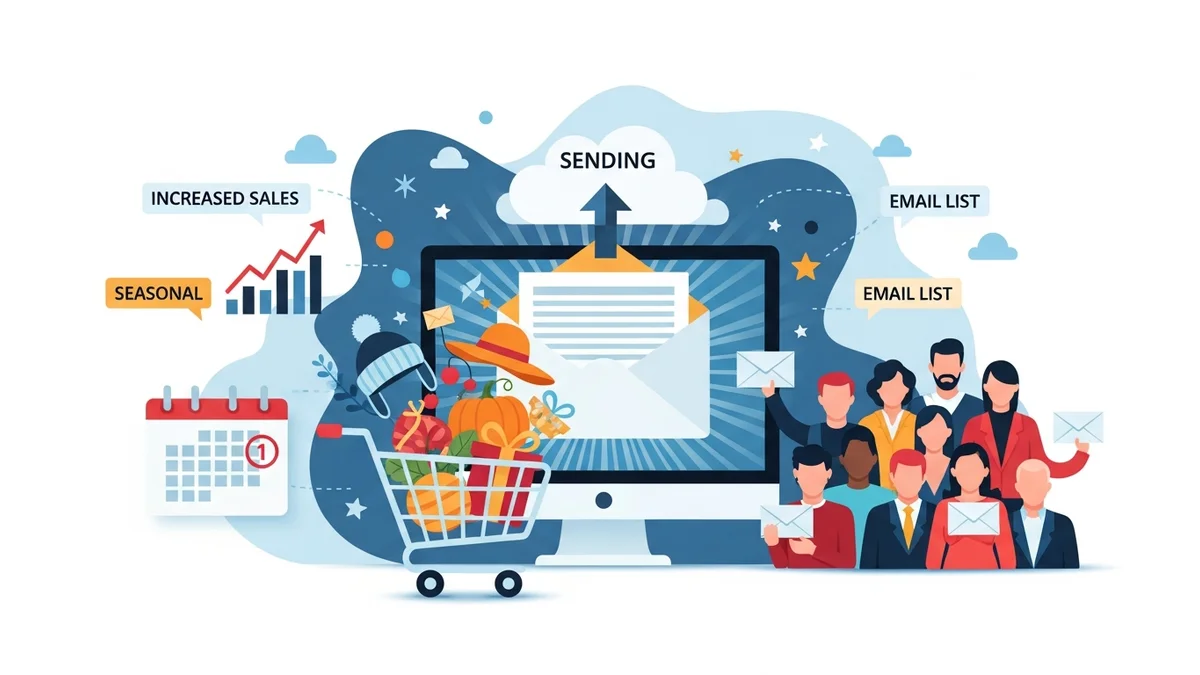
Launching a new product or collection on your WooCommerce store is a pivotal moment, and a well-executed email campaign can be the difference between a modest debut and a runaway success. For marketing professionals, leveraging the power of email automation platforms like Campaign Monitor is essential for generating excitement, educating your audience, and ultimately driving significant sales.
This guide will walk you through the strategic steps to create a compelling series of WooCommerce product launch emails within Campaign Monitor. We'll cover everything from building anticipation to converting interest into purchases, ensuring your next product launch makes a powerful impact on your customers and your bottom line.
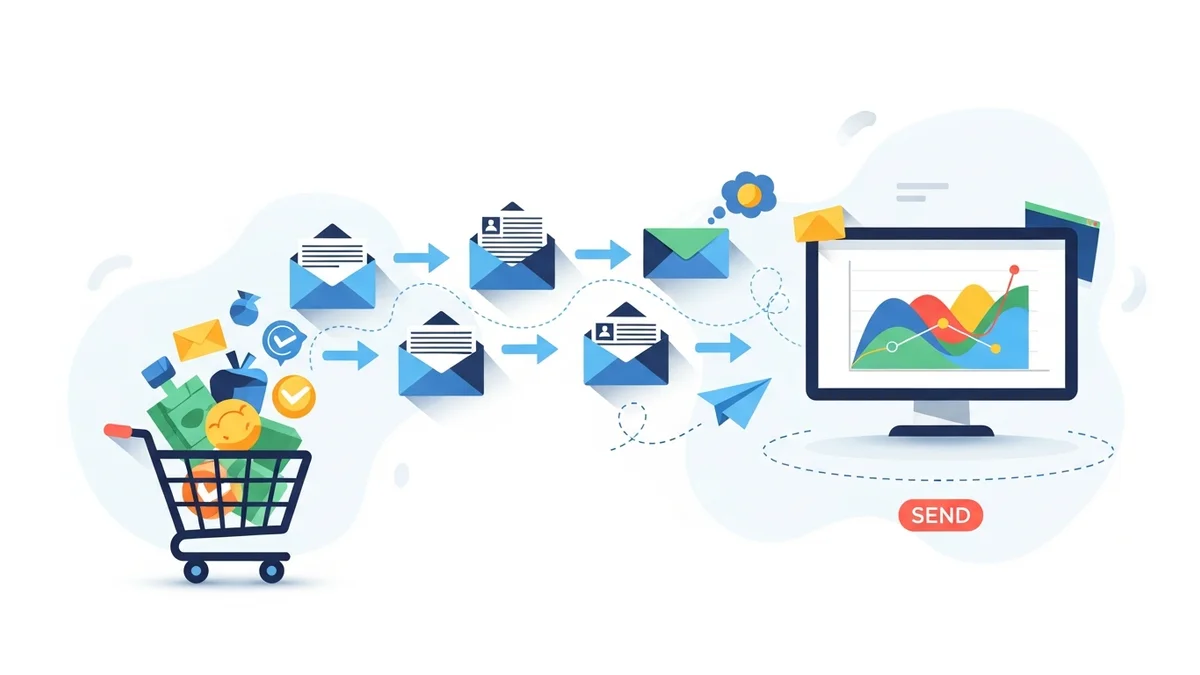
Step 1: Strategise Your Product Launch Email Series
A single email rarely suffices for a successful product launch. Instead, think of it as a multi-stage conversation with your audience. A strategic series builds anticipation, provides necessary information, and creates urgency.
Pre-Launch: Building Anticipation
The goal here is to generate buzz and interest before the product is even available. This stage can include 1-2 emails, depending on your product and audience engagement.
- Teaser Email: Hint at something new and exciting coming soon. Use vague but intriguing imagery and copy. Focus on the problem your new product solves or the feeling it evokes.
- Reveal/Information Email: Provide more details about the product, its key features, and benefits. Include a clear call to action (CTA) to a "Coming Soon" page where customers can sign up for early access or notifications. This email is crucial for collecting interested leads.
Launch Day: The Big Announcement
This is the main event. Your launch email needs to be clear, exciting, and provide an immediate path to purchase.
- Announcement Email: Clearly state that the product is now available. Highlight its unique selling points, show high-quality product images, and include a prominent CTA directly to the product page on your WooCommerce store. Consider offering an exclusive launch discount or bonus for early birds.
Post-Launch: Sustaining Momentum
The work doesn't stop on launch day. Follow-up emails can capture those who didn't convert immediately and reinforce the product's value.
- Follow-up/Reminder Email: For those who opened but didn't purchase, send a gentle reminder. Reiterate benefits, share customer testimonials (if available), or highlight a specific feature.
- Urgency/Scarcity Email: If applicable, create urgency with limited stock or a time-sensitive launch offer. This can be effective a few days after the initial launch.
- Educational/Usage Email: Showcase different ways to use the product, offer styling tips, or answer common questions. This helps solidify its value and can lead to subsequent purchases.
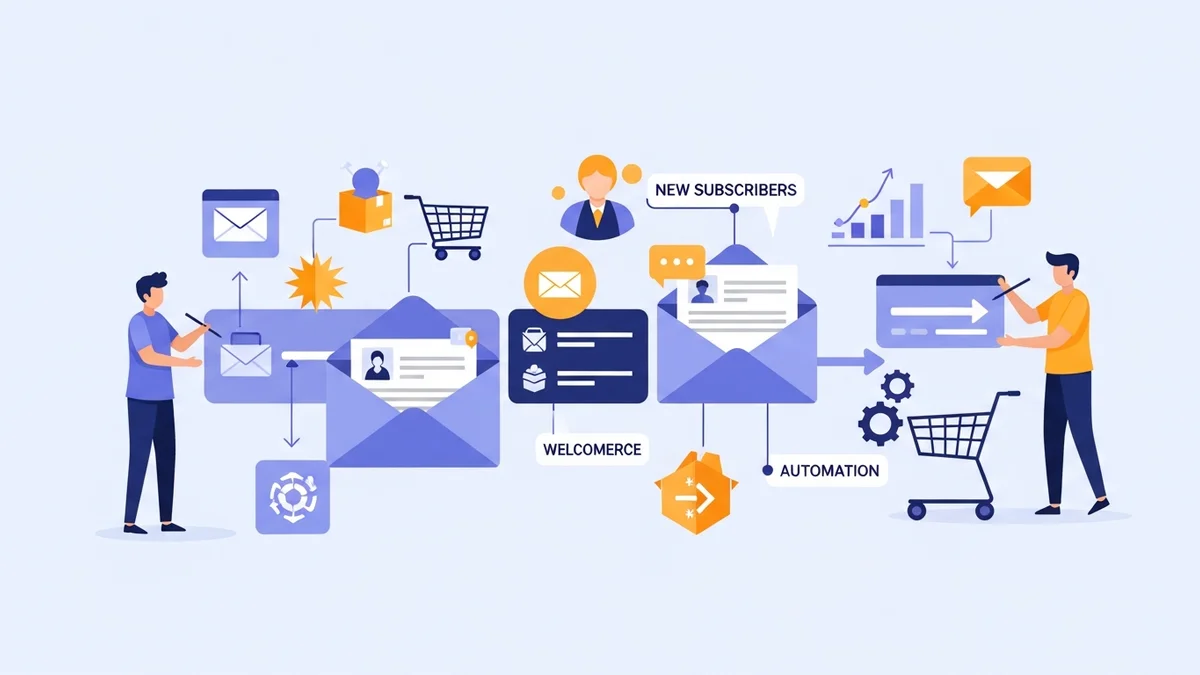
Step 2: Segment Your Audience in Campaign Monitor
Not all your subscribers are the same. Tailoring your launch messages to different segments can significantly increase engagement and conversion rates. Campaign Monitor's robust segmentation tools make this straightforward.
- Existing Customers: Segment by past purchase behaviour (e.g., customers who bought similar products). They might appreciate early access or exclusive discounts.
- Engaged Subscribers: Those who frequently open your emails but haven't purchased recently. These are prime candidates for re-engagement with an exciting new product.
- New Subscribers/Leads: People who signed up via your "Coming Soon" page or recent lead magnets. They are already interested and ready for more information.
- VIP Customers: Your most loyal customers might receive an exclusive preview or a special launch offer as a thank you.
By sending targeted messages, you ensure the content is most relevant to each recipient, improving open rates and click-throughs.
Step 3: Craft Compelling Subject Lines and Preheaders
Your subject line and preheader text are the gatekeepers to your email content. They need to be captivating enough to encourage opens amidst a crowded inbox.
- Intrigue and Curiosity: "Something incredible is coming..." or "Get ready to experience innovation."
- Benefit-Oriented: "Solve your [problem] with our new [product name]!" or "Unlock [desired outcome] today."
- Urgency and Scarcity: "It's here! Limited stock of our new [product]" or "Last chance for launch day savings!"
- Personalisation: Use the subscriber's name or reference their past interests, if appropriate.
In Campaign Monitor, you can easily set your subject line and preheader text for each email. Always test different options to see what resonates best with your audience.
Step 4: Design Engaging Email Content (Visuals, Copy, CTAs)
Once opened, your email needs to deliver on the promise of the subject line. Visuals, compelling copy, and clear calls to action are crucial.
High-Quality Visuals
Show, don't just tell. Use professional, high-resolution images and videos of your product in action. Campaign Monitor's drag-and-drop editor makes it simple to embed media.
- Product Shots: Showcase the product from multiple angles.
- Lifestyle Imagery: Help customers visualise themselves using the product.
- GIFs/Short Videos: Demonstrate features or benefits dynamically.
Benefit-Driven Copy
Focus on what the product does for the customer, not just its features. Use clear, concise language and highlight the value proposition.
- Address Pain Points: "Tired of [problem]? Our new [product] offers the perfect solution."
- Highlight Key Benefits: "Experience [benefit 1], [benefit 2], and [benefit 3] with ease."
- Use Bullet Points: Break up text to make it scannable and digestible.
Clear Calls to Action (CTAs)
Your CTA should be impossible to miss and tell the subscriber exactly what to do next. Use strong action verbs.
- Prominent Buttons: Use contrasting colours and large text.
- Action-Oriented Text: "Shop Now," "Discover More," "Get Yours Today," "Pre-Order Now."
- Single Primary CTA: While secondary CTAs might exist (e.g., "Learn More"), ensure there's one dominant action you want the user to take.
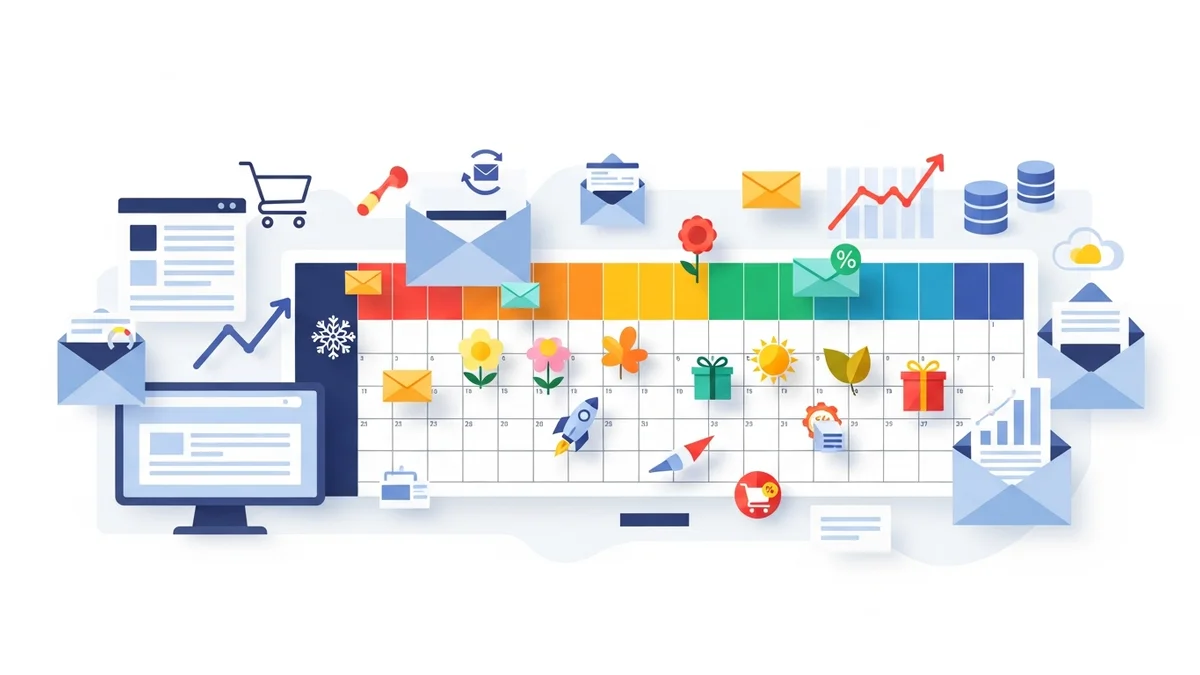
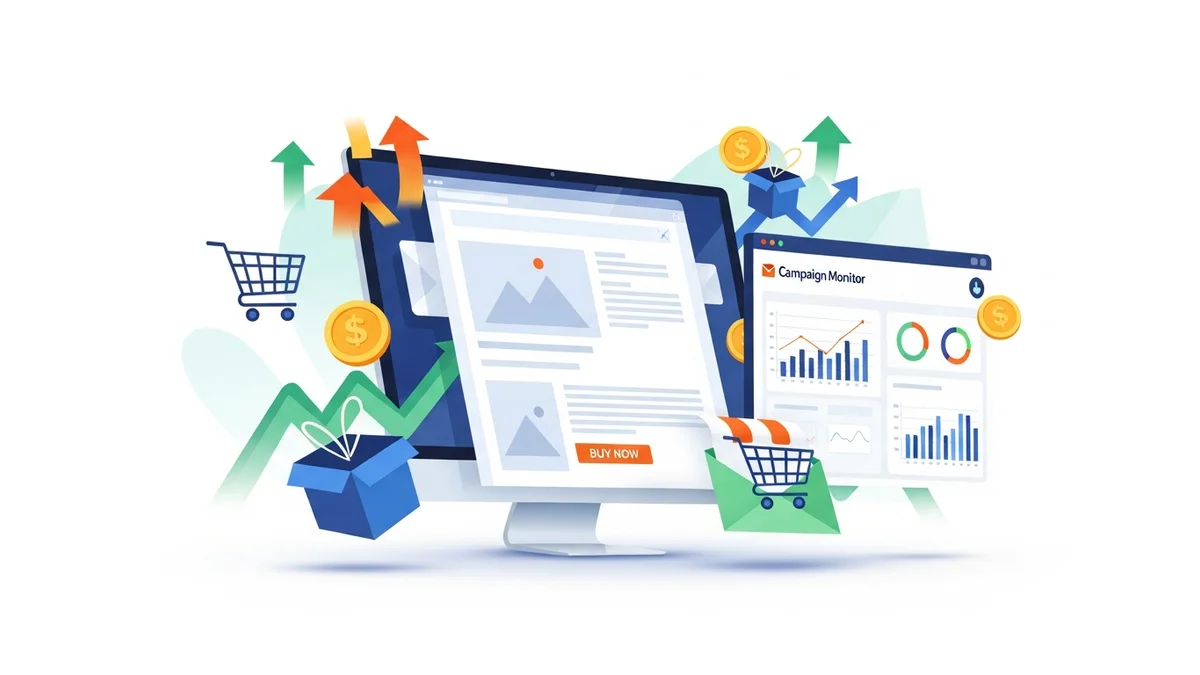
Step 5: Build and Automate Your Series in Campaign Monitor
Campaign Monitor excels at creating automated customer journeys, which is perfect for product launches.
a. Create Your Email Templates
Using Campaign Monitor's drag-and-drop builder, design unique templates for each email in your series (teaser, launch, follow-up). Ensure they are mobile-responsive and align with your brand's aesthetic.
- Branding Consistency: Use your WooCommerce store's colours, fonts, and logo.
- Mobile Responsiveness: Test how your emails appear on various devices using Campaign Monitor's preview feature.
b. Set Up Your Automated Journey
In Campaign Monitor, navigate to the 'Journeys' section. Here, you'll define the triggers and sequence for your launch emails.
- Choose a Trigger:
- For a "Coming Soon" signup, the trigger could be "When someone subscribes to a list."
- For the main launch, you might manually send the first email and then automate follow-ups based on engagement (e.g., "If subscriber opens email but doesn't click").
- Add Emails and Delays: Drag and drop your pre-designed emails into the journey. Set appropriate delays between each email (e.g., 2-3 days between a teaser and a reveal, or 24-48 hours between a launch email and a follow-up).
- Conditional Splits: Use Campaign Monitor's 'Decision' steps to create different paths based on subscriber behaviour. For example, if a subscriber clicks the "Shop Now" button, they exit the launch series and might enter a post-purchase sequence. If they don't click, they receive a reminder email.
c. Connect to WooCommerce (If Applicable)
While Campaign Monitor integrates with many platforms, direct WooCommerce purchase tracking for journey triggers might require specific setup or integration via a third-party connector. For product launches, the primary trigger is often a subscription or a manual send, with subsequent actions based on email engagement.
Step 6: Implement A/B Testing
Never assume what works best. A/B testing helps you refine your strategy based on real data. Campaign Monitor offers robust A/B testing capabilities.
- Subject Lines: Test different angles – curiosity vs. benefit-driven.
- Call to Action: Vary button text, colour, or placement.
- Images: Compare product-only shots vs. lifestyle images.
- Send Times: Experiment with different days and times to see when your audience is most responsive.
Even small improvements in open rates or click-through rates can lead to significant increases in sales for a product launch.
Step 7: Monitor Performance and Optimise
After your launch series is live, continuously monitor its performance through Campaign Monitor's analytics dashboard.
- Open Rates: Indicates how effective your subject lines and preheaders are.
- Click-Through Rates (CTR): Shows how engaging your email content and CTAs are.
- Conversion Rates: The ultimate metric – how many recipients bought the product.
- Unsubscribe Rates: High rates might indicate irrelevant content or excessive emailing.
Use these insights to make real-time adjustments or to inform future product launches. For instance, if a particular email has a low CTR, consider revising its CTA or refining the copy for subsequent sends (if it's an evergreen series) or for your next launch campaign.
Related Articles
Continue your learning with these related resources:
- The Complete Email Marketing Guide for WooCommerce Stores Using Campaign Monitor (Comprehensive Guide)
- How to Run a Black Friday Email Campaign for Your WooCommerce Store in Campaign Monitor
- What Email List Opt-in Incentives Work Best for WooCommerce Stores
- How to Create a Win-Back Email Campaign for Lapsed WooCommerce Customers in Campaign Monitor
- How to Re-Engage WooCommerce Customers Who Never Opted in to Your Email List
- How to Reduce WooCommerce Customer Churn with Targeted Retention Emails in Campaign Monitor
Conclusion
Executing a successful WooCommerce product launch with Campaign Monitor involves more than just sending a single email. It requires a thoughtful, multi-stage strategy that builds anticipation, clearly communicates value, and guides customers to purchase. By segmenting your audience, crafting compelling content, automating your series, and continuously optimising based on performance data, you can transform your product launches into powerful revenue-generating events.
Embrace the capabilities of Campaign Monitor to streamline your workflow and ensure every new product introduction is met with excitement and strong sales.