Introduction
For any Australian WooCommerce store owner, offering reliable and flexible shipping options is key to customer satisfaction. Australia Post's domestic services, primarily Parcel Post and Express Post, cater to different customer needs regarding speed and cost. Properly configuring these options ensures your orders are processed efficiently and meet your customers' expectations.
Manually preparing orders for shipment, especially when managing various shipping preferences, can be a time-consuming task. This is where streamlining your workflow becomes essential. By understanding how to configure and manage these options effectively, you can save significant time, reduce errors, and enhance your overall shipping process.
Understanding Australia Post's Domestic Shipping Services
Before diving into configuration, it's helpful to understand the core differences between Australia Post's most common domestic services: Parcel Post and Express Post. Both are reliable, but they serve different purposes for your customers.
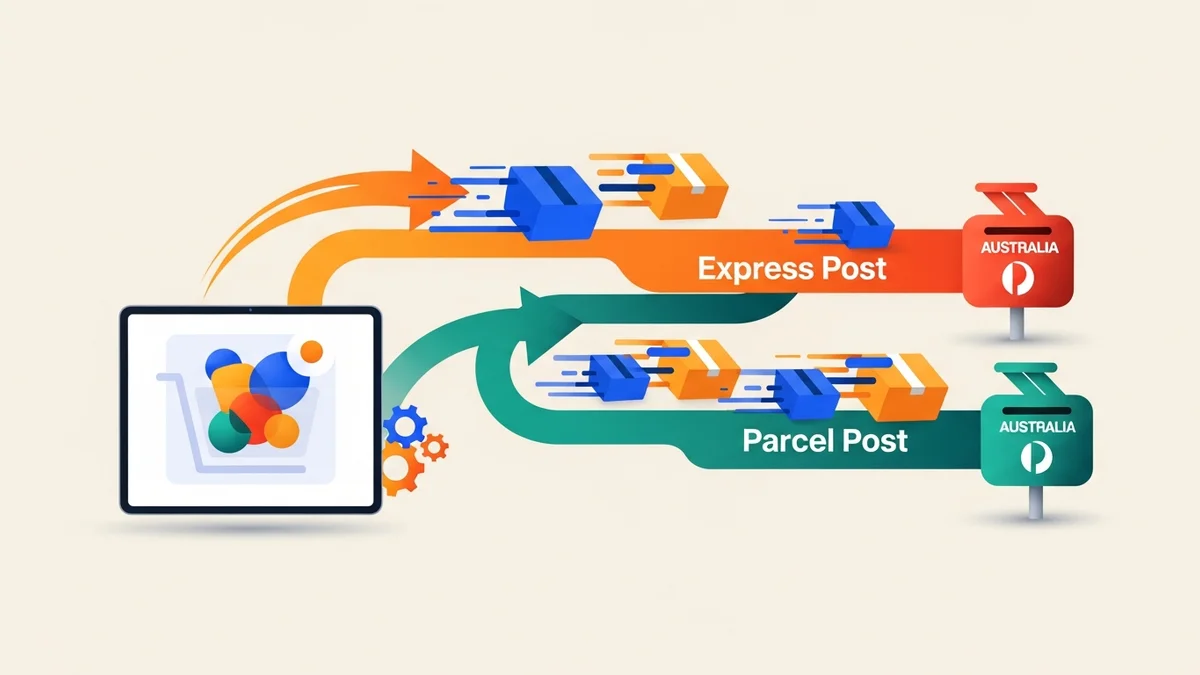
Parcel Post: The Standard Choice
Parcel Post is Australia Post's standard domestic shipping service. It offers a cost-effective solution for sending parcels across Australia with reasonable delivery times. It includes tracking, allowing both you and your customers to monitor the parcel's journey.
- Delivery Speed: Generally 2-6 business days within Australia, depending on origin and destination.
- Cost-Effectiveness: The more economical option, suitable for customers who aren't in a rush to receive their items.
- Tracking: Included as standard, providing peace of mind.
This service is ideal for everyday orders where speed is less critical than affordability, making it a popular default choice for many WooCommerce store owners.
Express Post: For Speed and Priority
Express Post is Australia Post's faster domestic delivery service, designed for urgent parcels. It prioritizes speed, making it suitable for customers who need their items quickly. Like Parcel Post, it also includes comprehensive tracking.
- Delivery Speed: Generally 1-3 business days within Australia, often next business day delivery in metropolitan areas.
- Higher Cost: More expensive than Parcel Post due to its expedited service.
- Priority Handling: Parcels receive priority treatment throughout the network.
Offering Express Post is crucial for capturing sales from customers who are willing to pay a premium for quicker delivery, such as last-minute gifts or essential items.
Why Configuring Shipping Options Matters for Your WooCommerce Store
Effective configuration of Parcel Post and Express Post isn't just about setting prices; it's about optimizing your entire fulfilment process and enhancing customer satisfaction.
- Meet Customer Expectations: Clearly defined and selectable shipping options at checkout ensure customers choose the service that best fits their needs, reducing post-purchase inquiries and dissatisfaction.
- Streamline Operations: When shipping preferences are correctly captured and manageable, your order fulfilment team can quickly identify and prepare orders for the correct service, avoiding delays or errors.
- Reduce Manual Errors: Automated or semi-automated configuration significantly reduces the chance of sending an Express Post parcel via Parcel Post, or vice-versa, which can lead to customer complaints or unexpected costs.
- Cost Efficiency: By correctly assigning services, you avoid overpaying for standard shipments or undercharging for express deliveries.
Step-by-Step Guide: Configuring Express Post and Parcel Post for WooCommerce Orders
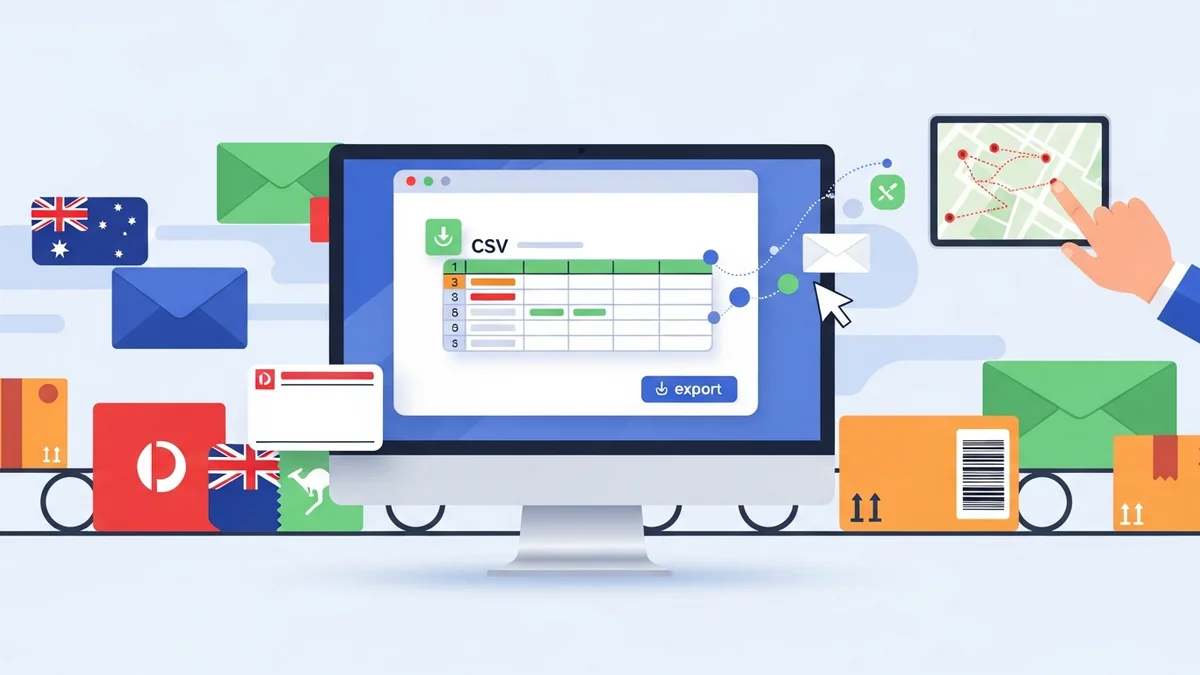
This tutorial focuses on configuring your shipping options effectively, especially when preparing orders for export to facilitate bulk label generation using a tool like the WooCommerce Australia Post CSV Export Pro plugin. This plugin allows you to review and adjust shipping services for individual orders before exporting them to a CSV file for upload to the Australia Post Business Portal.
Step 1: Initial Setup of Shipping Methods in WooCommerce
Before you can configure options for export, ensure your WooCommerce store offers both Parcel Post and Express Post as shipping choices. While the WooCommerce Australia Post CSV Export Pro plugin does not calculate shipping rates at checkout, customers can still select their preferred shipping method, which then needs to be accurately reflected in your export.
- Navigate to Shipping Zones: From your WordPress dashboard, go to WooCommerce > Settings > Shipping > Shipping zones.
- Add or Edit a Shipping Zone: Create a new zone for Australia or edit an existing one.
- Add Shipping Methods: Within your Australian shipping zone, add "Flat Rate" or "Free Shipping" methods to represent Parcel Post and Express Post. Name them clearly (e.g., "Australia Post Parcel Post" and "Australia Post Express Post"). You might set a higher flat rate for Express Post to reflect its cost.
- Customer Selection: This setup allows your customers to choose their preferred service during checkout, and this choice will be visible in the order details.
Step 2: Accessing Your Processing Orders for Export
Once customers place orders, they will appear in your WooCommerce orders list. Orders ready for shipment typically have a "Processing" status. The WooCommerce Australia Post CSV Export Pro plugin provides a dedicated interface to manage these orders.
- Go to the Plugin Interface: In your WordPress admin menu, navigate to WooCommerce > Australia Post Export.
- View Processing Orders: The plugin will display a list of all your current "Processing" orders, separated into "Domestic Orders" and "International Orders" tabs. You'll be focusing on the domestic tab for Parcel Post and Express Post configuration.
Step 3: Reviewing Domestic Orders and Shipping Choices
The domestic orders table in the plugin's interface is designed for quick review and modification. Here, you can see the shipping method originally chosen by the customer (if applicable) and other relevant order details.
- Locate the "Service" Column: In the domestic orders table, find the column labelled "Service". This column is crucial for configuring Parcel Post or Express Post.
- Initial Service Selection: The plugin will attempt to pre-fill this field based on the shipping method chosen by the customer at checkout. For example, if the customer selected "Australia Post Express Post", the "Service" field for that order might default to "Express Post".
Step 4: Adjusting Shipping Services and Packaging for Individual Orders
This is where the WooCommerce Australia Post CSV Export Pro plugin truly empowers you to fine-tune your shipping options before exporting data for label generation. You can override customer selections or set services for orders where the choice wasn't explicit.
- Manually Select Service: For each domestic order, click on the dropdown menu in the "Service" column. You will see options like "Parcel Post" (PP) and "Express Post" (EXP). Select the desired service for that specific order. This is useful if a customer contacted you post-purchase to upgrade their shipping, or if you offer an express upgrade for loyal customers.
- Choose Packaging Type: Next, select the appropriate packaging from the "Packaging" dropdown. Options include various Australia Post satchels (e.g., Extra Small, Small, Medium, Large, Extra Large) or "Own Packaging" if you're using your own boxes. The plugin automatically calculates parcel weight from your product data, helping you select the correct satchel size or declare weight for "Own Packaging".
- Configure Additional Options:
- Tracking Notification: Configure whether Australia Post should send tracking notifications to the customer.
- Signature on Delivery: Decide if a signature is required upon delivery.
- Extra Cover: Add extra cover for valuable items, protecting against loss or damage.
- Save Changes (Optional): While the plugin typically processes changes upon export, it's good practice to ensure all selections are correct before proceeding.
Step 5: Handling International Orders (Briefly)
While the focus is on domestic services, it's worth noting that the plugin also supports international shipping. Similar configuration options for "Standard" and "Express" international services are available, along with functionality that facilitates customs declarations by exporting relevant product data. This ensures a consistent workflow for all your shipments.
Step 6: Exporting Your Configured Orders to Australia Post CSV
Once you've reviewed and adjusted all your domestic (and international) orders, the final step is to generate the CSV file for bulk upload to the Australia Post Business Portal.
- Select Orders for Export: Use the checkboxes next to each order to select the ones you wish to export. You can select all visible orders at once.
- Choose Export Type: At the bottom of the table, you'll find export buttons:
- "Export Domestic CSV": For exporting only the Parcel Post and Express Post orders.
- "Export Combined CSV": If you have a mix of domestic and international orders you want in a single file.
- Download the CSV: Click the appropriate export button. The plugin will generate and download a CSV file to your computer, perfectly formatted for Australia Post.
- Upload to Australia Post Business Portal: Log in to your Australia Post Business Portal, navigate to the bulk import section, and upload the CSV file. From there, you can generate and print all your shipping labels in one go. This process significantly streamlines your bulk label generation, as detailed further in our article "How to Streamline WooCommerce Shipping with Australia Post CSV Export".
Best Practices for Managing Australia Post Shipping Options
Beyond the technical configuration, adopting smart practices can further enhance your WooCommerce Australia Post shipping workflow:
- Clear Shipping Policy: Clearly outline your shipping options, costs, and estimated delivery times on your website. This manages customer expectations upfront.
- Regular Review: Periodically review your shipping rates and the services you offer. Ensure they remain competitive and accurately reflect your costs.
- Leverage Automation Tools: Tools like the WooCommerce Australia Post CSV Export Pro plugin are invaluable. They reduce manual data entry, minimise errors, and free up your time to focus on other aspects of your business.
- Batch Processing: Establish a routine for exporting orders. For example, export all "Processing" orders once a day in the morning to consolidate your shipping tasks.
- Package Appropriately: Always choose packaging that protects your products while minimising shipping costs. The plugin's ability to specify Australia Post satchels or your "Own Packaging" helps with this decision.
Related Articles
Continue your learning with these related resources:
- The Complete Guide to WooCommerce Shipping for Australian Stores (Comprehensive Guide)
- How to Configure Default Shipping Service and Packaging in WooCommerce for Australia Post
- How to Customize Your Australia Post WooCommerce Export Table Columns
- How to Set Up Sender Details in WooCommerce for Australia Post CSV Export
- How to Set Up WooCommerce Product Weights for Accurate Australia Post CSV Export
- How to Set Signature on Delivery and Extra Cover Defaults for Australia Post WooCommerce Exports
Conclusion
Effectively configuring Express Post and Parcel Post options for your WooCommerce orders is a cornerstone of efficient e-commerce operations. It ensures your customers receive their goods as expected, while simultaneously streamlining your internal shipping processes. By leveraging the specific features of plugins like the WooCommerce Australia Post CSV Export Pro, you can move beyond manual data entry and embrace a professional, error-free workflow for exporting data to facilitate Australia Post shipping label generation in bulk. This not only saves you countless hours but also contributes significantly to a smoother, more reliable customer experience.