Introduction
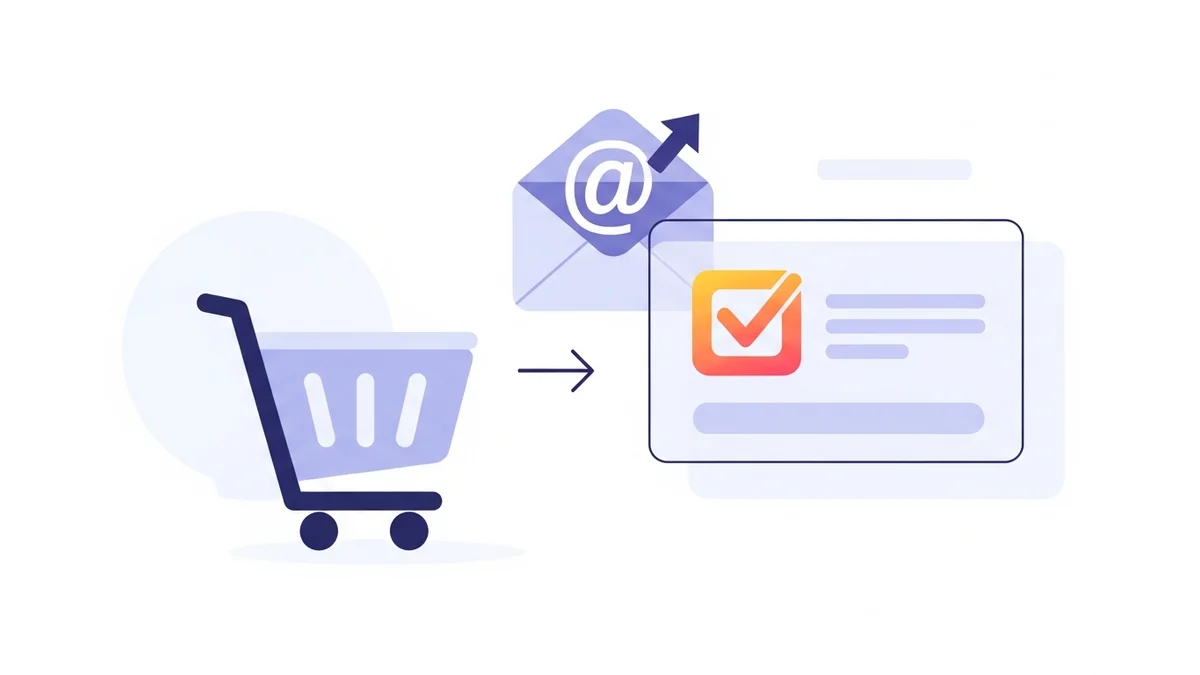
Capturing new email subscribers directly from your WooCommerce checkout page is a powerful strategy for building your marketing list and nurturing customer relationships. The WooCommerce Campaign Monitor Pro plugin is designed to streamline this process, adding a newsletter opt-in checkbox to your checkout and automatically syncing new subscriber profile data to your Campaign Monitor account. It's crucial to understand that the plugin syncs customer profile data only, specifically including name, email, phone, and billing address. Campaign Monitor itself then handles email delivery, automations, and segmentation based on the data received. However, like any integration, you might occasionally encounter issues that prevent it from working perfectly.
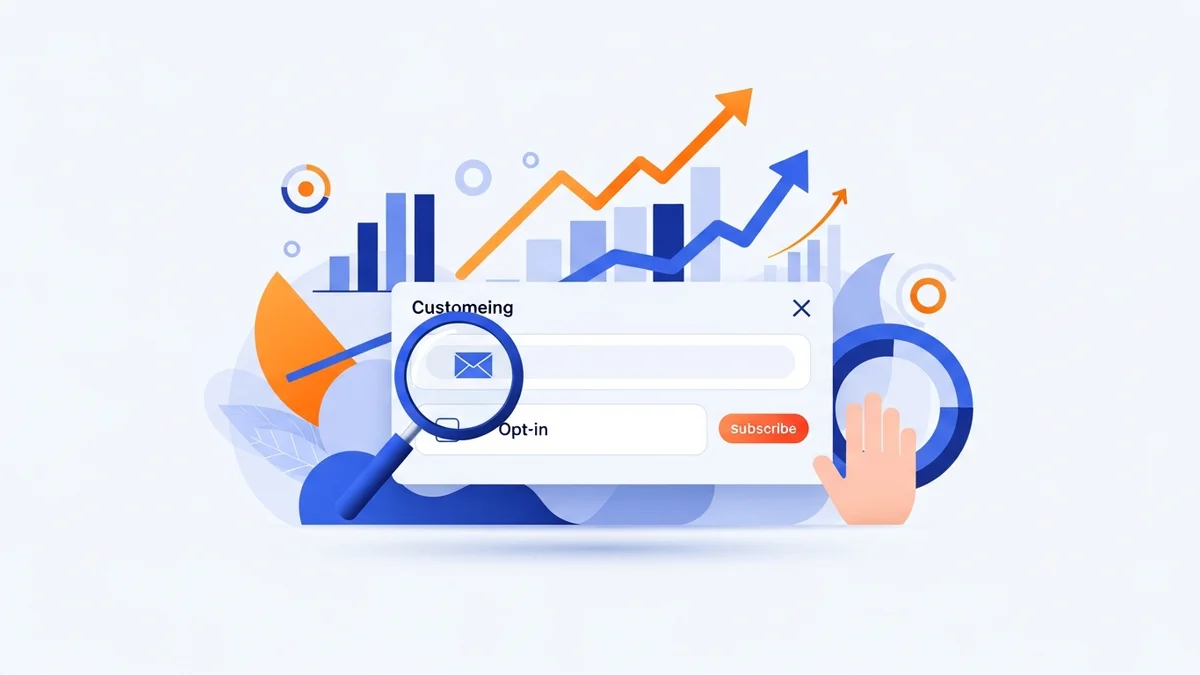
This guide is a comprehensive troubleshooting resource for WordPress developers and technical implementers. We'll walk you through the most common problems users face with the WooCommerce Campaign Monitor checkout opt-in feature, providing clear causes and actionable solutions to get your subscription process running smoothly. Our goal is to ensure you can effectively grow your mailing list, maintain GDPR compliance, and maximize your conversion rates.
1. Checkout Opt-in Checkbox Not Appearing
One of the most immediate and frustrating issues is when the opt-in checkbox simply doesn't show up on your WooCommerce checkout page. Without it, you can't collect new newsletter subscribers.
Cause A: Plugin Inactive or Misconfigured Basics
The most fundamental reason for a missing checkbox is that the WooCommerce Campaign Monitor Pro plugin isn't active, or its core settings haven't been correctly configured. This includes the API key and the target Campaign Monitor list.
- Plugin Not Active: The plugin has been installed but not activated.
- Missing API Key: The Campaign Monitor API key is not entered or is incorrect.
- No List Selected: A target Campaign Monitor list has not been chosen in the plugin settings.
Solution A: Verify Plugin Activation and Core Settings
Always start by confirming the basics. Navigate to your WordPress admin area and perform the following checks:
- Activate Plugin: Go to
Plugins > Installed Pluginsand ensure "WooCommerce Campaign Monitor Pro" is active. - API Key & List: Navigate to
WooCommerce > Settings > Integrations > Campaign Monitor. Verify that a valid Campaign Monitor API key is entered and saved. Then, ensure you've selected a specific Campaign Monitor list from the dropdown where subscribers should be synced. Remember, the Campaign Monitor list must already exist in your Campaign Monitor account for the plugin to select it.
Without these foundational elements, the plugin cannot interact with Campaign Monitor or display the opt-in field.
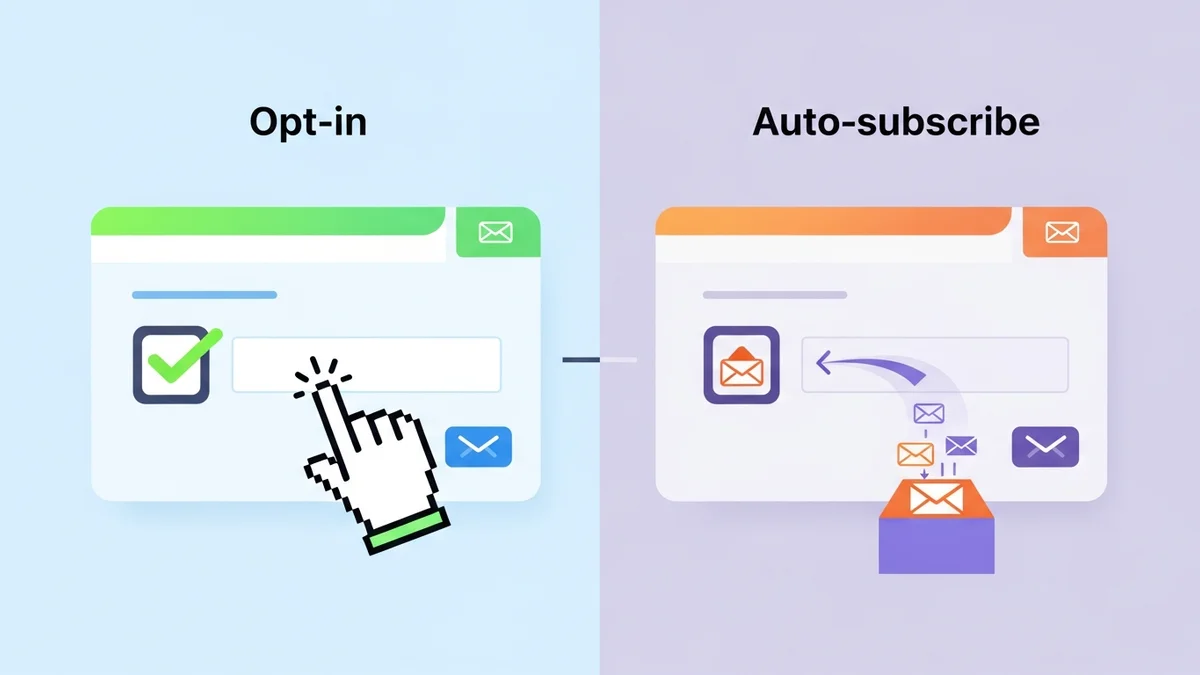
Cause B: Incorrect Checkbox Position or Auto-Subscribe Mode
The plugin offers flexible options for where the opt-in checkbox appears on the checkout page. If this setting is misconfigured, or if "Auto-Subscribe Mode" is enabled, the checkbox might not be visible.
- Invalid Position: The selected "Opt-in Checkbox Position" might not correspond to a visible area in your theme's checkout template, or it might be set to a position that's not being rendered.
- Auto-Subscribe Enabled: If "Auto-Subscribe Mode" is active, the plugin intentionally hides the checkbox, syncing all customers implicitly (without explicit consent).
Solution B: Adjust Checkbox Position and Check Auto-Subscribe
Carefully review the display settings for the opt-in checkbox:
- Adjust Position: In
WooCommerce > Settings > Integrations > Campaign Monitor, locate the "Opt-in Checkbox Position" setting. Experiment with different options, such as "After Billing Details" or "Before Order Notes," to find a position that renders correctly with your theme. The plugin supports seven distinct checkout position options, offering broad compatibility. - Disable Auto-Subscribe: Ensure that "Auto-Subscribe Mode" is not enabled if you intend to display the opt-in checkbox for explicit consent. This mode is designed for specific use cases where implicit consent is acceptable and GDPR compliance might require other measures.
Cause C: Theme or Plugin Conflicts
WordPress environments can be complex, and conflicts between themes or other plugins are a common source of unexpected behaviour. Another plugin or your active theme might be interfering with the rendering of the checkout opt-in field.
- JavaScript Errors: Conflicts can lead to JavaScript errors that prevent the dynamic rendering of elements.
- CSS Overrides: Theme or plugin styles might unintentionally hide the checkbox through CSS.
- Checkout Customisations: Other plugins that modify the WooCommerce checkout flow (e.g., one-page checkout plugins, custom field plugins) can sometimes clash.
Solution C: Isolate Conflicts
The standard troubleshooting method for conflicts involves systematically disabling elements:
- Temporarily Switch Theme: Activate a default WordPress theme like Storefront or Twenty Twenty-Four. If the checkbox appears, your theme is the culprit.
- Deactivate Plugins: Deactivate all other plugins except WooCommerce and WooCommerce Campaign Monitor Pro. If the checkbox appears, reactivate your plugins one by one until the issue reappears, identifying the conflicting plugin.
- Inspect Console: Use your browser's developer tools (F12) to check the console for any JavaScript errors when loading the checkout page. These errors often provide clues about conflicts.
Once the conflict is identified, you can either seek an alternative plugin, contact the developer of the conflicting component, or implement custom code to resolve the clash, potentially using a child theme for CSS adjustments.
2. Subscribers Not Syncing to Campaign Monitor
Even if the opt-in checkbox is visible and customers are checking it, the next critical step is ensuring those subscribers actually make it into your Campaign Monitor list. If they're not appearing, there's a breakdown in the synchronisation process.
Cause A: Incorrect API Key or List ID
The most common reason for sync failures is an invalid connection to Campaign Monitor. This could be due to a wrong API key or targeting a list that doesn't exist or isn't accessible.
- Invalid API Key: The Campaign Monitor API key entered in the plugin settings is incorrect, revoked, or has insufficient permissions.
- List Not Found: The selected Campaign Monitor list ID in the plugin settings either doesn't exist in your Campaign Monitor account or has been deleted.
Solution A: Verify API Key and List ID
Accurate credentials are paramount for successful API communication:
- Re-enter API Key: Go to
WooCommerce > Settings > Integrations > Campaign Monitor. Access your Campaign Monitor account, navigate toAccount Settings > API keys, and copy your API key. Paste it carefully into the plugin's settings and save changes. It's often best to generate a fresh API key if you suspect issues. - Confirm List ID: In your Campaign Monitor account, verify that the list you've selected in the plugin settings still exists and is correct. The plugin will typically fetch available lists, so ensure the correct one is chosen.
- Check Activity Logs: The WooCommerce Campaign Monitor Pro plugin includes comprehensive "Activity Logs." Navigate to
WooCommerce > Campaign Monitor > Activity Logsto see detailed API call statuses and error messages from Campaign Monitor, which often directly indicate "Invalid API Key" or "List not found."
The plugin encrypts API keys at rest for security, but ensuring it's correct during initial setup and verification is crucial.
Cause B: Order Status Not Triggering Sync
The plugin allows you to define when a subscriber is synced based on the WooCommerce order status. If the order status never reaches the configured trigger, the subscriber won't be sent to Campaign Monitor.
- Pending Status: The "Sync Timing" might be set to "Order Completed," but orders are remaining in "Pending Payment" or "Processing" for extended periods without reaching "Completed."
- Payment Gateway Behaviour: Certain payment gateways might not immediately mark orders as "Processing" or "Completed," delaying the status change.
Solution B: Review Sync Timing Settings
Adjust the sync timing to match your store's workflow and payment gateway behaviour:
- Configure Sync Timing: In
WooCommerce > Settings > Integrations > Campaign Monitor, find the "Sync Timing" option. - Choose Appropriate Status: If you want subscribers to sync as soon as an order is placed (even if payment is pending), select "On Order Processed." If you prefer to only sync confirmed customers, choose "On Order Completed." Align this with when your typical orders reach that status.
- Manual Order Status Change: For testing, you can manually change an order status in WooCommerce to trigger the sync.
Cause C: Customer Not Opting In or Existing Subscriber
It's easy to overlook simple user behaviour or Campaign Monitor's handling of existing subscribers. If a customer doesn't explicitly opt-in, they won't be synced. Also, Campaign Monitor uses email as a unique identifier, so existing subscribers are updated, not duplicated.
- No Opt-in: The customer simply didn't check the newsletter opt-in box during checkout.
- Already Subscribed: The customer's email address already exists in the target Campaign Monitor list. The plugin will attempt to update their profile, but they won't appear as a "new" subscriber.
Solution C: Confirm Opt-in and Check Existing Subscribers
Verify that the customer intended to subscribe and investigate their existing status:
- Review Order Details: For a specific order, check the order notes or custom fields (if your setup adds one) to confirm if the customer checked the opt-in box.
- Search in Campaign Monitor: In your Campaign Monitor account, use the search function to look for the customer's email address in the target list. If they exist, their details (including custom fields) should be updated.
- Test with New Email: Perform a test purchase using a completely new email address that has never been on your Campaign Monitor list to ensure a fresh subscription attempt.
Cause D: Server-Side Issues or Firewall Blocking
Sometimes, the issue isn't directly with the plugin's configuration but with the environment it operates in. Server-side problems or security measures can block API calls.
- Firewall/Security Plugins: WordPress security plugins (e.g., Wordfence, Sucuri) or server-level firewalls might block outbound API requests to Campaign Monitor.
- Network Connectivity: Temporary server-side network issues could prevent external API calls.
- PHP cURL/SSL Issues: Campaign Monitor's API relies on cURL and SSL for secure communication. If your server environment has issues with these, API calls will fail.
Solution D: Check Server Environment and Security
Investigate your server and security settings:
- Whitelist API Endpoints: If using a security plugin or firewall, ensure that Campaign Monitor's API endpoints (
api.createsend.com) are whitelisted for outbound requests. - Contact Hosting Provider: If you suspect network issues or problems with cURL/SSL, contact your web host. They can check server logs and ensure all necessary PHP extensions are active and correctly configured.
- Review Activity Logs (Again): The plugin's activity logs will often show "cURL error" or "SSL error" messages if these are the underlying cause.
3. Incorrect or Missing Customer Data in Campaign Monitor
Beyond simply getting an email address, the WooCommerce Campaign Monitor Pro plugin excels at syncing customer profile data from WooCommerce to Campaign Monitor custom fields. If this data isn't appearing correctly, your segmentation and personalisation efforts will suffer.
Cause A: Incorrect Field Mapping Configuration
The plugin relies on accurate field mapping to know which WooCommerce data corresponds to which Campaign Monitor custom field. A mismatch here is a primary cause of incorrect data.
- Misaligned Fields: A WooCommerce field (e.g., "Billing Phone") is mapped to the wrong Campaign Monitor custom field.
- No Mapping: A WooCommerce field that you want to sync hasn't been mapped at all.
Solution A: Review and Correct Field Mapping
Thoroughly check and adjust your field mapping settings:
- Access Field Mapping: Go to
WooCommerce > Settings > Integrations > Campaign Monitorand navigate to the "Field Mapping" section. - Match Fields Carefully: Ensure that each WooCommerce customer profile field (e.g., "Billing First Name," "Billing Last Name," "Billing City," "Billing Country," "Billing Phone") is correctly mapped to its corresponding, logically named custom field in Campaign Monitor.
- Save Changes: Always save your changes after adjusting field mappings.
Remember, the plugin handles common fields like name and email automatically, but custom fields require explicit mapping.
Cause B: Custom Fields Not Created in Campaign Monitor
A common oversight is attempting to map data to a custom field in Campaign Monitor that doesn't actually exist in your chosen list. The plugin cannot create these fields for you; they must be pre-configured in Campaign Monitor before you attempt to map them.
- Missing Custom Fields: You've mapped "Billing Phone" in the plugin, but there's no "Phone Number" custom field defined in your Campaign Monitor list.
- Incorrect Field Type: The custom field in Campaign Monitor might exist but be of an incompatible type (e.g., mapping a text field to a date field).
Solution B: Create and Verify Custom Fields in Campaign Monitor
Before mapping, ensure your Campaign Monitor list is prepared to receive the data:
- Create Custom Fields: In your Campaign Monitor account, navigate to the target list. Go to
Custom fieldsand add any necessary custom fields (e.g., "Phone Number," "Billing Country") that you wish to sync from WooCommerce. - Ensure Correct Type: When creating custom fields, select the appropriate data type (Text, Number, Date, Multi-option, etc.) to match the data you'll be sending from WooCommerce.
- Re-check Plugin: Once created in Campaign Monitor, return to the plugin's "Field Mapping" settings. The newly created custom fields should now appear in the dropdown options, allowing you to map them.
Cause C: Data Not Present in WooCommerce
Even with perfect mapping, if the customer doesn't provide the data in WooCommerce, it can't be synced to Campaign Monitor. This is particularly relevant for optional fields or specific checkout configurations.
- Optional Fields: Customers might leave optional fields (like phone number or company name) blank during checkout.
- Custom Checkout Fields: If you're using custom checkout fields, ensure they are correctly integrated with WooCommerce's customer profile data so the plugin can access them.
Solution C: Validate Data Presence in WooCommerce Orders
Confirm that the customer profile data you expect to sync is actually being captured by WooCommerce:
- Review Order Details: For a test order or a customer whose data is missing, check their full order details in
WooCommerce > Orders. Verify that the billing, shipping, and any other relevant customer-related custom fields contain the expected data. - Make Fields Required: If a certain piece of customer profile data is critical for your segmentation, consider making that WooCommerce checkout field required (if it's not already) to ensure customers provide it.
Cause D: Name Format Misconfiguration
The plugin offers options for how names are sent to Campaign Monitor. If these are misconfigured, names might appear incorrectly or not at all.
- Incorrect Name Format: You might have selected "None" for name format, or an option that doesn't match how your Campaign Monitor list expects name data.
Solution D: Adjust Name Format Settings
Ensure the name format aligns with your Campaign Monitor setup:
- Check Name Format: In
WooCommerce > Settings > Integrations > Campaign Monitor, review the "Name Format" option. - Select Appropriate Format: Choose "First Name, Last Name" or "Full Name" if your Campaign Monitor list has separate first and last name fields, or a single "Full Name" field respectively. "None" will only send the email address.
4. GDPR Compliance and Double Opt-in Behaviour
For many store owners, ensuring GDPR compliance and managing double opt-in behaviour are critical. Misconfigurations here can lead to legal issues or unexpected subscription workflows.
Cause A: Pre-ticked Opt-in Checkbox
GDPR and similar privacy regulations require active, explicit consent. A pre-ticked opt-in checkbox violates this principle, making subscriptions non-compliant.
- "Opt-in Checkbox Default State" set to "Checked": The plugin setting for the checkbox's default state is explicitly configured to be checked.
Solution A: Ensure Opt-in Checkbox is Unchecked by Default
The WooCommerce Campaign Monitor Pro plugin is designed for GDPR compliance. To ensure explicit consent:
- Set Default State: Go to
WooCommerce > Settings > Integrations > Campaign Monitor. Locate the "Opt-in Checkbox Default State" setting. - Select "Unchecked": Ensure this option is set to "Unchecked" (the default and recommended setting for compliance). This requires customers to actively tick the box to subscribe, signifying their clear consent.
Cause B: Unexpected Double Opt-in Behaviour
You might expect a single opt-in process, but subscribers are receiving a confirmation email. This typically stems from Campaign Monitor's list settings or the plugin's bypass option.
- Campaign Monitor List Settings: Your specific Campaign Monitor list might be configured to "Require people to confirm their subscription" as a default.
- Plugin Bypass Not Active: The "Bypass Campaign Monitor's Double Opt-in" option in the plugin might not be enabled.
Solution B: Configure Double Opt-in According to Preference
Decide whether you want single or double opt-in and configure accordingly:
- Check Campaign Monitor List: In your Campaign Monitor account, navigate to the target list, then go to
General Settings > Confirmation Email. Check if "Require people to confirm their subscription" is enabled. - Configure Plugin Bypass: If you prefer single opt-in and want to bypass Campaign Monitor's confirmation email, go to
WooCommerce > Settings > Integrations > Campaign Monitorand enable the "Bypass Campaign Monitor's Double Opt-in" option.
Note that even with bypass enabled, Campaign Monitor still requires a valid email address. This setting is about the explicit confirmation email, not email validity checks.
5. Activity Logs Show Errors
One of the most valuable troubleshooting tools within the WooCommerce Campaign Monitor Pro plugin is its comprehensive activity logging. If you're seeing errors here, it's a direct indication of a problem.
Cause: Specific API Error Responses from Campaign Monitor
The activity logs record every interaction with the Campaign Monitor API, including any error codes or messages returned. These messages are often highly specific and directly pinpoint the problem.
- Invalid API Key (101): Indicates the API key is incorrect or revoked.
- List Not Found (102): The target list ID doesn't exist.
- Email Invalid (201): The email address being sent is not a valid format.
- Custom Field Not Found (203): You're trying to send data to a custom field that doesn't exist in Campaign Monitor.
- Other API Errors: Various other codes can indicate temporary service issues, rate limits, or specific data validation problems.
Solution: Interpret Logs and Address Specific Errors
The activity logs are your first line of defence. Use them systematically:
- Access Activity Logs: Go to
WooCommerce > Campaign Monitor > Activity Logs. - Review Error Messages: Look for entries marked as "Error" or "Failed." The "Response" column will often contain a detailed message directly from the Campaign Monitor API, explaining why the sync failed.
- Cross-Reference with Causes/Solutions: Match the error message to the relevant cause and solution in this guide. For example, if you see "Invalid API Key," revisit Solution 2A. If you see "Custom Field Not Found," revisit Solution 3B.
- Clear Logs (Optional): Once an issue is resolved, you can clear the logs to start fresh and monitor for new errors.
Understanding these specific error messages is key to quickly diagnosing and resolving most integration issues with the WooCommerce Campaign Monitor Pro plugin.
Related Articles
Continue your learning with these related resources:
- Mastering WooCommerce Campaign Monitor Pro: Your Ultimate Integration Guide for E-commerce Growth (Comprehensive Guide)
- How to Optimize WooCommerce Order Sync Timing for Campaign Monitor
- How to Set the Subscriber Name Format Sent from WooCommerce to Campaign Monitor
- How to Manually Sync a WooCommerce Order to Campaign Monitor from the Order Admin
- How to Choose the Right Campaign Monitor List for Your WooCommerce Store
- How to Bypass Campaign Monitor Double Opt-in for WooCommerce Checkout Subscribers