Introduction
For any WooCommerce store owner, building a strong email list is essential for long-term success. Email marketing allows you to nurture customer relationships, announce new products, offer exclusive discounts, and drive repeat purchases. One of the most effective places to capture new subscribers is right at the point of sale: your WooCommerce checkout page.
Adding a newsletter opt-in checkbox to your checkout ensures that customers who are already engaged enough to make a purchase can easily subscribe to your updates. This method not only streamlines the subscription process but also captures high-intent leads. This guide will walk you through the precise steps to implement a GDPR-compliant newsletter opt-in checkbox, focussing on a practical solution for stores using Campaign Monitor.
Why a Checkout Opt-in is Crucial for Your WooCommerce Store
Integrating a newsletter opt-in directly into your WooCommerce checkout offers several significant advantages that can dramatically improve your email marketing efforts and overall business growth.
Capture High-Intent Subscribers
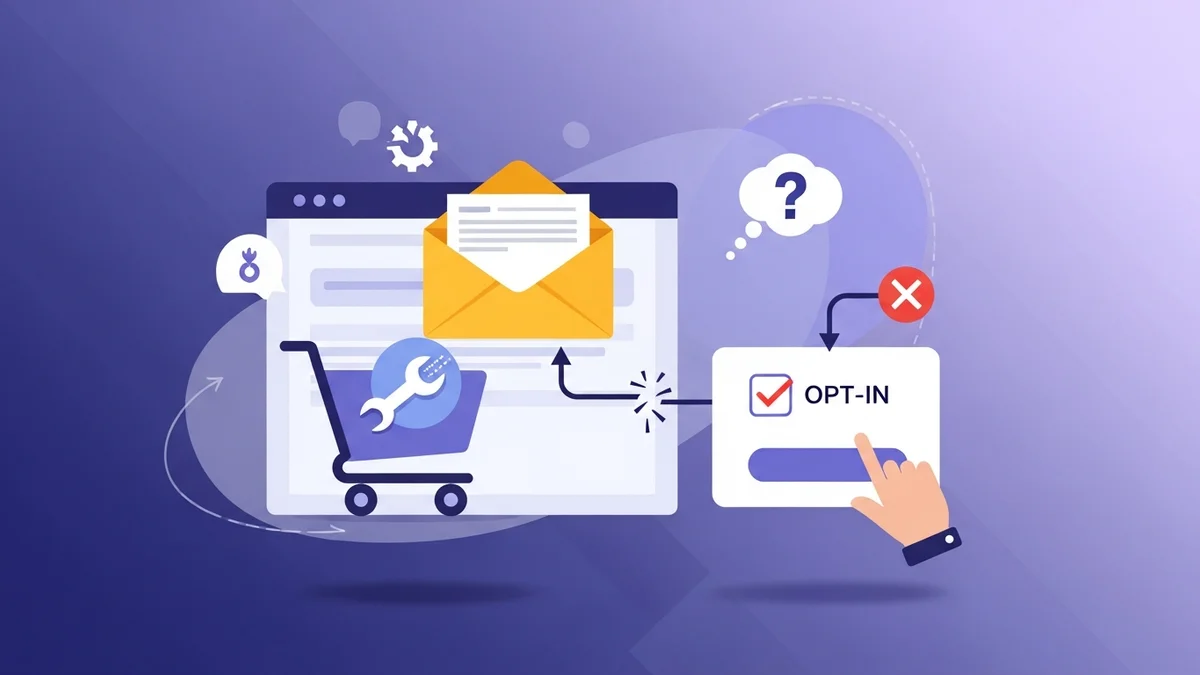
Customers at the checkout stage are already demonstrating a strong interest in your brand by making a purchase. Offering them a newsletter opt-in at this moment capitalises on their engagement, making them more likely to subscribe and remain interested in your future communications. These are not just casual browsers, but active buyers.
Streamline the Subscription Process
Removing extra steps for subscription makes it easier for customers to opt in. Instead of navigating to a separate signup form, they can simply check a box during their purchase. This reduces friction and increases the likelihood of gaining new subscribers without interrupting their shopping experience.
Ensure GDPR and Privacy Compliance
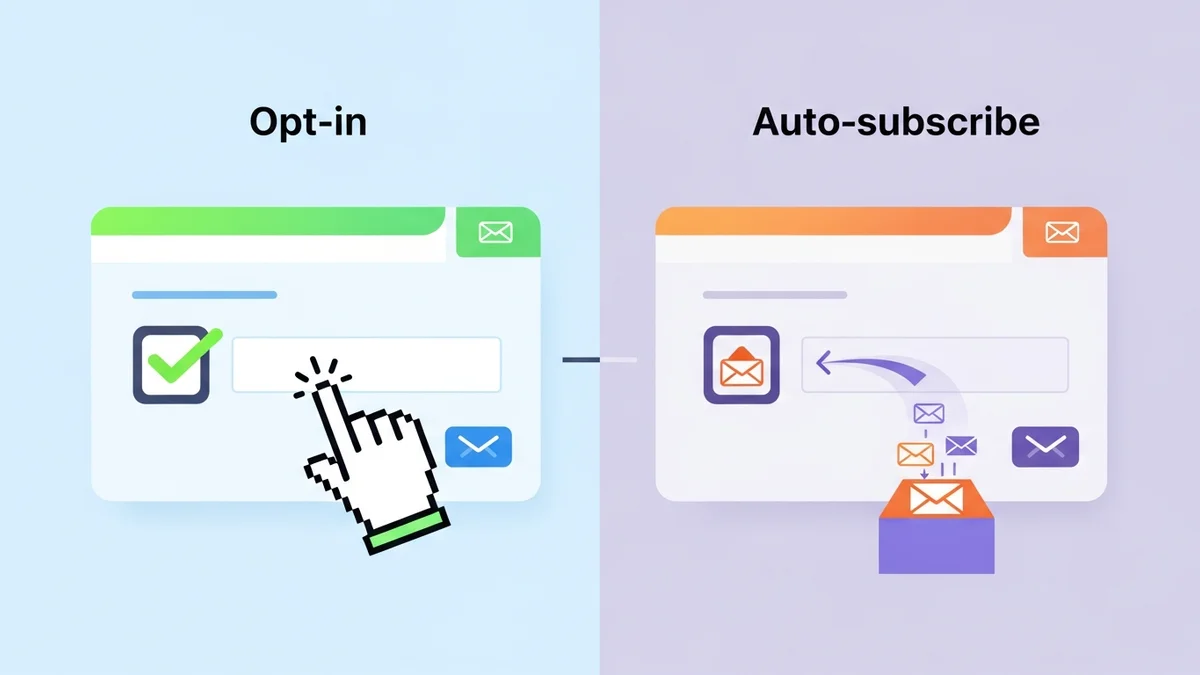
Modern privacy regulations like GDPR (General Data Protection Regulation) and CCPA (California Consumer Privacy Act) mandate clear, explicit consent for marketing communications. An unchecked opt-in checkbox at checkout is a transparent way to obtain this consent, ensuring you build your email list responsibly and legally. Customers actively choose to subscribe, providing undeniable proof of consent.
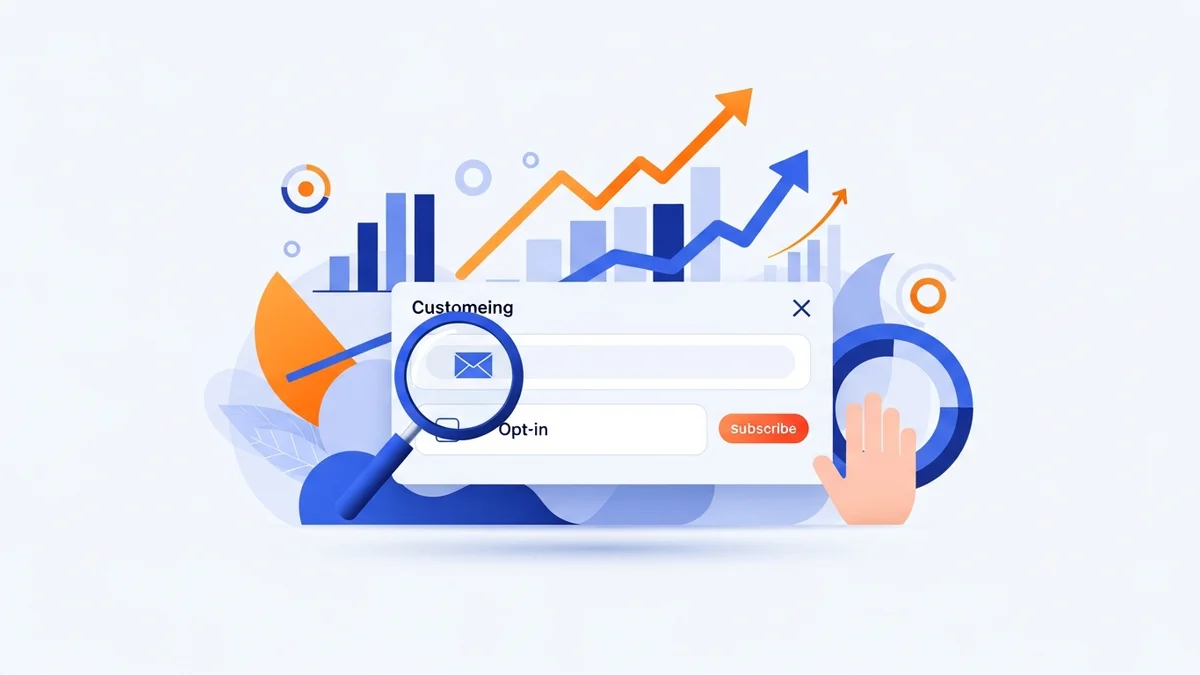
Boost Your Email Marketing ROI
A larger, more engaged email list translates directly to more opportunities for targeted marketing. With more subscribers, you can run more effective campaigns, promote products, share valuable content, and ultimately drive more sales. Capturing subscribers at checkout feeds your most valuable marketing channel continuously.
Understanding Your Options for Adding a Checkout Opt-in
When it comes to adding a newsletter opt-in checkbox to your WooCommerce checkout, you generally have a few approaches. Each comes with its own set of complexities and benefits.
Manual Coding (Not Recommended for Non-Technical Users)
For those with development skills, it's possible to manually add a custom field and integrate it with your email service provider's API. This involves editing theme files and writing custom code, which can be prone to errors, challenging to maintain, and often breaks with theme or WooCommerce updates. It requires significant technical expertise and ongoing management.
WooCommerce Hooks and Filters
WooCommerce provides hooks and filters that developers can use to insert custom content or fields into the checkout page. While more robust than direct theme file editing, this still requires coding knowledge to implement the checkbox, handle its state, and connect it to an email marketing service. It's an improvement but still a technical solution.
Dedicated Plugins (Recommended)
For most WooCommerce store owners, using a dedicated plugin is the most straightforward, reliable, and efficient method. Plugins abstract away the complex coding, offering user-friendly interfaces to configure and manage your opt-in checkbox. They are typically designed to be compatible with WooCommerce updates and often include additional features like data synchronisation and compliance tools. For stores using Campaign Monitor, a specialised plugin like WooCommerce Campaign Monitor Pro provides a seamless and powerful solution. This plugin focuses on syncing customer profile data from WooCommerce to your Campaign Monitor account, while Campaign Monitor itself handles the crucial tasks of email delivery, automation, and subscriber segmentation.
Step-by-Step Tutorial: Adding a Newsletter Opt-in Checkbox Using WooCommerce Campaign Monitor Pro
This section will guide you through the process of adding a newsletter opt-in checkbox to your WooCommerce checkout using the WooCommerce Campaign Monitor Pro plugin. This plugin is specifically designed to integrate your WooCommerce store with Campaign Monitor, automating subscriber collection and data synchronisation.
Prerequisites Before You Start
Before you begin, ensure you have the following in place:
- A Campaign Monitor Account: You need an active Campaign Monitor account to send emails and manage your subscriber lists.
- A Campaign Monitor List: Create at least one subscriber list within your Campaign Monitor account where your new subscribers will be added. The plugin does not create lists for you.
- Custom Fields in Campaign Monitor (Optional but Recommended): If you want to sync more than just email addresses (e.g., customer name, city, phone), ensure these custom fields are created in your Campaign Monitor list before mapping them in the plugin. The plugin does not create these fields automatically.
- WooCommerce Campaign Monitor Pro Plugin: Purchase, download, install, and activate the WooCommerce Campaign Monitor Pro plugin on your WordPress website.
Step 1: Install and Activate the WooCommerce Campaign Monitor Pro Plugin
If you haven't already, install and activate the plugin on your WordPress site. This process is similar to installing any other WordPress plugin.
- Log in to your WordPress admin dashboard.
- Navigate to Plugins > Add New.
- Click Upload Plugin at the top of the page.
- Choose the plugin
.zipfile you downloaded from SauceCode, then click Install Now. - Once installed, click Activate Plugin.
After activation, you'll find a new menu item, typically under WooCommerce > Campaign Monitor or a similar location, in your WordPress admin sidebar.
Step 2: Connect to Campaign Monitor
The first step after activation is to establish a connection between your WooCommerce store and your Campaign Monitor account. This is done by providing your Campaign Monitor API Key and Client ID.
- Go to WooCommerce > Campaign Monitor in your WordPress admin menu.
- Navigate to the Settings tab.
- In the "API Credentials" section, you'll need to enter your Campaign Monitor API Key and Client ID.
- To find your API Key and Client ID:
- Log in to your Campaign Monitor account.
- Click on your profile picture/icon in the top right corner, then select Account settings.
- Go to API keys. Your API key will be displayed there.
- For the Client ID, after selecting your client, navigate to Client settings > General. Your Client ID will be listed there.
- Copy and paste these credentials into the respective fields in your plugin settings.
- Click Save Changes. The plugin will attempt to connect to Campaign Monitor. If successful, you'll see a confirmation message, and your lists will become available for selection. Your API key will be securely encrypted at rest.
Step 3: Configure Your Checkout Opt-in Settings
Now that your store is connected, you can set up the actual opt-in checkbox on your checkout page.
- While still in the WooCommerce > Campaign Monitor > Settings page, scroll down to the "Checkout Opt-in" section.
- Enable Checkout Opt-in: Check the box labelled "Enable checkout opt-in" to display the newsletter checkbox on your checkout page.
- Select Campaign Monitor List: From the dropdown menu, choose the specific Campaign Monitor list where you want new subscribers to be added. Make sure this list already exists in your Campaign Monitor account.
- Opt-in Checkbox Label: Enter the text that will appear next to your opt-in checkbox. This should be clear and concise, for example: "Yes, I'd like to receive your newsletter with exclusive offers and updates." or "Sign me up for email updates and special promotions."
- Opt-in Checkbox Position: The plugin offers multiple positions for the checkbox on your checkout page. Common options include:
- After Billing Details
- Before Order Notes
- After Order Notes
- Before Place Order Button
- After Place Order Button
- Default Opt-in State: For GDPR compliance, ensure this is set to "Unchecked". This means customers must actively tick the box to opt in, providing explicit consent. Avoid pre-ticking the box unless you have a specific legal reason to do so and are confident it meets compliance standards for your region.
- Bypass Double Opt-in (Optional): Campaign Monitor typically uses a double opt-in process for new subscribers. If you prefer to bypass this (e.g., because consent is already explicit at checkout), you can enable this option. Be aware of the implications for compliance and subscriber quality before enabling.
- Click Save Changes to apply your opt-in settings.
Step 4: Map Customer Data Fields (Enrich Your Subscriber Data)
Beyond just collecting email addresses, the plugin allows you to sync valuable customer profile data from WooCommerce to Campaign Monitor for better segmentation and personalisation. This includes core profile data such as name, email, phone, and billing address details. This step involves "field mapping," connecting specific WooCommerce fields to corresponding custom fields in your Campaign Monitor list.
- Still on the WooCommerce > Campaign Monitor > Settings page, locate the "Field Mapping" section.
- Here, you'll see a list of WooCommerce customer fields (e.g., First Name, Last Name, Billing Phone, Billing Country, Billing City).
- For each WooCommerce field you want to sync, use the dropdown menu next to it to select the corresponding custom field in your chosen Campaign Monitor list.
- Important: The custom fields must already exist in your Campaign Monitor list. If you want to map "Billing Phone" from WooCommerce, you need to have a custom field named "Phone" (or similar) set up in your Campaign Monitor list first. The plugin cannot create these fields for you.
- Example Mappings:
- First Name: Map to 'First Name' or a custom 'FirstName' field in Campaign Monitor.
- Last Name: Map to 'Last Name' or a custom 'LastName' field in Campaign Monitor.
- Billing Country: Map to a custom 'Country' field in Campaign Monitor.
- Billing Phone: Map to a custom 'Phone' field in Campaign Monitor.
- The plugin also offers options for how names are synced (e.g., First Name, Last Name, Full Name, or None). Configure this based on how you prefer to store and use names in Campaign Monitor.
- Click Save Changes after configuring your field mappings.
By mapping these fields, you ensure that when a customer opts in, not only their email but also their name, location, and other relevant details are automatically sent to Campaign Monitor. This rich data empowers you to create highly targeted segments and personalised email campaigns.
Step 5: Test Your Opt-in Checkbox
After configuring everything, it's crucial to test your setup to ensure it works as expected.
- Open your website in an incognito or private browser window.
- Add a product to your cart and proceed to the WooCommerce checkout page.
- Locate your newly added newsletter opt-in checkbox. Verify that the label text is correct and that it is unchecked by default.
- Fill in the necessary billing and shipping details.
- Perform two test orders:
- For the first order, check the opt-in box and complete the purchase.
- For the second order, leave the opt-in box unchecked and complete the purchase (using a different email address or your test email).
- After completing both test orders, log in to your Campaign Monitor account.
- Navigate to the list you selected in the plugin settings.
- Verify that the email address from the order where you checked the opt-in box has been added to your Campaign Monitor list, along with any mapped custom field data.
- Confirm that the email address from the order where you left the box unchecked was not added to your list.
You can also check the plugin's "Activity Log" (usually found under WooCommerce > Campaign Monitor > Activity Log) to see a record of all sync attempts and their statuses. This can help troubleshoot any issues.
Advanced Considerations for Your Opt-in Strategy
Beyond the basic setup, there are a few more points to consider to maximise the effectiveness and compliance of your checkout opt-in.
GDPR and Privacy Policy Links
While the unchecked box ensures explicit consent, it's good practise to link to your privacy policy near the opt-in checkbox. This provides customers with easy access to information on how their data will be used, further enhancing transparency and trust. You can often add HTML with a link directly within the checkbox label text field in the plugin settings.
Optimising Checkbox Wording and Placement
The exact wording of your opt-in message can influence conversion rates. Test different phrases that clearly communicate the value of subscribing. Similarly, the placement of the checkbox on the checkout page can impact visibility and interaction. Experiment with the plugin's position options to find what performs best for your audience. A/B testing can provide valuable insights here.
Leveraging Data for Personalised Campaigns
The field mapping feature of WooCommerce Campaign Monitor Pro is incredibly powerful. By syncing data like customer name, city, and billing country, you can segment your Campaign Monitor list and send highly targeted emails. For example, you could send specific promotions to customers in a particular country or personalise subject lines with their first name, leading to higher open and click-through rates.
Handling Existing Customers and Bulk Imports
If you're an existing store with a large customer base, the WooCommerce Campaign Monitor Pro plugin also offers a robust bulk import feature. This allows you to import your historical WooCommerce customers (filtered by date, order status, and even previous opt-in choices from other plugins) directly into Campaign Monitor. This is invaluable for migrating to Campaign Monitor or kickstarting your email marketing efforts with a pre-existing audience.
Related Articles
Continue your learning with these related resources:
- Mastering WooCommerce Campaign Monitor Pro: Your Ultimate Integration Guide for E-commerce Growth (Comprehensive Guide)
- How to Optimize WooCommerce Order Sync Timing for Campaign Monitor
- How to Set the Subscriber Name Format Sent from WooCommerce to Campaign Monitor
- How to Manually Sync a WooCommerce Order to Campaign Monitor from the Order Admin
- How to Choose the Right Campaign Monitor List for Your WooCommerce Store
- How to Bypass Campaign Monitor Double Opt-in for WooCommerce Checkout Subscribers
Conclusion
Adding a newsletter opt-in checkbox to your WooCommerce checkout is a simple yet highly effective strategy for growing your email list with engaged customers. By leveraging a dedicated plugin like WooCommerce Campaign Monitor Pro, you can implement this feature quickly, ensure GDPR compliance, and automatically sync valuable customer profile data to your Campaign Monitor account. Remember, the plugin focuses on providing this subscriber data, while Campaign Monitor is where you'll manage email delivery, set up automations, and segment your audience.
This automation frees you from manual data entry, allowing you to focus on creating compelling email campaigns that nurture customer relationships and drive repeat business. Follow these steps to transform your checkout into a powerful subscriber acquisition tool and take your email marketing to the next level.