Introduction
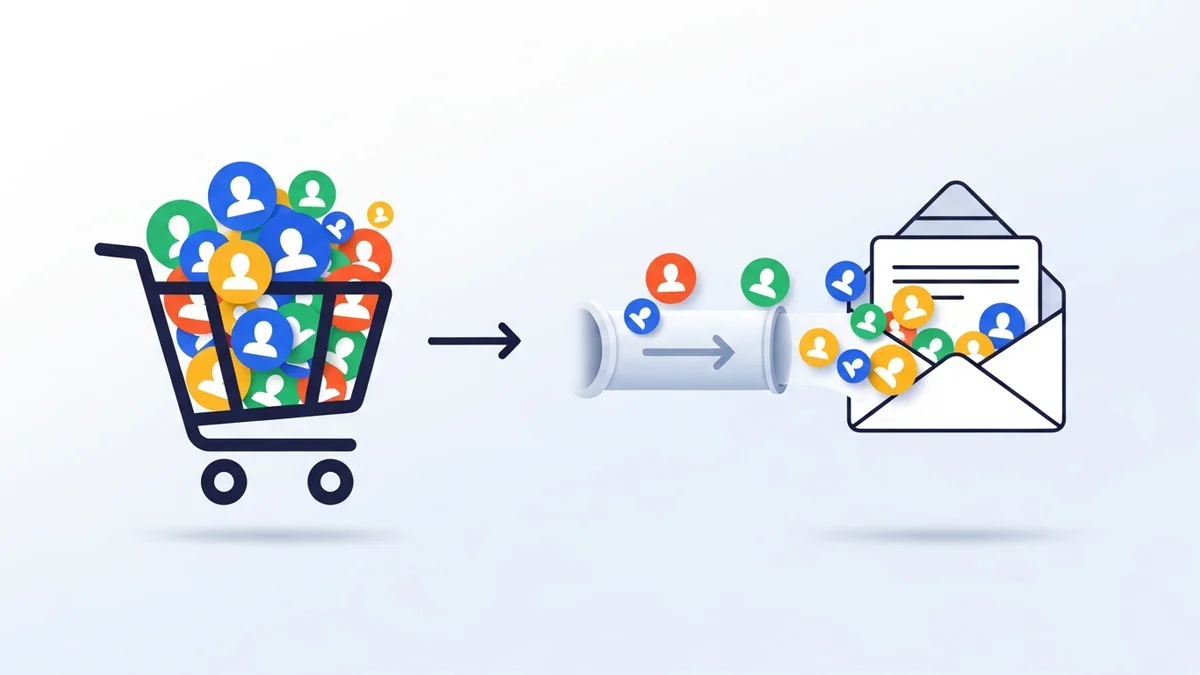
For e-commerce managers, a clean, targeted email list is a cornerstone of effective marketing strategy. When migrating existing customer data from WooCommerce to a platform like Campaign Monitor, simply importing every single customer can be inefficient and even counterproductive. The true power lies in strategic segmentation from the outset.
The WooCommerce Campaign Monitor Pro plugin facilitates this by syncing customer profile data (such as name, email, phone number, and billing address details) from your store to Campaign Monitor, which then handles email delivery, advanced segmentation, and automation. This guide will walk you through leveraging WooCommerce order status filters during a bulk customer import. By carefully selecting which customers to include, you can build a more engaged, valuable audience, directly impacting your marketing ROI and operational efficiency.
The Strategic Advantage of Filtered Bulk Imports
Migrating your existing customer data is more than just moving names and emails; it's an opportunity to refine your audience. A blanket import of every customer ever, regardless of their activity, can dilute your list quality. This can lead to lower engagement rates, increased bounce rates, and ultimately, a reduced return on your email marketing investment.
Strategic bulk imports, specifically those using order status filters, allow you to focus your efforts. You can identify and target customers who are most likely to engage with your emails, whether they are recent purchasers or loyal customers. This precision ensures your Campaign Monitor list is populated with high-potential leads, ready for tailored campaigns.
Why Order Status Filters are Crucial for E-commerce
WooCommerce order statuses provide a rich, built-in mechanism to understand customer engagement. Each status signifies a different stage in the customer journey. By filtering your bulk import based on these statuses, you gain control over the quality and relevance of the customer data you transfer to Campaign Monitor.
For example, importing customers with "Completed" orders ensures you are engaging with individuals who have successfully purchased from you. Conversely, filtering for "Pending Payment" might be useful for re-engagement campaigns, while excluding "Cancelled" or "Refunded" orders prevents you from targeting disengaged or potentially dissatisfied customers with general marketing messages.
Understanding Key WooCommerce Order Statuses
Before diving into the bulk import process, let's briefly review common WooCommerce order statuses and their implications for your customer migration strategy:
- Pending Payment: Order received, no payment initiated. These customers might need a reminder or follow-up to complete their purchase.
- Processing: Payment received and stock reduced; the order is awaiting fulfilment. These are active buyers.
- On Hold: Awaiting payment confirmation or manual review. Similar to pending payment, but often indicates a temporary hold.
- Completed: Order fulfilled and shipped. These are your successful customers, ideal for re-engagement and loyalty programs.
- Cancelled: Order cancelled by the customer or admin. Generally, these customers should be excluded from marketing lists unless specifically targeted for re-acquisition.
- Refunded: Customer received a refund. Similar to cancelled, these might not be the best candidates for general marketing.
- Failed: Payment failed or was declined. These customers showed intent but encountered an issue.
Each status offers an insight into a customer's journey and intent. Your choice of filters will directly reflect your marketing objectives for the newly imported list.
Preparing for Your Bulk Customer Import to Campaign Monitor
The WooCommerce Campaign Monitor Pro plugin is designed to sync customer profile data such as name, email, phone number, and billing address details from WooCommerce to Campaign Monitor. Before initiating the bulk import of existing customer data, ensure you have these prerequisites in place:
1. Campaign Monitor List Setup
It is critical to ensure you have an active list in your Campaign Monitor account where you intend to import your WooCommerce customers. The WooCommerce Campaign Monitor Pro plugin does not create Campaign Monitor lists; it connects to existing ones. Having a dedicated list for your WooCommerce customers allows for better organisation and targeted campaigns.
2. Campaign Monitor Custom Fields
If you plan to sync additional customer profile details beyond just email (e.g., first name, last name, phone number, billing country), you must first create corresponding custom fields within your Campaign Monitor list. The plugin allows for flexible field mapping, but these fields must exist in Campaign Monitor beforehand to receive the data.
3. WooCommerce Campaign Monitor Pro Plugin Installation
Ensure the WooCommerce Campaign Monitor Pro plugin is installed and activated on your WordPress site. Navigate to its settings, connect your Campaign Monitor API key, and select the default list for new subscribers. This foundational setup is essential before proceeding with any bulk import.
Step-by-Step Tutorial: Leveraging Order Status Filters for Bulk Customer Import
Now, let's walk through the precise steps to perform a strategic bulk import of your WooCommerce customers to Campaign Monitor, focussing on the powerful order status filters.
Step 1: Accessing the Bulk Import Tool
From your WordPress admin dashboard, go to WooCommerce > Campaign Monitor Pro > Import Customers. This dedicated section within the plugin provides all the tools for migrating your existing customer database.
This interface is designed to be intuitive, presenting you with clear options to configure your import. It’s here that you'll define the scope and nature of your customer migration.
Step 2: Selecting Your Campaign Monitor List
First, choose the specific Campaign Monitor list where you want to import your customers. The plugin will display a dropdown menu of all active lists from your connected Campaign Monitor account. Selecting the correct list is paramount, as all imported subscribers will be added to it.
Consider creating a new, temporary list in Campaign Monitor if you wish to test your filtering strategy before importing into your main marketing list. This allows for verification of the imported data quality.
Step 3: Configuring Field Mapping
Before importing, define how your WooCommerce customer profile data maps to your Campaign Monitor custom fields. The plugin is designed to sync essential customer profile data such as name, email, phone number, and billing address details. It automatically maps email addresses. For additional data like first name, last name, billing phone, or billing country, you'll see options to link them to their corresponding custom fields in Campaign Monitor.
Example: If you want to segment customers by their billing country in Campaign Monitor, ensure you have a "Country" custom field in Campaign Monitor and map WooCommerce's "Billing Country" to it. This rich customer data is invaluable for personalised campaigns.
Step 4: Applying Order Status Filters
This is where the strategic filtering truly begins. Within the bulk import tool, you'll find an option labelled "Import customers with orders in the following status(es)". Here, you can select one or more WooCommerce order statuses.
For instance, to target your most engaged customers, select "Completed". If you're running a campaign to re-engage customers who started but didn't finish a purchase, you might select "Pending Payment". The ability to select multiple statuses provides granular control over your imported audience.
- Select "Completed": Ideal for building a list of confirmed buyers for loyalty programs or product announcements.
- Select "Processing": Captures active customers whose orders are currently being fulfilled, perfect for post-purchase follow-ups.
- Select "Pending Payment" & "On Hold": Useful for segmenting customers who showed interest but haven't finalised their purchase, enabling targeted reminders.
- Exclude "Cancelled", "Refunded", "Failed": Typically, these statuses indicate disengagement or issues, making these customers less ideal for general marketing lists.
Step 5: Setting Date Range Filters
Complementing the order status filters, you can also specify a date range for orders. This allows you to import customers whose orders fall within a particular timeframe. This is extremely useful for focussing on recent activity or excluding very old, potentially outdated customer data.
For example, combining "Completed" status with "Orders placed in the last 12 months" ensures you're only importing active customers who have made a purchase relatively recently. This keeps your list fresh and relevant.
Step 6: Handling Opt-in Status & Previous Subscriptions
The plugin offers additional filtering options, such as whether to only import customers who explicitly opted in via the checkout checkbox. This is critical for GDPR compliance and ensuring consent. You can also choose to ignore the opt-in status and subscribe all customers who meet your other criteria (use with caution and ensure legal compliance).
A valuable feature of WooCommerce Campaign Monitor Pro is its ability to detect previous opt-ins from other popular newsletter plugins, such as MailChimp for WordPress. This prevents re-subscribing customers who were already on your list through a different integration, ensuring a cleaner database.
Step 7: Initiating the Import with Background Processing
Once you've configured all your filters and mapping, click the "Import Customers" button. For large stores with extensive customer databases, the plugin utilises WordPress Action Scheduler for background processing. This ensures that the import runs in batches without timing out, slowing down your site, or encountering server limits.
This background processing is a critical feature for operational efficiency, especially for businesses with thousands of customer records. It allows you to continue managing your store without interruption while the import runs reliably in the background.
Step 8: Monitoring and Verifying the Import
After initiating, you can monitor the progress of your bulk import directly from the WooCommerce Campaign Monitor Pro settings page. The plugin provides real-time updates on how many customers have been processed and allows you to cancel the import if needed.
Once the import is complete, it's a best practice to log into your Campaign Monitor account and verify the imported data. Check a few customer profiles, confirm that custom fields are correctly populated, and ensure the total number of imported subscribers aligns with your expectations based on your applied filters. This verification step is vital for data integrity.
Strategic Scenarios for Order Status Filters
Let's look at some practical applications of order status filters for e-commerce managers:
-
Loyalty & Re-engagement Campaigns:
Filter:
Completedorders, within the last 12-24 months.Benefit: Imports your most valuable, active customers. This list is perfect for exclusive offers, loyalty programs, or post-purchase follow-ups to encourage repeat business, driving high ROI from proven buyers.
-
Abandoned Cart Recovery (Pre-existing Data):
Filter:
Pending PaymentorFailedorders, within the last 3 months.Benefit: Identifies customers who showed strong intent but didn't complete their purchase. While modern abandoned cart flows are automated, this method can capture older "abandoned" data or supplement existing strategies for a targeted re-acquisition campaign.
-
New Product Launch Audience:
Filter:
Completedorders.Benefit: Creates a highly relevant audience for new product announcements. If a customer previously bought similar items, they are more likely to be interested in new offerings, improving conversion rates for your launch emails.
-
Excluding Non-Converting Leads:
Filter: Exclude
Cancelled,Refunded,Failedorders.Benefit: Ensures your list doesn't include customers who had negative experiences or never completed a purchase, reducing the chance of sending irrelevant emails and improving overall list health. This contributes directly to better sender reputation and engagement metrics.
Best Practices for Customer Data Migration
To maximise the success of your WooCommerce customer migration to Campaign Monitor, consider these best practices:
- Start Small: For your first bulk import, consider importing a smaller segment of customers or using a test Campaign Monitor list. This allows you to verify data accuracy and mapping before a full migration.
- Data Hygiene: Before importing, consider cleaning your WooCommerce customer data. Remove duplicate entries or clearly irrelevant contacts if possible. While Campaign Monitor handles duplicates by using email as the unique identifier, a cleaner source ensures better data integrity.
- Inform Your Audience: If you're importing customers who haven't explicitly opted into your current marketing list (but are eligible based on purchase history), consider sending a clear, concise re-permission campaign or a welcome email explaining their inclusion. Transparency builds trust and ensures GDPR compliance.
- Segmentation Strategy: Plan your Campaign Monitor segmentation *before* you import. Identify the key customer profile data points you want to capture (e.g., billing country) and ensure they are mapped during the import. This proactive approach makes future email campaigns more effective.
- Monitor Post-Import Metrics: After the import, closely monitor your email campaign performance in Campaign Monitor. Look at open rates, click-through rates, and unsubscribe rates. This feedback helps you refine future import strategies and segmentations.
- Document Your Process: Keep a record of the filters and settings used for each bulk import. This documentation is invaluable for future reference, compliance, and replicating successful strategies.
Related Articles
Continue your learning with these related resources:
- Mastering WooCommerce Campaign Monitor Pro: Your Ultimate Integration Guide for E-commerce Growth (Comprehensive Guide)
- How to Optimize WooCommerce Order Sync Timing for Campaign Monitor
- How to Set the Subscriber Name Format Sent from WooCommerce to Campaign Monitor
- How to Manually Sync a WooCommerce Order to Campaign Monitor from the Order Admin
- How to Choose the Right Campaign Monitor List for Your WooCommerce Store
- How to Bypass Campaign Monitor Double Opt-in for WooCommerce Checkout Subscribers
Conclusion
Leveraging WooCommerce order status filters for strategic bulk customer imports to Campaign Monitor is a powerful way to enhance your email marketing efforts. Instead of a generic data dump, you can precisely curate your audience, focussing on customers who are most likely to engage and convert. The WooCommerce Campaign Monitor Pro plugin provides the robust tools to execute this with ease, syncing valuable customer profile data (such as name, email, phone number, and billing address details) and ensuring background processing for large datasets and comprehensive field mapping options. Campaign Monitor then takes over, handling email delivery, advanced segmentation, and automation workflows based on the rich subscriber data provided by the plugin.
By adopting a strategic approach to your customer migration, e-commerce managers can achieve higher engagement rates, improve marketing ROI, and build a truly valuable and responsive email list. This level of precision is not just about efficiency; it's about making every email count and fostering stronger, more profitable customer relationships.