Introduction
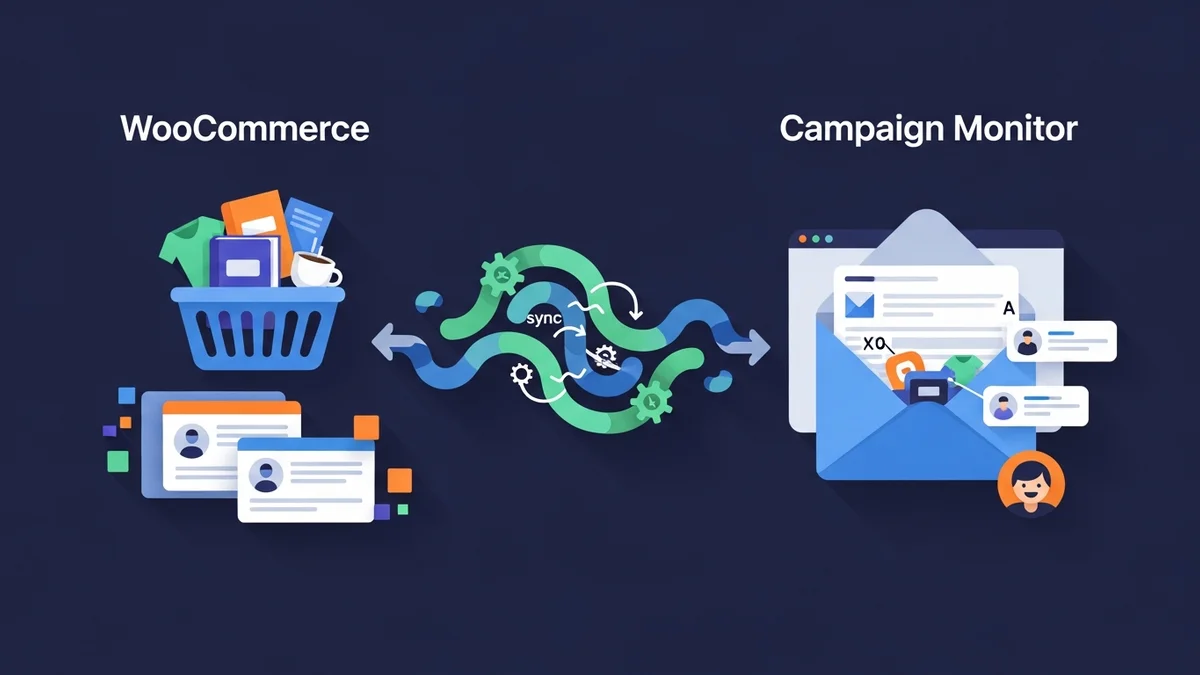
Seamless customer data synchronisation between your WooCommerce store and Campaign Monitor is crucial for effective email marketing. It allows Campaign Monitor to build rich customer profiles, segment your audience accurately, and facilitates the launch of highly personalised campaigns. However, even with robust tools like the WooCommerce Campaign Monitor Pro plugin, sync failures can occur, disrupting your marketing efforts and leading to incomplete data.
This guide is designed for WordPress developers and technical implementers. We'll delve into common scenarios where customer data syncs might fail or produce unexpected results, offering clear causes and actionable solutions to help you maintain a reliable data flow. Understanding the underlying mechanisms and potential pitfalls is key to a smooth integration.
Understanding WooCommerce-Campaign Monitor Data Synchronisation
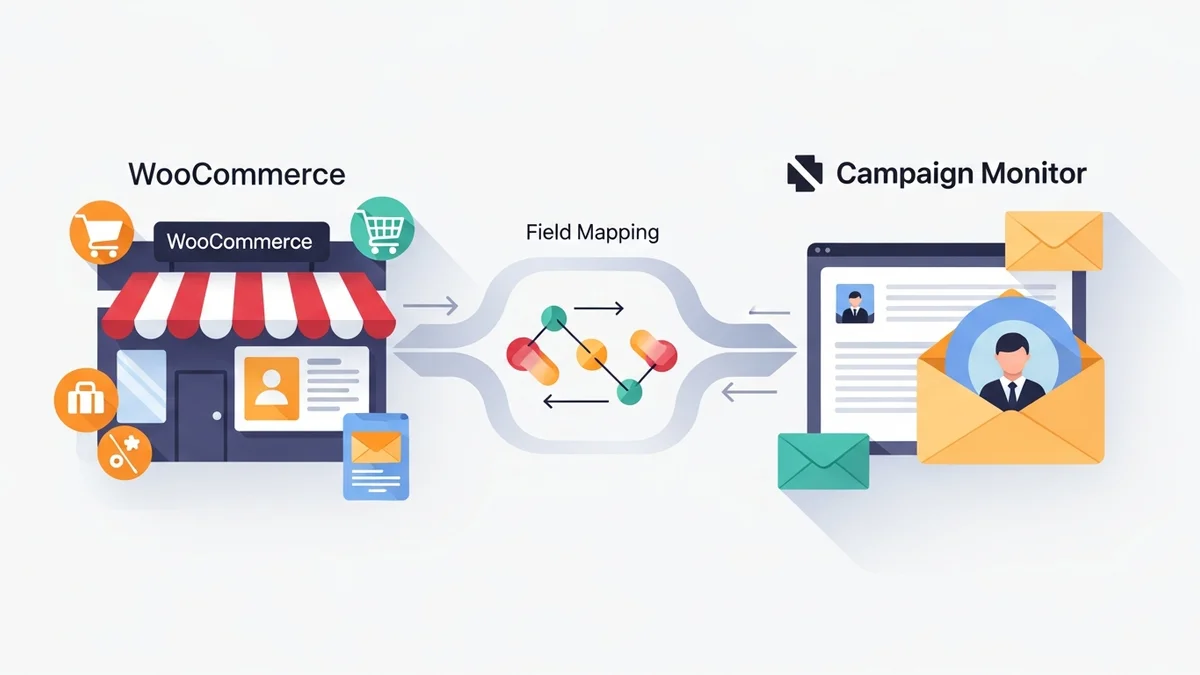
Before diving into troubleshooting, it's essential to grasp how customer data synchronisation typically works with a plugin like WooCommerce Campaign Monitor Pro. When a customer opts in at checkout, their data is collected and then transmitted to Campaign Monitor via its API (Application Programming Interface).
The Sync Process Explained
- Opt-in Trigger: A customer checks the newsletter opt-in box during WooCommerce checkout (or in auto-subscribe mode).
- Data Collection: The plugin gathers relevant customer information from the WooCommerce order and user profiles (e.g., email, first name, last name, billing address details).
- Field Mapping: This collected WooCommerce data is then mapped to specific fields in your chosen Campaign Monitor list. Campaign Monitor uses the email address as the unique identifier for subscribers.
- API Transmission: The plugin sends an API request to Campaign Monitor, instructing it to add a new subscriber or update an existing one with the mapped data.
- Confirmation/Error Logging: Campaign Monitor processes the request and sends back a response, which the plugin records in its activity logs for auditing and troubleshooting.
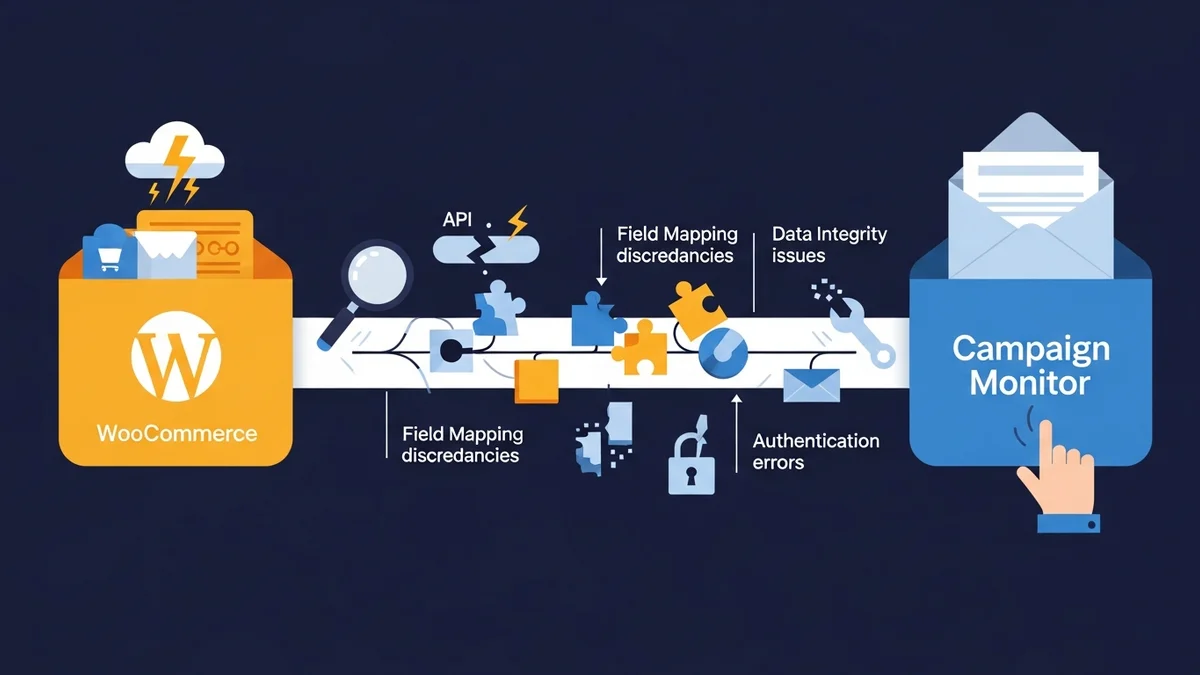
Any disruption in this chain can lead to a data sync failure. Troubleshooting involves systematically isolating where the breakdown occurs.
Common Sync Failure Scenarios & Solutions
1. API Connection & Authentication Errors
Problem: Customers are opting in, but no data appears in Campaign Monitor, and the plugin logs show "API Error" or "Authentication Failed" messages.
Cause: The most frequent cause is an incorrect or expired Campaign Monitor API key. Other factors can include network connectivity issues, server-side firewalls blocking outbound requests, or Campaign Monitor account suspensions.
Solution:
- Verify API Key: Double-check the Campaign Monitor API key entered in your WooCommerce Campaign Monitor Pro plugin settings. Ensure there are no leading/trailing spaces or typos. Generate a new API key in your Campaign Monitor account if unsure.
- Check Campaign Monitor Account Status: Log into your Campaign Monitor account to ensure it's active and in good standing.
- Inspect Server Logs: Review your WordPress site's error logs (often accessible via your hosting control panel) for any messages related to outbound HTTP requests failing or cURL errors.
- Firewall/Security Plugins: Temporarily disable any WordPress security plugins or server-level firewalls to rule them out as blockers. If disabling resolves the issue, you'll need to configure an exception for Campaign Monitor's API endpoints (e.g.,
api.createsend.com). - Test Connectivity: If you have SSH access, you can perform a quick cURL test from your server to
api.createsend.comto verify outbound connectivity.
2. Incorrect or Missing Field Mapping
Problem: Customers are syncing, but specific data points (e.g., billing phone, country) are missing or appear in the wrong fields within Campaign Monitor, leading to incomplete rich customer profiles.
Cause: The WooCommerce field you intend to sync is not correctly mapped to a corresponding custom field in Campaign Monitor. This can happen if the custom field doesn't exist in Campaign Monitor, or if there's a typo or mismatch in the mapping configuration within the plugin.
Solution:
- Verify Campaign Monitor Custom Fields: Log into your Campaign Monitor account. Navigate to your target list, then to "Custom fields." Ensure that all the custom fields you wish to populate (e.g., "Phone Number," "Billing Country") exist and have the correct data type (Text, Number, Date). The WooCommerce Campaign Monitor Pro plugin does not create these fields for you; they must be pre-existing.
- Review Plugin Field Mapping: Go to the WooCommerce Campaign Monitor Pro plugin settings in WordPress. Under the "Field Mapping" section, carefully review each mapped field.
- Ensure the correct WooCommerce field (e.g.,
Billing Phone) is selected. - Verify that it's mapped to the exact Campaign Monitor custom field (e.g.,
Phone Number). Pay close attention to capitalisation and spacing in custom field names. - If a field is mapped but not syncing, try re-selecting both the WooCommerce and Campaign Monitor fields to ensure the mapping is re-saved correctly.
- Ensure the correct WooCommerce field (e.g.,
- Data Type Compatibility: While Campaign Monitor is flexible, ensure the data type you're sending from WooCommerce is generally compatible with the custom field type in Campaign Monitor. For instance, sending a long text string to a number field might cause validation errors.
3. Campaign Monitor List Not Found or Inaccessible
Problem: Subscribers are not being added to the intended Campaign Monitor list. The plugin logs might indicate a "List not found" or "Access denied" error.
Cause: The Campaign Monitor list selected in the plugin settings may have been deleted, renamed, or the API key used does not have the necessary permissions to access or modify that specific list.
Solution:
- Check List Existence: Log into your Campaign Monitor account and confirm that the target mailing list still exists and is spelled correctly.
- Re-select List in Plugin: In the WooCommerce Campaign Monitor Pro plugin settings, go to the "General" tab and re-select your desired Campaign Monitor list from the dropdown menu. This refreshes the list ID and ensures the plugin is targeting an active list.
- API Key Permissions: If you are using an API key with restricted permissions, ensure it has "Manage subscribers" access for the specific list you are targeting. While less common for standard API keys, it's worth checking in enterprise-level Campaign Monitor accounts.
4. Campaign Monitor Data Validation Errors
Problem: The plugin logs show errors from Campaign Monitor indicating data validation failures (e.g., "Invalid email address," "Required field missing," "Value too long").
Cause: Campaign Monitor has its own set of data validation rules. If the data sent from WooCommerce doesn't meet these rules, Campaign Monitor will reject the subscriber or the update. Common issues include malformed email addresses, missing data for fields marked as "required" in Campaign Monitor, or data exceeding character limits.
Solution:
- Inspect Plugin Activity Logs: The WooCommerce Campaign Monitor Pro plugin provides detailed activity logs. Review the specific error message returned by Campaign Monitor for the failed sync attempt. This message will often pinpoint the exact field and reason for rejection.
- Validate WooCommerce Data:
- Email Format: Ensure the customer's email address in WooCommerce is valid.
- Required Fields: If a custom field is marked as "required" in Campaign Monitor, ensure its corresponding WooCommerce field is always populated. If not, consider making the Campaign Monitor field optional or ensure WooCommerce validation prevents empty values.
- Character Limits: Check if any WooCommerce data being mapped exceeds Campaign Monitor's custom field character limits. This is rare but can occur with long text fields.
- Test with Sample Data: Create a test order in WooCommerce with known good data, including all mapped fields, and observe if it syncs successfully. This helps isolate if the issue is with specific customer data.
5. WooCommerce Configuration Conflicts & Caching Issues
Problem: The newsletter opt-in checkbox isn't appearing at checkout, or the sync isn't triggering even with explicit opt-in. This can affect the collection of new woocommerce subscriber data.
Cause: Plugin conflicts (another plugin interfering with checkout hooks), theme overrides that remove or modify the checkout template, or aggressive caching preventing the checkbox from displaying or the sync process from initiating correctly.
Solution:
- Plugin Conflict Debugging:
- Temporarily deactivate other plugins one by one (starting with checkout-related or performance plugins) to identify if a conflict is preventing the opt-in checkbox from displaying or the sync from triggering.
- Pay attention to plugins that modify the checkout process or add custom fields.
- Theme Compatibility: Switch to a default WordPress theme (like Storefront or Twenty Twenty-Four) to see if the issue persists. If it resolves, your theme might be overriding WooCommerce checkout templates in a way that interferes with the plugin's hooks. You may need to consult your theme developer or adjust your theme's `functions.php` or template files.
- Clear Caches: Clear all levels of cache: WordPress caching plugins, server-level caching (Varnish, Redis), and CDN caching. Caching can sometimes serve outdated versions of pages, preventing the opt-in checkbox from appearing or the sync logic from executing.
- Checkout Position: In the WooCommerce Campaign Monitor Pro plugin settings, experiment with different "Checkout Position" options for the opt-in checkbox to see if it appears in an alternative location.
6. Bulk Import Failures & Partial Syncs
Problem: When performing a bulk import of existing customers using the WooCommerce Campaign Monitor Pro plugin, the process stalls, fails, or only a subset of customers are imported.
Cause: Bulk imports, especially for large stores with thousands of customers, are resource-intensive. Common causes include PHP memory limits, execution time limits being exceeded, server timeouts, or incorrect filtering criteria.
Solution:
- Monitor Action Scheduler: The WooCommerce Campaign Monitor Pro plugin uses WordPress Action Scheduler for background processing of bulk imports.
- Navigate to WooCommerce > Status > Scheduled Actions.
- Look for actions related to Campaign Monitor. Check their status (pending, running, failed).
- Failed actions often provide an error message that can guide further troubleshooting.
- Increase PHP Limits:
memory_limit: Increase PHP'smemory_limit(e.g., to512Mor1024M) in yourphp.inifile or via your host's control panel.max_execution_time: Increasemax_execution_time(e.g., to300or600seconds) to give the server more time to process batches.max_input_time: Similarly, increasemax_input_time.
- Review Import Filters: Carefully re-check the filters applied during the bulk import (e.g., date ranges, order statuses, previous opt-in choices). Ensure they are configured as intended and not inadvertently excluding customers.
- Batch Size: While the plugin handles batching, extremely high server loads or very restrictive limits might require further optimisation. If issues persist, consider importing in smaller, more targeted batches if possible.
- Server Resources: Ensure your hosting environment has sufficient CPU and RAM, especially for very large stores. Shared hosting environments can sometimes struggle with extensive background tasks.
7. Unexpected Data Overwrites/Updates
Problem: Subscriber data in Campaign Monitor (e.g., an address) is being unexpectedly overwritten or updated with older/incorrect information from WooCommerce.
Cause: Campaign Monitor uses the email address as the unique identifier. If a customer's email exists in Campaign Monitor, any new sync from WooCommerce for that email will *update* the existing subscriber's profile with the currently mapped data. This can lead to overwrites if the WooCommerce data is outdated or if field mapping is ambiguous.
Solution:
- Understand Campaign Monitor's Update Logic: Be aware that if a subscriber with a matching email already exists, Campaign Monitor will update their profile with the incoming data. It doesn't "merge" data on a field-by-field basis, but rather overwrites fields that are mapped and sent.
- Review Field Mapping Carefully: Ensure that you only map WooCommerce fields that you explicitly want to update in Campaign Monitor. If a Campaign Monitor custom field should retain its value unless explicitly changed by the customer, consider not mapping it in the plugin.
- Data Freshness: The plugin typically pulls the latest data associated with the customer at the time of opt-in or order completion. Ensure that your WooCommerce customer profiles are kept up-to-date to prevent syncing stale data.
8. GDPR and Opt-in Compliance Issues
Problem: Customers are not syncing to Campaign Monitor, even though the opt-in checkbox is visible. The plugin logs might show "Customer did not opt-in" despite appearances.
Cause: Misconfiguration of the opt-in checkbox, such as attempting to pre-tick it or issues with how the form submission is handled, can lead to the plugin not registering explicit consent for syncing.
Solution:
- Verify Default Opt-in State: Ensure the "Opt-in checkbox checked by default" setting in the WooCommerce Campaign Monitor Pro plugin is set to "No" for GDPR compliance. If it's set to "Yes" and a customer doesn't explicitly *uncheck* it, some interpretations of consent might deem it invalid, though the plugin should still process the sync if technically "checked."
- Test Explicit Opt-in: Perform a test checkout, explicitly checking the opt-in box yourself. Verify that the customer then syncs successfully. If this works, the issue might be user behaviour or a subtle UI problem leading customers to believe they've opted in when they haven't technically.
- Review Checkout Form Submission: If you have extensive checkout customisations, ensure that the form submission process isn't interfering with how the opt-in checkbox value is passed to the plugin's processing logic.
- Auto-Subscribe Mode: If explicit opt-in is not a requirement for your specific use case (e.g., certain B2B scenarios), you can enable "Auto-subscribe mode" in the plugin settings to subscribe all customers without displaying a checkbox. This bypasses opt-in issues entirely but should only be used where legally permissible.
Leveraging Plugin Logs for Diagnosis
The WooCommerce Campaign Monitor Pro plugin features comprehensive activity logging, which is your first line of defence in troubleshooting. These logs record every API call, its payload, and Campaign Monitor's response, including any error messages.
- Accessing Logs: Navigate to WooCommerce > Campaign Monitor > Activity Logs in your WordPress admin.
- Filtering: Use the filters to narrow down by status (Success, Failed), date, or specific customer emails to quickly find relevant entries.
- Details: Click on individual log entries to view the full request sent to Campaign Monitor and the exact response received, which is invaluable for diagnosing validation errors or specific API issues.
Regularly reviewing these logs can help identify recurring issues and provide the precise error messages needed for effective resolution.
Best Practices for Reliable Data Sync
Proactive measures can significantly reduce the likelihood of data sync failures:
- Regularly Verify API Keys: Periodically ensure your Campaign Monitor API key is valid and has the necessary permissions.
- Audit Field Mapping: Review your field mappings whenever you add new custom fields in Campaign Monitor or update your WooCommerce setup.
- Monitor Plugin Logs: Make it a habit to check the plugin's activity logs, especially after major WooCommerce updates or new marketing campaigns.
- Keep Software Updated: Ensure your WordPress core, WooCommerce, and the WooCommerce Campaign Monitor Pro plugin are always updated to their latest versions. This ensures you have the latest bug fixes and compatibility improvements.
- Test New Configurations: Before deploying significant changes to your checkout, field mapping, or Campaign Monitor lists, perform thorough testing with simulated customer orders.
- Optimise Server Environment: Ensure your hosting environment meets or exceeds WordPress and WooCommerce recommended specifications, especially concerning PHP memory and execution limits.
Related Articles
Continue your learning with these related resources:
- Mastering WooCommerce Campaign Monitor Pro: Your Ultimate Integration Guide for E-commerce Growth (Comprehensive Guide)
- How to Optimize WooCommerce Order Sync Timing for Campaign Monitor
- How to Set the Subscriber Name Format Sent from WooCommerce to Campaign Monitor
- How to Manually Sync a WooCommerce Order to Campaign Monitor from the Order Admin
- How to Choose the Right Campaign Monitor List for Your WooCommerce Store
- How to Bypass Campaign Monitor Double Opt-in for WooCommerce Checkout Subscribers
Conclusion
Troubleshooting WooCommerce customer data sync failures to Campaign Monitor requires a systematic approach, combining attention to detail with an understanding of both platforms' mechanics. By diligently checking API connections, verifying field mappings, inspecting plugin logs, and addressing potential conflicts, you can swiftly resolve most common issues.
The WooCommerce Campaign Monitor Pro plugin is designed to streamline this integration, providing the tools needed for robust subscriber collection and rich customer profiles. Mastering its configuration and troubleshooting capabilities empowers you to maintain a seamless flow of valuable customer data, ultimately enabling more effective and personalised email marketing campaigns within Campaign Monitor. Keep these insights in mind, and you'll ensure your WooCommerce customer data reliably reaches its destination in Campaign Monitor.