Introduction
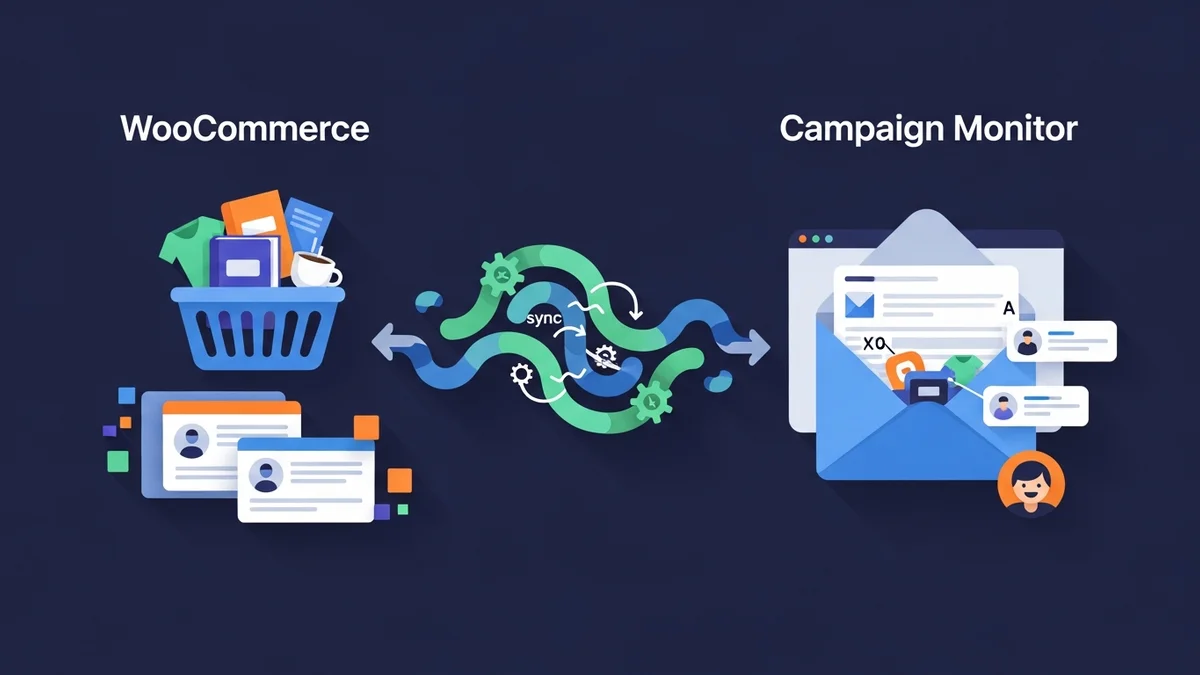
In the world of e-commerce, understanding your customers is key to success. Simply collecting email addresses for your newsletter isn't enough; to truly connect and drive sales, you need to know more about the people behind those emails. This is where the power of customer data sync WooCommerce comes into play. The WooCommerce Campaign Monitor Pro plugin facilitates this by syncing essential customer profile data – specifically name, email, phone, and billing address details – directly from your WooCommerce store to your chosen Campaign Monitor list. It's important to note that the plugin focuses exclusively on syncing customer profile data, not order details or purchase history. This robust integration with Campaign Monitor allows you to leverage its powerful email delivery, automation, and segmentation features.
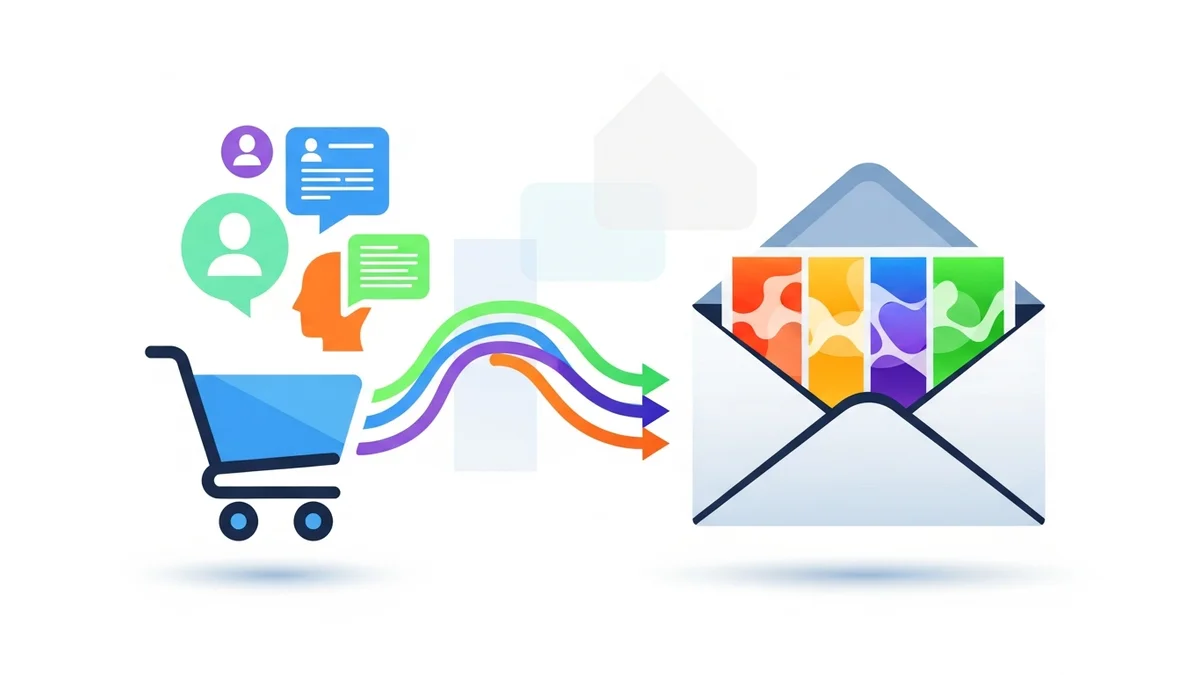
Imagine being able to send special promotions only to customers in a specific country, or a personalised birthday discount. This level of targeting is possible when you enrich your subscriber profiles with valuable information from your WooCommerce store. This article will guide you through the process of field mapping Campaign Monitor with your WooCommerce customer data, enabling you to build rich customer profiles within Campaign Monitor for sophisticated segmentation and highly effective email campaigns.
Why Rich Customer Profiles are Essential for Email Marketing
Your email list is one of your most valuable assets. However, a generic 'one-size-fits-all' approach to email marketing often leads to low engagement and missed opportunities. By gathering and using more data about your subscribers, you can transform your email strategy from basic to brilliant.
When you sync detailed customer information from WooCommerce to Campaign Monitor using the plugin, you're not just adding names; you're building a foundation for truly personalised communication within Campaign Monitor, which then handles email delivery and automations based on this data.
Benefits of Detailed Customer Data Sync
- Enhanced Personalisation: Address customers by their first name, recommend products based on their location, or send relevant content that speaks directly to their interests.
- Superior Segmentation: Divide your audience into specific groups within Campaign Monitor, allowing you to tailor messages that resonate with each segment's unique needs. For instance, segment by billing country to send region-specific offers or by phone number for SMS marketing (if applicable).
- Improved Engagement Rates: When emails are relevant and personalised, subscribers are more likely to open, click, and engage with your content, leading to higher conversion rates.
- Data-Driven Decision Making: Understand your audience better. Which customer segments respond best to certain campaigns? What demographics are most engaged? This data informs future marketing strategies.
- Optimised Marketing Spend: Focus your marketing efforts on the most promising segments, ensuring your resources are used efficiently for maximum ROI.
Understanding WooCommerce Customer Data
Your WooCommerce store already holds a wealth of information about your customers. Every time an order is placed, details like billing address, shipping address, and contact information are recorded. This data, often overlooked for email marketing purposes, is incredibly valuable.
Common WooCommerce customer fields include:
- First Name: The customer's given name.
- Last Name: The customer's family name.
- Email Address: The primary contact email.
- Billing Phone: The phone number provided for billing.
- Billing Address Line 1 & 2: Street address details.
- Billing City: The city associated with the billing address.
- Billing State/Province: The state or province for billing.
- Billing Postcode/ZIP: The postal code.
- Billing Country: The country for billing.
These fields, when mapped correctly, can significantly enhance your WooCommerce subscriber data in Campaign Monitor, making your email marketing much more effective.
Preparing Campaign Monitor for Field Mapping
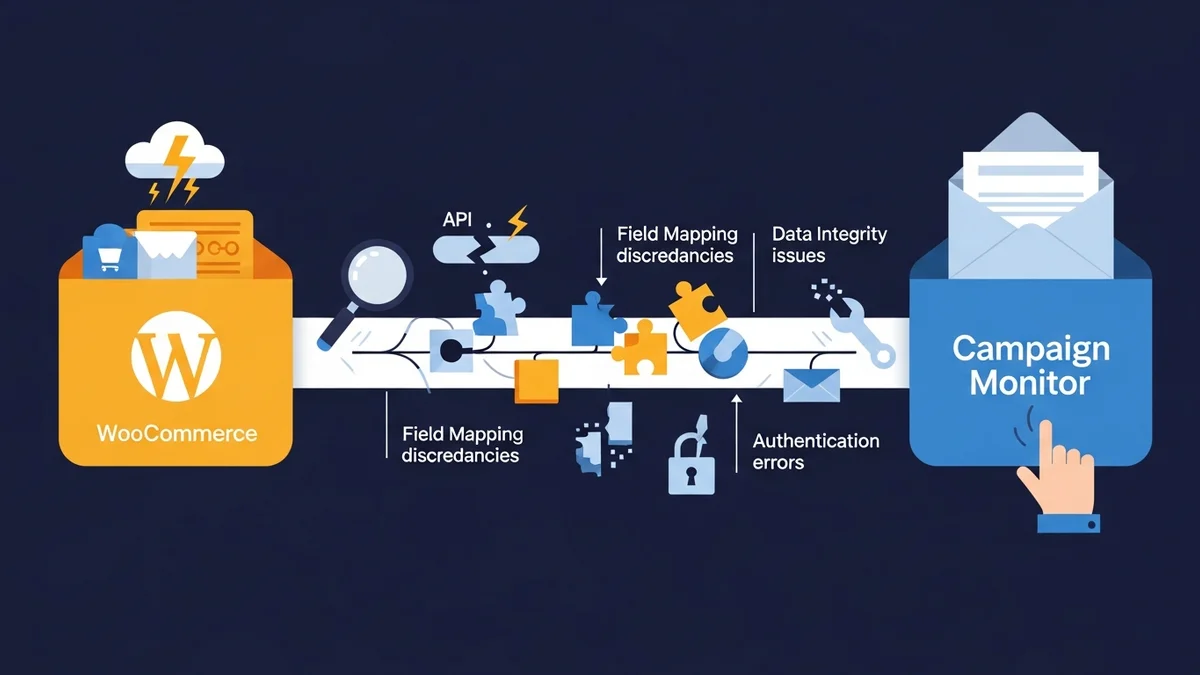
Before you can map WooCommerce customer fields, it is crucial to understand a key prerequisite: both your target Campaign Monitor list and any corresponding custom fields must already exist within your Campaign Monitor account. The WooCommerce Campaign Monitor Pro plugin helps you sync the data, but it does not create these lists or fields in Campaign Monitor for you. This foundational step is essential for successful field mapping Campaign Monitor integration.
How to Create Custom Fields in Campaign Monitor:
- Log in to Campaign Monitor: Access your Campaign Monitor account.
- Navigate to Lists & Subscribers: From the main dashboard, click on 'Lists & Subscribers'.
- Select Your Target List: Choose the specific subscriber list where you want to sync your WooCommerce customer data. If you don't have a list yet, create one.
- Go to Custom Fields: Within your selected list, look for a tab or option labelled 'Custom fields' or 'List settings' (the exact wording might vary slightly with Campaign Monitor updates).
- Add a New Custom Field: Click the button to add a new custom field.
- Define the Field:
- Name: Give the field a clear, descriptive name (e.g., "Billing Country", "Phone Number", "Customer City"). This is how you'll identify it during mapping.
- Data Type: Select the appropriate data type. For most WooCommerce fields like city, country, or phone number, 'Text' is suitable. For specific numeric fields, 'Number' might be better.
- Set as Visible (Optional): Decide if you want this field to be visible on your signup forms. For fields synced from WooCommerce, this is usually not necessary.
- Save Your Custom Field: Repeat this process for every piece of WooCommerce customer data you wish to map.
For example, if you want to sync your customers' billing country, you would create a custom field in Campaign Monitor named "Billing Country" with a 'Text' data type. This preparation ensures that when data is synced from WooCommerce, Campaign Monitor has a dedicated place to store it.
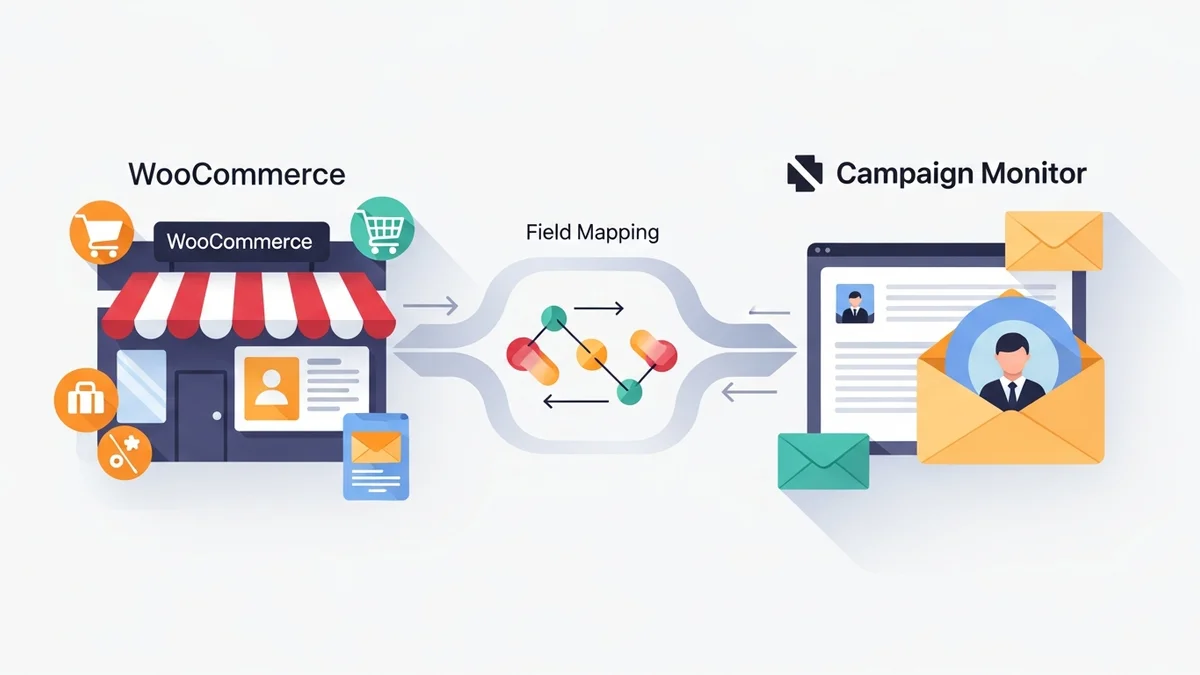
Step-by-Step: Mapping WooCommerce Customer Fields to Campaign Monitor
Now that your Campaign Monitor list is ready with custom fields, let's walk through the process of mapping your WooCommerce customer data using the WooCommerce Campaign Monitor Pro plugin. This plugin streamlines the customer data sync WooCommerce process, making it easy to build those rich customer profiles.
Prerequisites:
- You have the WooCommerce Campaign Monitor Pro plugin installed and activated on your WordPress site.
- You have successfully connected your plugin to your Campaign Monitor account using your API key.
- A Campaign Monitor list must already exist where you intend to add subscribers.
- You have created the necessary custom fields within that Campaign Monitor list, as outlined in the previous section.
Step 1: Accessing the Plugin Settings
First, navigate to the plugin's settings page within your WordPress admin area.
- From your WordPress dashboard, go to WooCommerce > Campaign Monitor Pro.
- This will take you to the main settings panel for the plugin.
Here, you'll find various tabs for configuration, including General Settings, Checkout Opt-in, and most importantly for this guide, the Field Mapping tab.
Step 2: Navigating to the Field Mapping Tab
Once you are on the plugin's settings page, locate and click on the "Field Mapping" tab.
This section is specifically designed to allow you to connect fields from your WooCommerce store to your Campaign Monitor custom fields. It’s where the magic of creating rich customer profiles truly happens.
Step 3: Understanding the Field Mapping Interface
On the Field Mapping tab, you will typically see a table or a list of options. On the left side, you'll find a dropdown menu or a list of available WooCommerce customer data fields. These are the pieces of information the plugin can pull directly from your WooCommerce customer records.
On the right side, corresponding to each WooCommerce field, you'll see another dropdown menu. This second dropdown will list all the available fields in your selected Campaign Monitor list, including the standard fields (like Email, Name) and any custom fields you've created.
Step 4: Selecting Your Target Campaign Monitor List
At the top of the Field Mapping section, you'll usually find an option to select your desired Campaign Monitor list. This is crucial because your custom fields are tied to a specific list.
- Use the dropdown menu (often labelled "Campaign Monitor List") to select the subscriber list to which you want to send your WooCommerce customer data. Remember, this list must already exist in Campaign Monitor.
- Once you select a list, the available Campaign Monitor custom fields in the mapping options below will update to reflect the fields in that specific list.
Ensure you select the correct list to avoid mapping issues and ensure your WooCommerce subscriber data lands in the right place.
Step 5: Performing the Field Mapping
Now, let's connect the WooCommerce fields to their Campaign Monitor counterparts. This is the core of field mapping Campaign Monitor with your store data.
-
Map Standard Fields: The plugin will likely auto-map the 'Email Address' field, as it's the unique identifier for Campaign Monitor subscribers. You'll also usually see options to map 'First Name' and 'Last Name' to Campaign Monitor's standard 'Name' field (or separate custom fields if you prefer).
- For 'First Name', select 'Name' from the Campaign Monitor dropdown.
- For 'Last Name', select 'Name' from the Campaign Monitor dropdown (the plugin is smart enough to combine them or use separate custom fields if available). Alternatively, you can map 'First Name' and 'Last Name' to separate custom fields you created in Campaign Monitor.
- The WooCommerce Campaign Monitor Pro plugin also offers flexible name formatting options, allowing you to choose how 'First Name' and 'Last Name' are combined when sent to Campaign Monitor. You can select 'Full Name', 'First Name', 'Last Name', or 'None' as your preferred format to sync to the standard Campaign Monitor 'Name' field.
-
Map Custom Fields: For each piece of additional customer data you want to sync, follow these steps:
- On the left (WooCommerce Field): Choose the WooCommerce customer field you want to map from the dropdown. Examples include 'Billing Phone', 'Billing City', 'Billing Country', 'Billing State', 'Billing Postcode', etc.
- On the right (Campaign Monitor Field): From the corresponding dropdown, select the custom field you created in Campaign Monitor for that specific data point. For instance, if you chose 'Billing Country' on the left, select your "Billing Country" custom field on the right.
- Review and Repeat: Go through all the WooCommerce customer fields you wish to capture and map them to their respective Campaign Monitor custom fields. Double-check that you've selected the correct match for each.
This process ensures that when a customer opts-in at checkout (or is bulk imported), their detailed information flows seamlessly from WooCommerce into your designated Campaign Monitor custom fields, building truly rich customer profiles.
Step 6: Saving Your Mapping Configuration
After you have completed all your desired field mappings, it's crucial to save your changes.
- Scroll to the bottom of the settings page and click the "Save Changes" button.
- The plugin will confirm that your settings have been updated.
Your field mapping configuration is now active. Any new subscribers (or existing customers you bulk import) will have their selected WooCommerce data sent to the mapped Campaign Monitor custom fields.
Step 7: Testing Your Field Mapping
To ensure everything is working as expected, it's a good practice to test your configuration.
- Perform a Test Order: As an administrator, go to your WooCommerce store frontend and place a test order. Make sure to opt-in to the newsletter during checkout.
- Check Campaign Monitor: Log in to your Campaign Monitor account.
- Verify Subscriber Data: Navigate to your selected list and find the subscriber associated with your test order's email address. Check their subscriber details to confirm that all the mapped custom fields (e.g., billing phone, country, city) have been populated correctly with the data from your test order.
If the data appears as expected, your customer data sync WooCommerce setup is working perfectly!
Leveraging Your Rich Customer Profiles for Segmentation
Once your WooCommerce customer data is flowing into Campaign Monitor via the field mapping Campaign Monitor process, the real power of Campaign Monitor's features begins. You can now use these custom fields within Campaign Monitor to create highly specific and effective segments, allowing for truly targeted email campaigns handled directly by Campaign Monitor.
Examples of Advanced Segmentation:
- Geographic Targeting: Create segments based on 'Billing Country' or 'Billing City' to send region-specific promotions, shipping updates, or local event invitations. For example, "Customers in Australia" or "Customers in Sydney."
- Personalised Greetings: Use 'First Name' to personalise your email greetings, making your messages feel more direct and engaging.
- Follow-up by Communication Preference: While the plugin doesn't sync phone numbers for SMS by default, having the 'Billing Phone' field can inform other communication strategies if you use a separate SMS tool.
- Targeting by Demographic Data: If you collect other demographic data (e.g., through custom checkout fields) and map it, you can segment by age range, gender, or other relevant characteristics (ensure GDPR compliance!).
By creating these focussed segments, you ensure that your email campaigns are relevant to each recipient, significantly increasing engagement and conversion rates. This is the ultimate goal of effective WooCommerce subscriber data management.
Best Practices for Data Sync and Segmentation
To get the most out of your customer data sync WooCommerce setup and ensure your email marketing remains effective, consider these best practices:
- Only Collect Necessary Data: While it's tempting to collect a lot of data, only map fields that genuinely contribute to better segmentation or personalisation. Avoid overwhelming your customers or your data storage.
- Maintain Data Quality: Regularly review your Campaign Monitor lists for any inconsistencies. While the plugin helps with automated syncing, occasional manual checks can prevent issues.
- Respect Privacy: Always be transparent with your customers about what data you're collecting and how you plan to use it. The WooCommerce Campaign Monitor Pro plugin is GDPR-compliant by design, with an unchecked opt-in checkbox by default.
- Regularly Update Segments: Your customer base evolves, so your segments should too. Periodically review and refine your Campaign Monitor segments to ensure they remain relevant and effective.
- Test Your Campaigns: Before sending out a segmented campaign to your entire audience, test it with a small internal group to ensure all personalisation and targeting work as intended.
- Utilise Bulk Import for Existing Customers: Don't forget your existing customer base! The WooCommerce Campaign Monitor Pro plugin allows you to bulk import existing customers, applying your new field mappings to populate their Campaign Monitor profiles with rich data. This is essential for ensuring all your WooCommerce subscriber data is consistent.
Related Articles
Continue your learning with these related resources:
- Mastering WooCommerce Campaign Monitor Pro: Your Ultimate Integration Guide for E-commerce Growth (Comprehensive Guide)
- How to Optimize WooCommerce Order Sync Timing for Campaign Monitor
- How to Set the Subscriber Name Format Sent from WooCommerce to Campaign Monitor
- How to Manually Sync a WooCommerce Order to Campaign Monitor from the Order Admin
- How to Choose the Right Campaign Monitor List for Your WooCommerce Store
- How to Bypass Campaign Monitor Double Opt-in for WooCommerce Checkout Subscribers
Conclusion
Moving beyond basic email lists to build rich customer profiles is a game-changer for any WooCommerce store. By effectively mapping your WooCommerce customer fields to Campaign Monitor custom fields, the WooCommerce Campaign Monitor Pro plugin unlocks unparalleled opportunities for Campaign Monitor's powerful personalisation and advanced segmentation capabilities. The plugin simplifies this complex process, enabling seamless customer data sync WooCommerce and providing Campaign Monitor with the data it needs to empower you to craft highly targeted and impactful email campaigns and manage email delivery, with Campaign Monitor then handling automations based on the synced data.
Investing time in proper field mapping Campaign Monitor integration means transforming your email marketing from generic broadcasts to personalised conversations, leading to stronger customer relationships and significant growth for your online store. Start leveraging the full power of your WooCommerce subscriber data today to create more engaging and profitable customer journeys.